Craft Project #14 – Butterfly Picks

This is a quick and easy project that took very little time to make. I decided that I want to add some butterflies to the garland that I will be putting around my mom’s door as part of her Spring decorations. It is also a very inexpensive project.

The supplies needed for this craft project are:

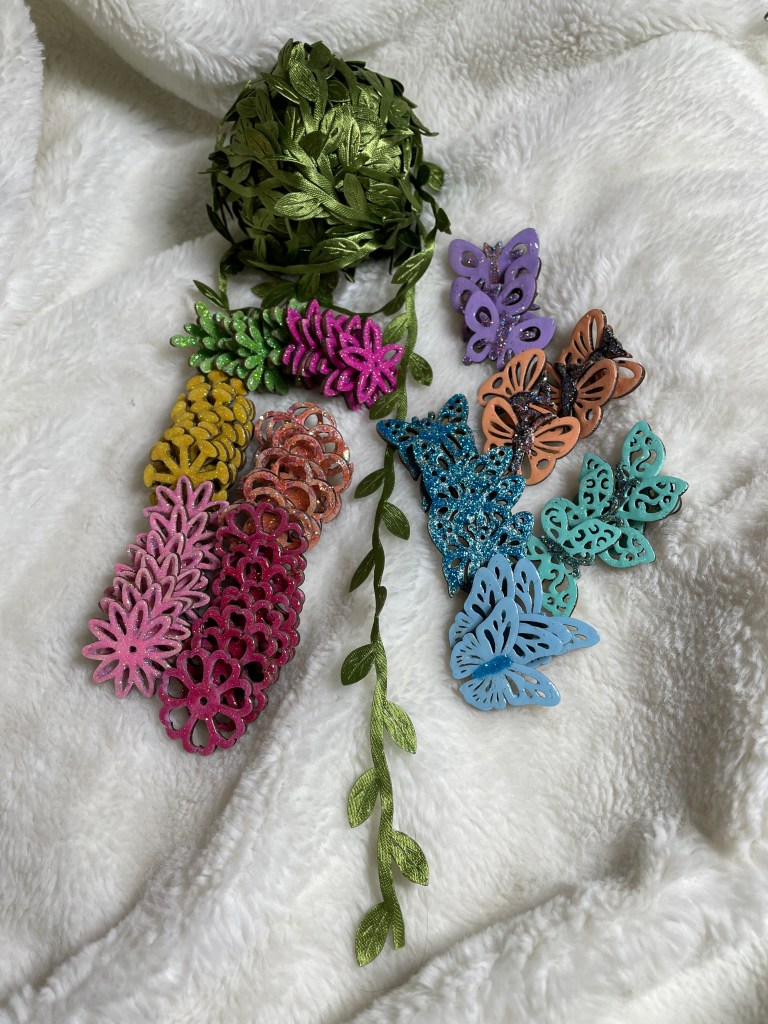
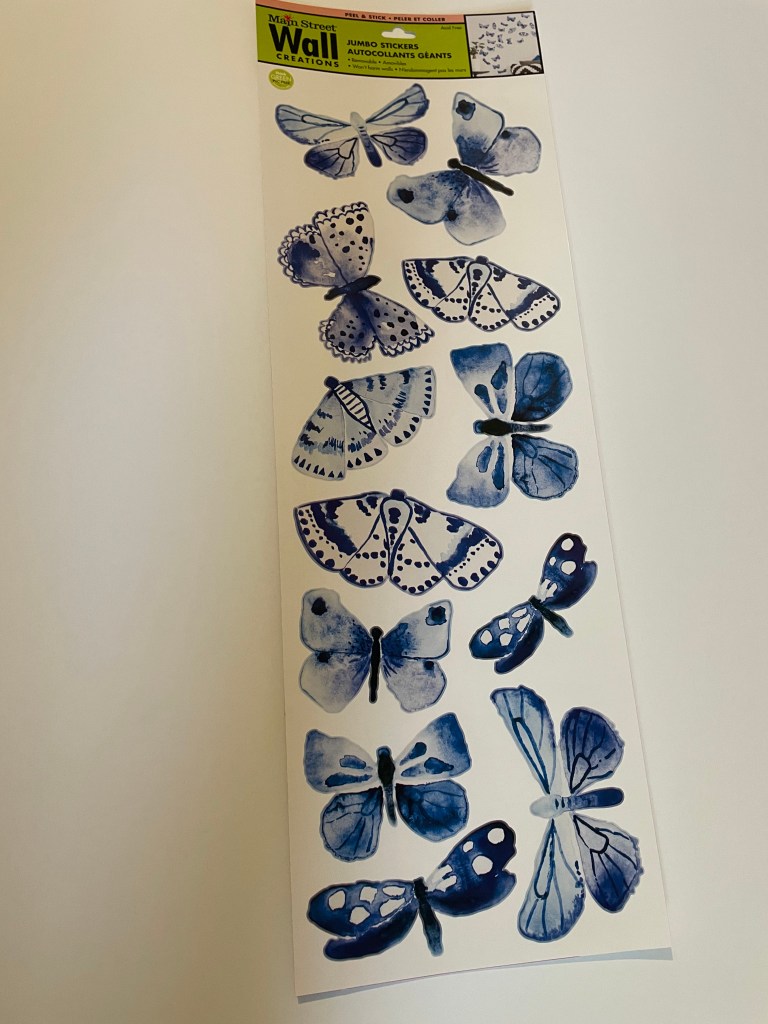
Main Street Wall Creations Jumbo Stickers and poster board that were purchased at Dollar Tree. You will also need E6000 adhesive and chenille stems/pipe cleaners which I had on hand.

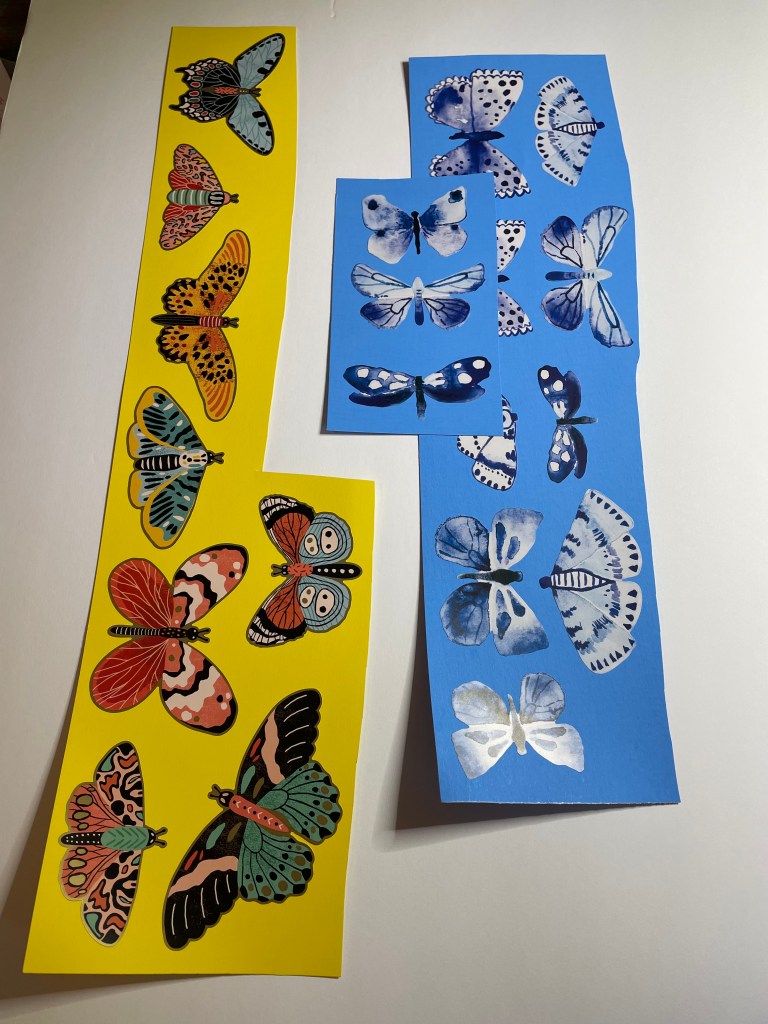
Step one in this project is to attach the butterflies to poster board. This will give them a strong backing.

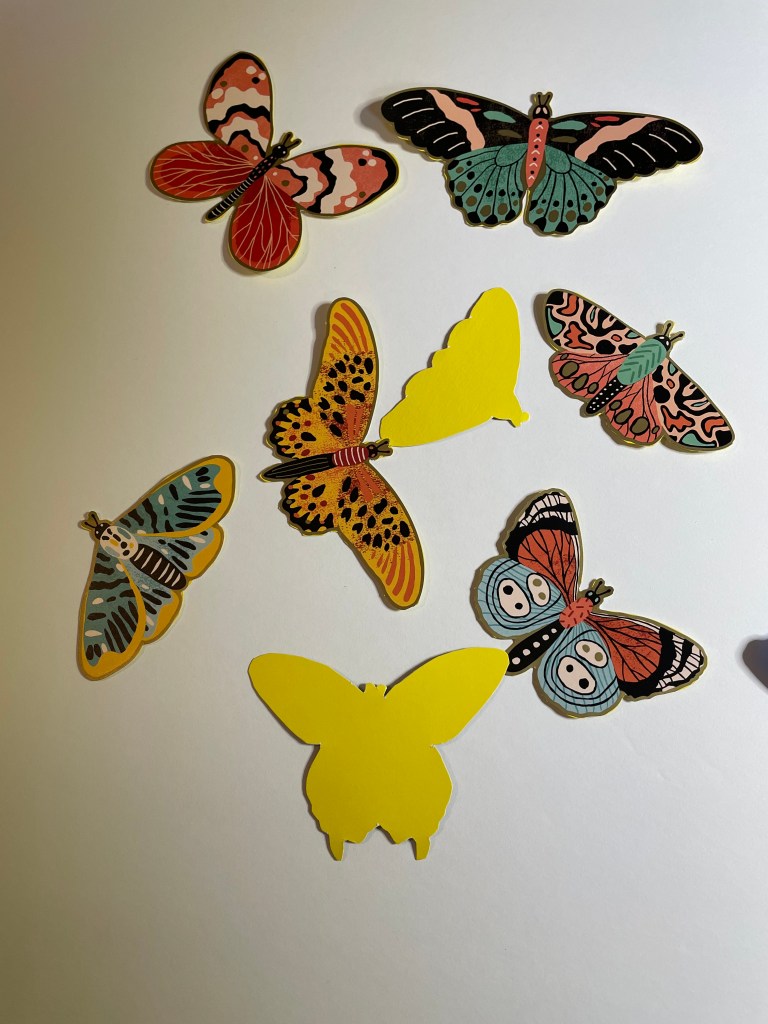
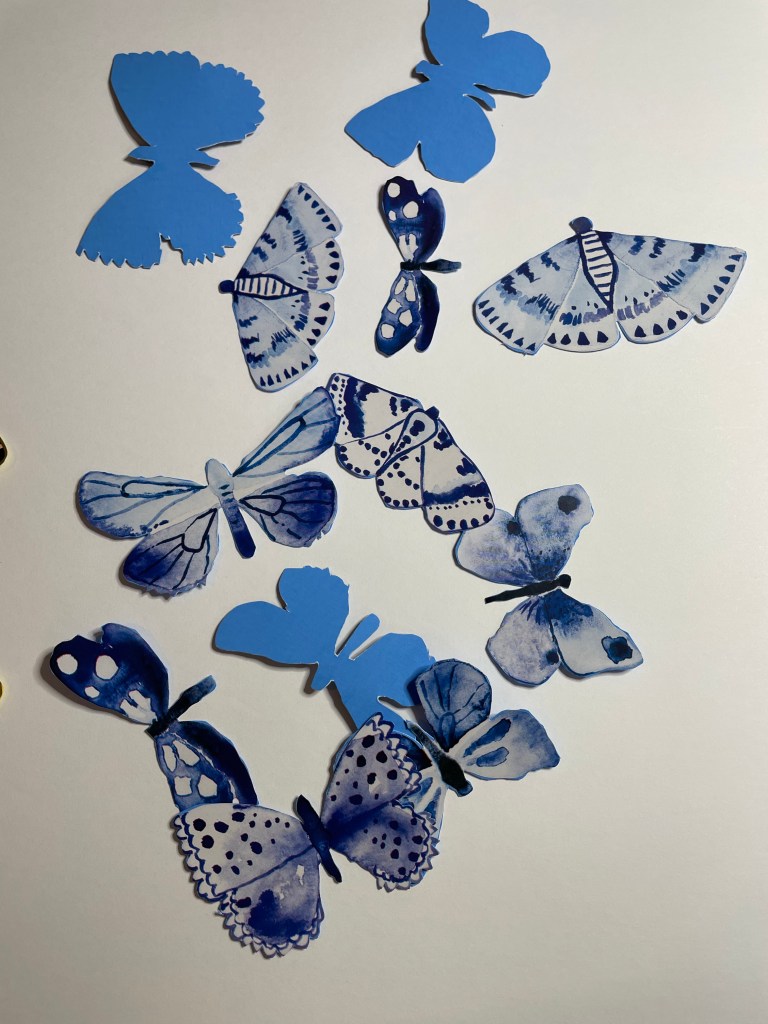
Step two: cut out the butterflies. Luckily, this does not have to be perfect.

Step three: gather the supplies needed to attach the chenille stems/pipe cleaners to the back of the butterflies. This is something you probably have already done.

Step four: fold the chenille stems/pipe cleaners in half. Add a generous amount of E6000 to the back of the butterfly. Place the chenille stem/pipe cleaner in the E6000 and press down. It is important to press down on the center of the chenille stem/pipe cleaner to make sure the E6000 covers the center of the stem as completely as possible.

Step five: put the butterflies in an area that the will not be disturbed/moved/touched and allow to dry. I allowed mine to dry overnight.

And now they are ready to attach to the garland when it is time to decorate my mom’s door for Spring.

Now it is time to start working on the next craft project for mom’s spring decorations. I wonder what it will be!

Craft Project #12 – Sign

Time to make a pre-decorating sign for my moms door area! I find that it keeps her door area somewhat decorated before we put up the next seasonal/holiday decorations up. This time, I decided on a wood frame that has slats. I found it at Hobby Lobby and it is the perfect size!!!!

I decided to use Varathane wood enhancer in the color Whitewash to tone down the appearance of the frame and to make sure the embellishments would not get lost in the natural wood tone.

I purchased unfinished wood letters that are 2 inches in height at Hobby Lobby. I initially thought I would spell out SPRINGTIME but once I got everything at home, I realized that would not work and decided I would just spell out SPRING.

I was not sure what color I wanted to paint the letters since there are so many pastel colors that I thought I might use. I even thought about using a different color for each letter.

In the end, I decided to use the color yellow after painting the back of the letters to see how the color would actually look.

Once everything was dry, I attached the letters to the frame using E6000 adhesive. These letters are not going anywhere!

I started second guessing myself about how I wanted to decorate the frame and decided to see what other embellishments I have on hand or recently purchased that I could use.

After some internal debate and discussion with my granddaughter, Victoria, it decided to continue with the wood flowers and butterflies. Figuring out a potential placement was then figured out.

I then got all of the wood flowers and butterflies I had painted together. As a very last minute purchased, I found some green leaf ribbon on Amazon that I thought would work perfect to add vines and a little more character to the frame.

Before I attached the ribbon, flowers, and butterflies, I decided to rub some green metallic paint to the bottom slat of the frame.

It did not take long for the small amount of paint I rubbed onto the frame to dry and in no time at all, the frame was completed.

Now it is time to make another small wreath for the Spring pre-decorations to go with the frame.