Craft Project #13 – small wreath

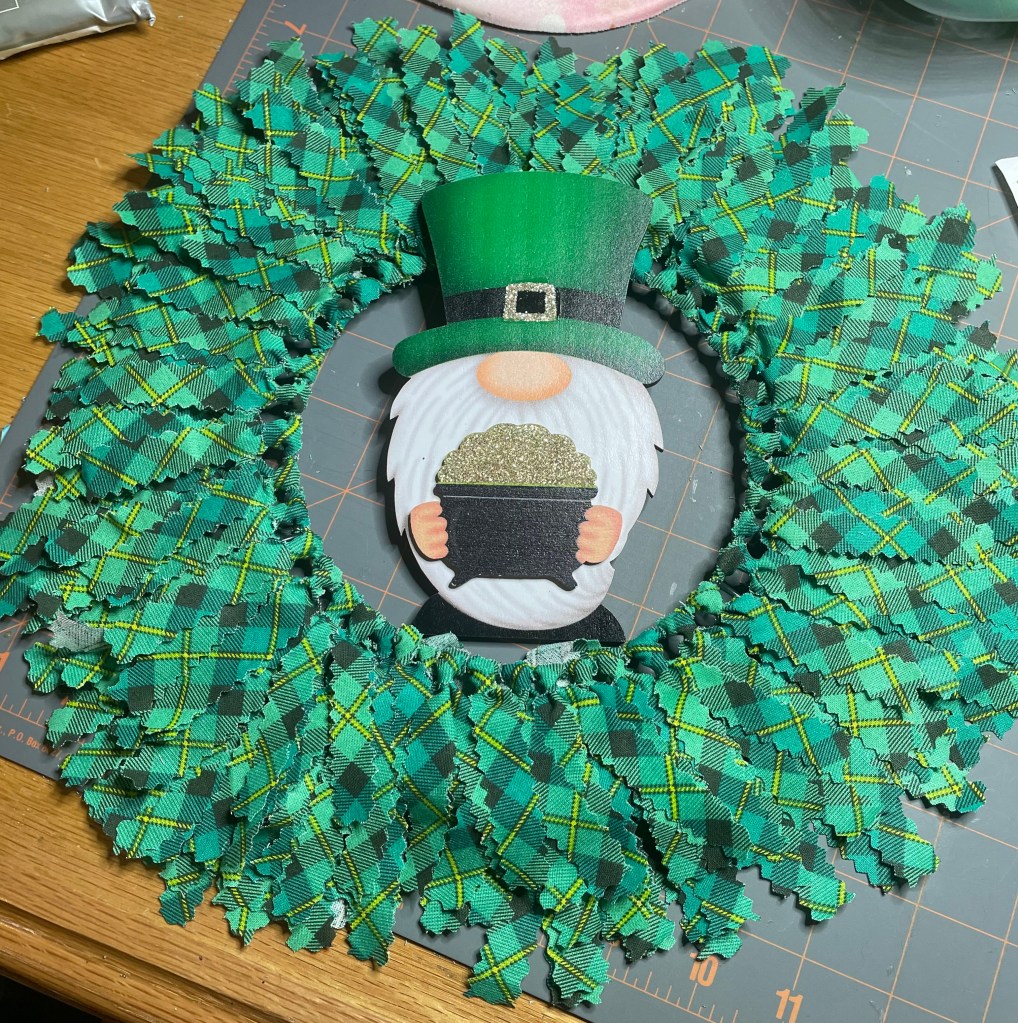
I really enjoy making rag wreaths. While thinking about the decorations I would be using for mom’s door, I decided I would do so pre-decorating decorations to put around the door area. Since I have made the small spring sign, I decided that she would need a small wreath as well.

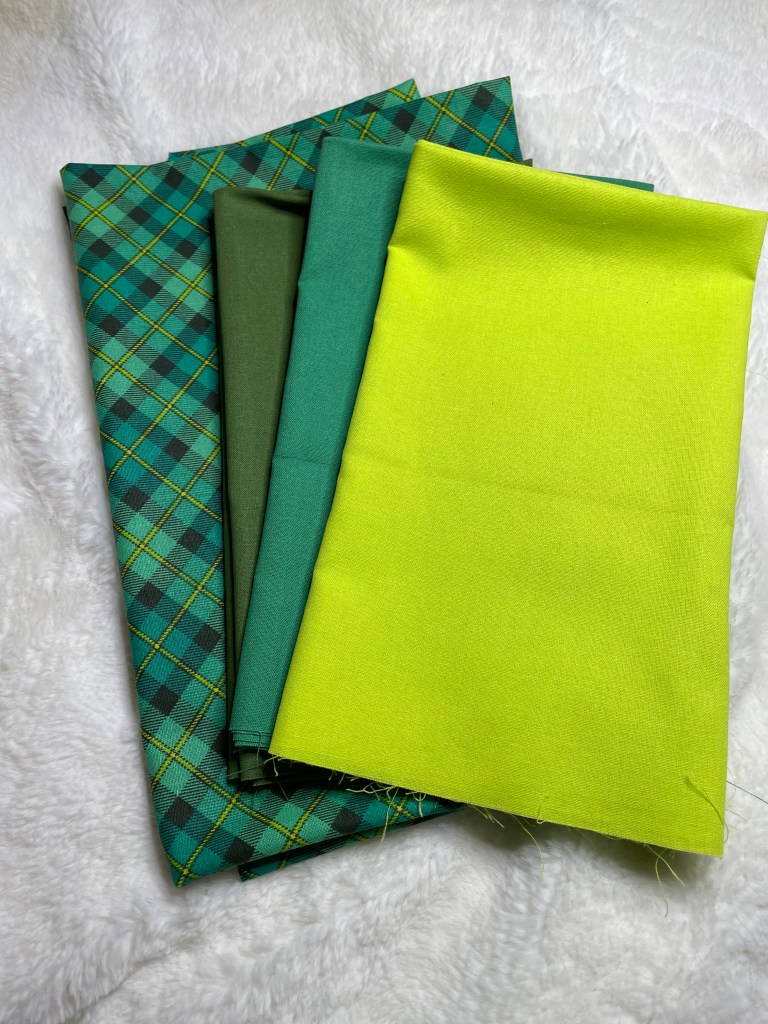
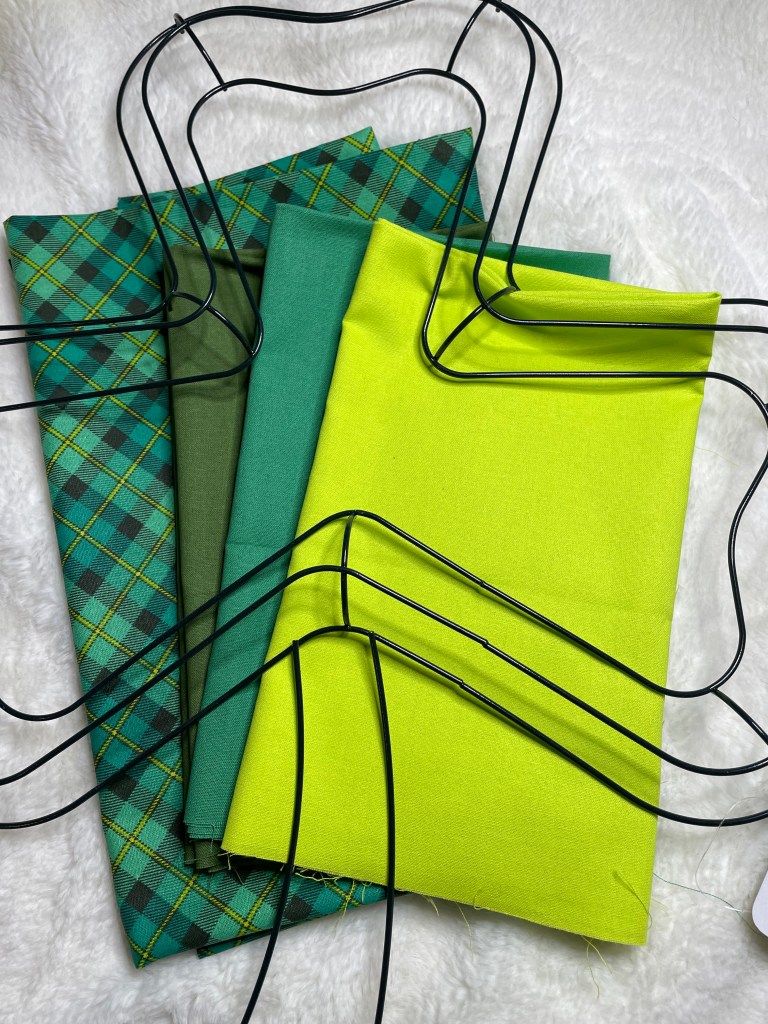
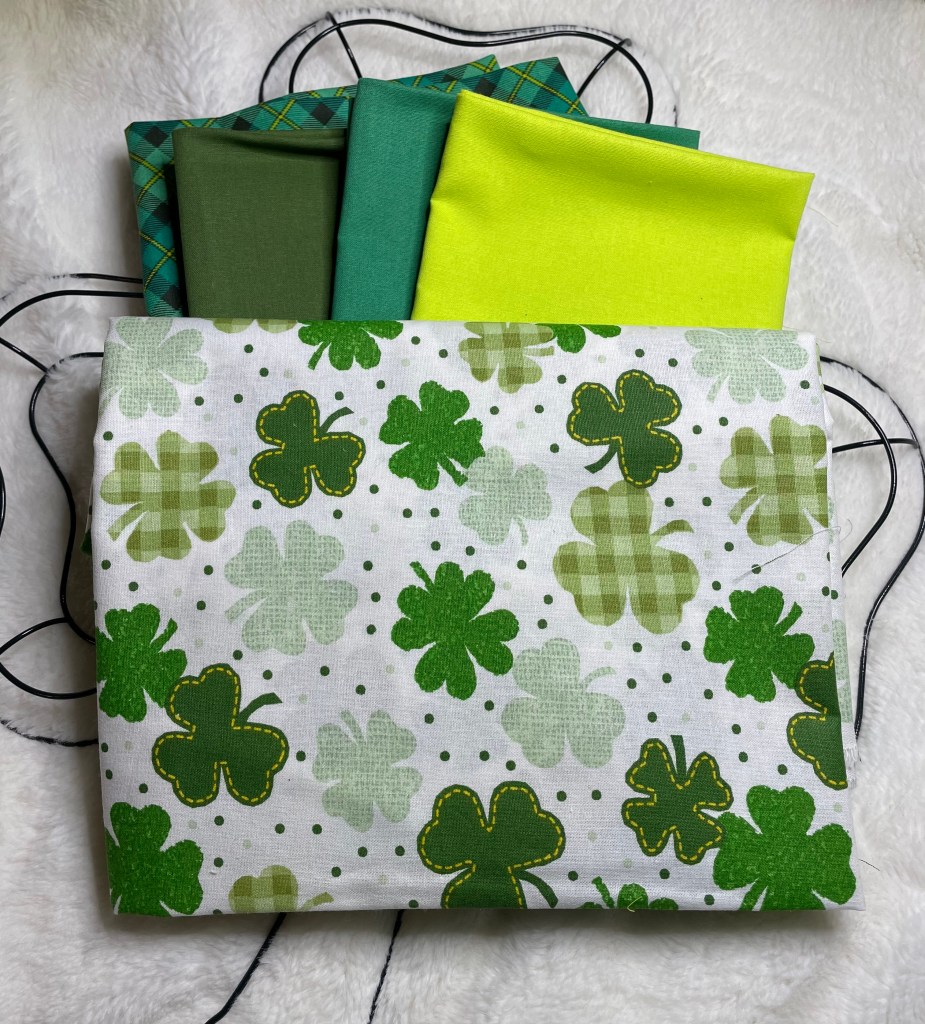
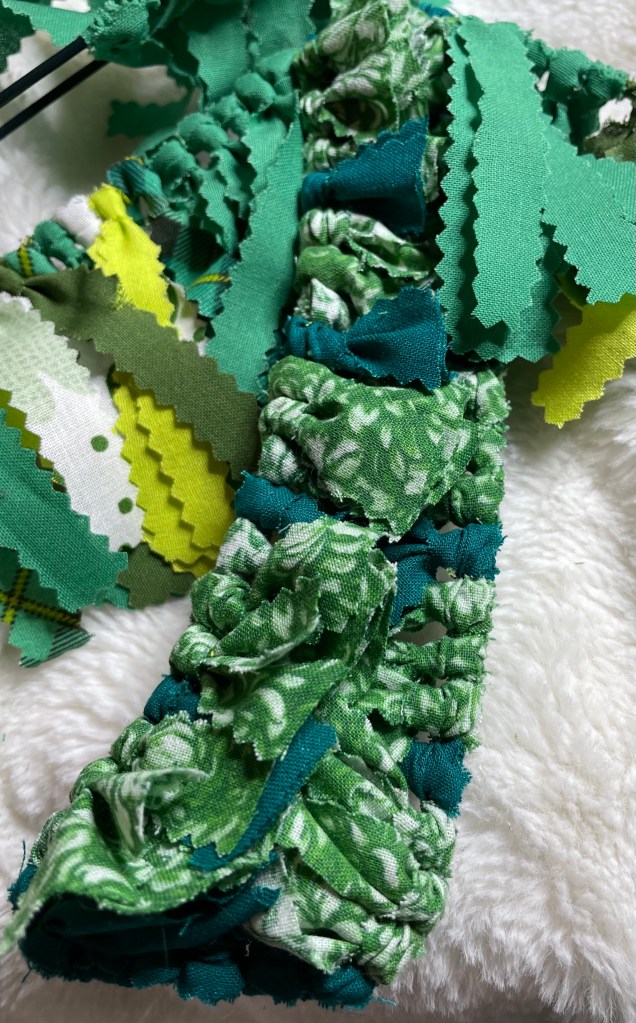
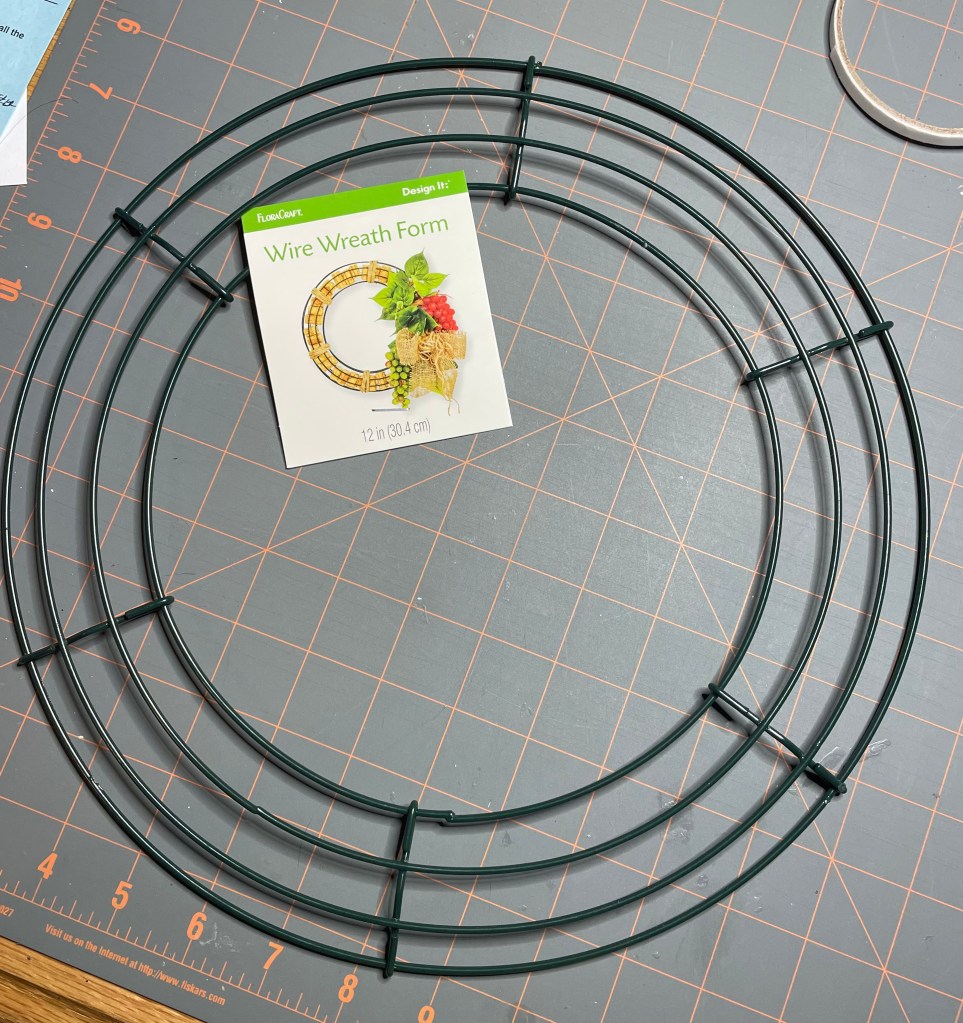
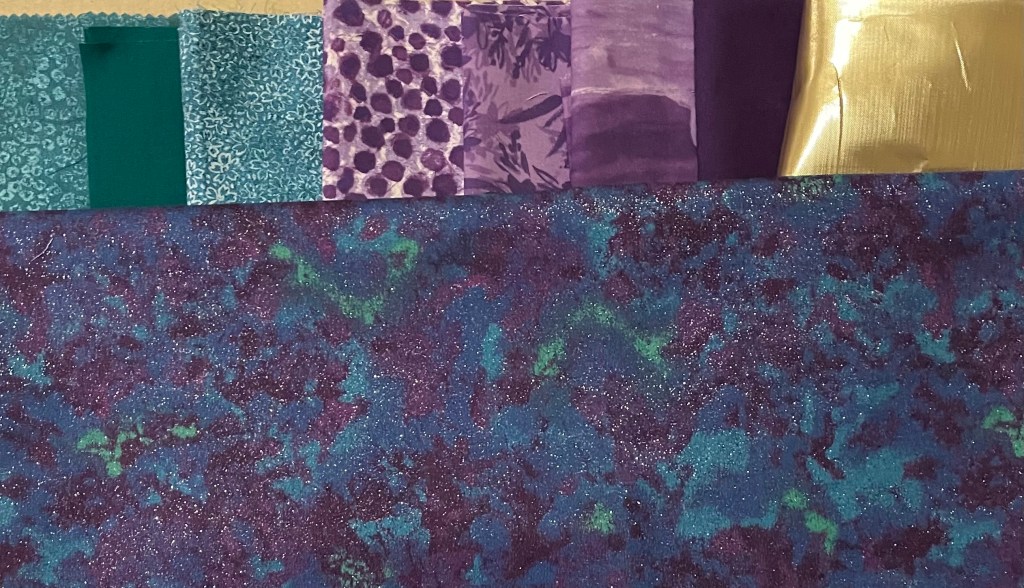
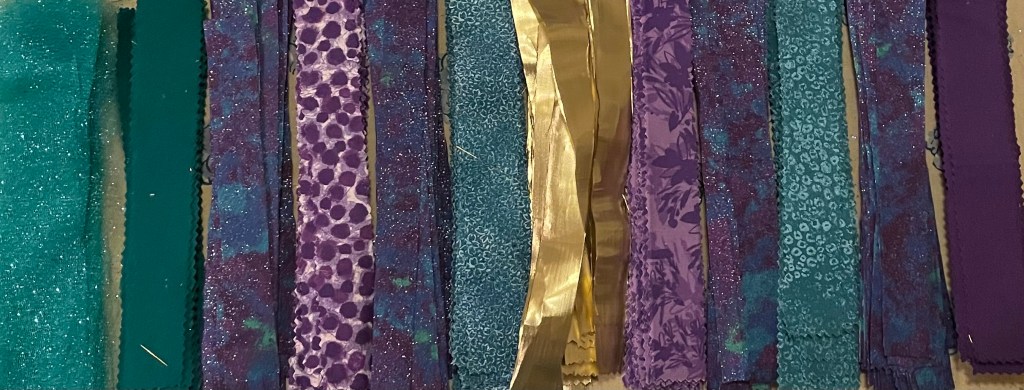
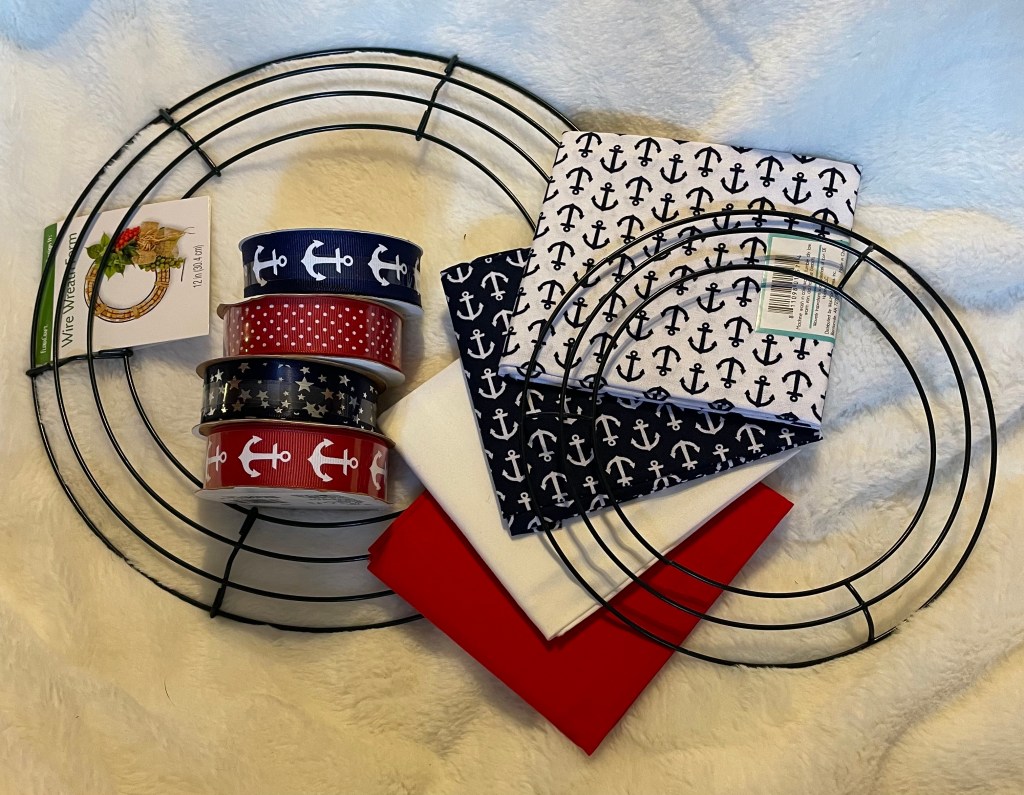
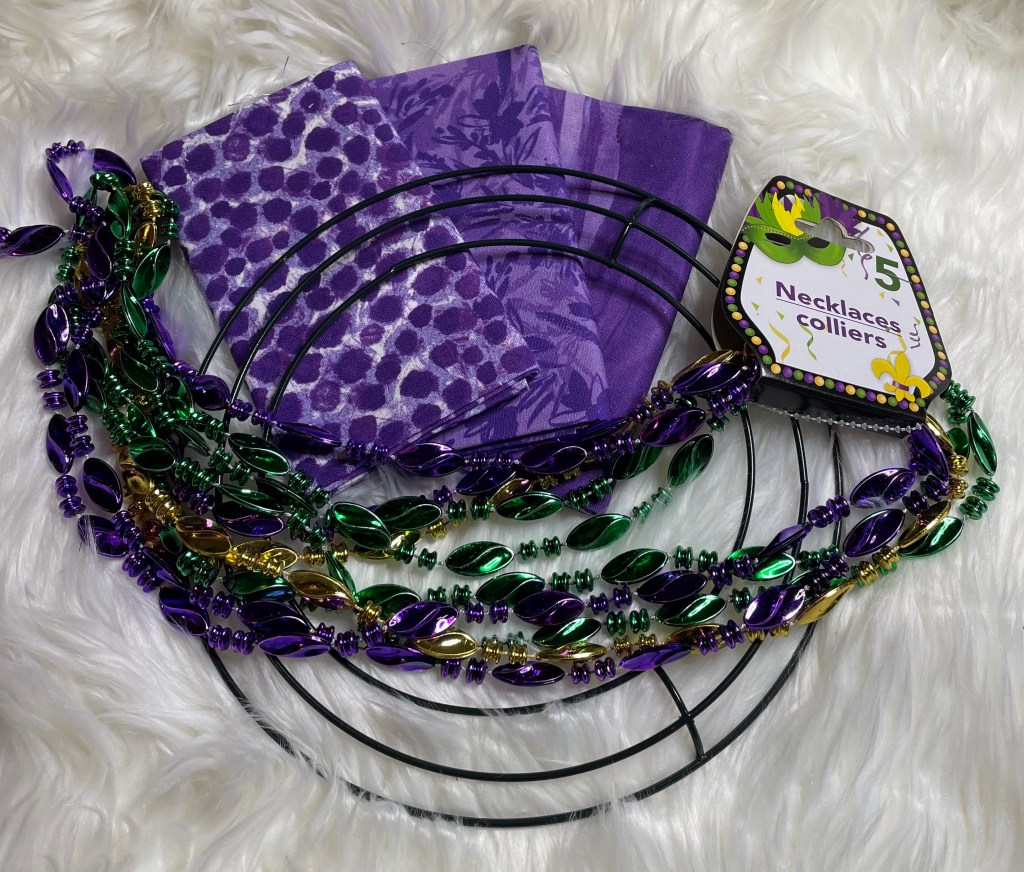
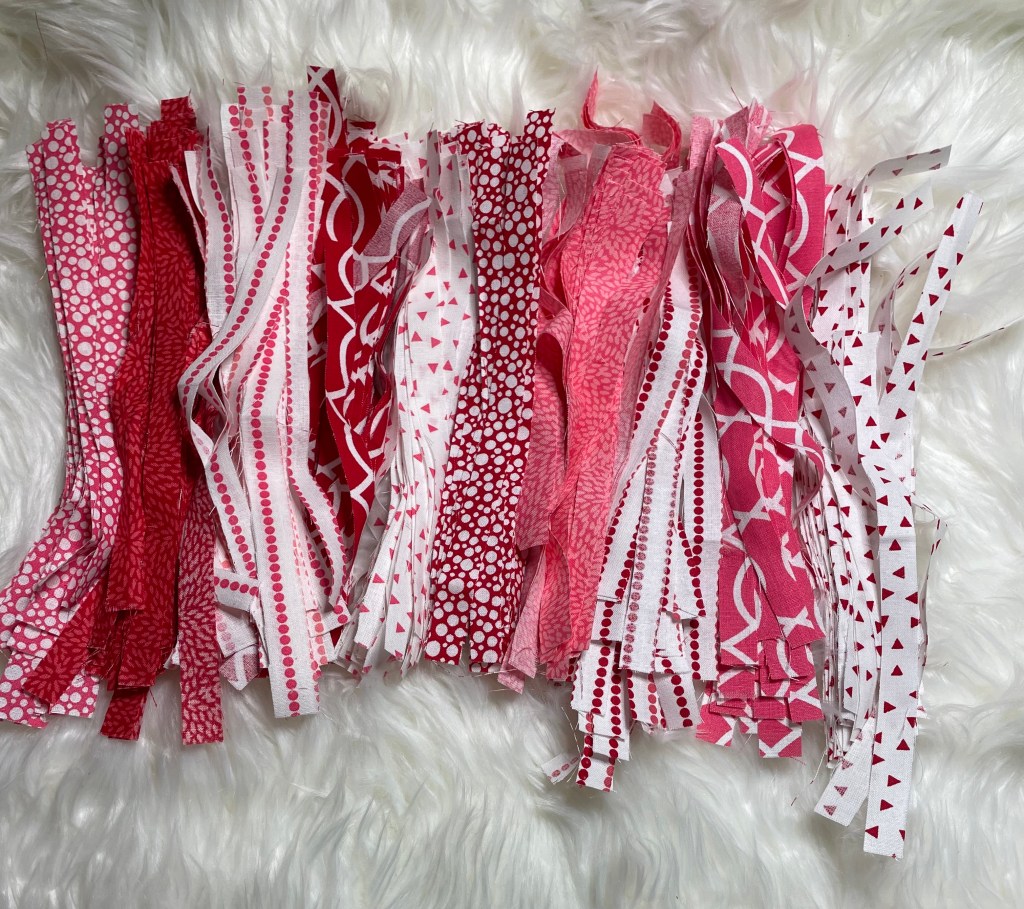
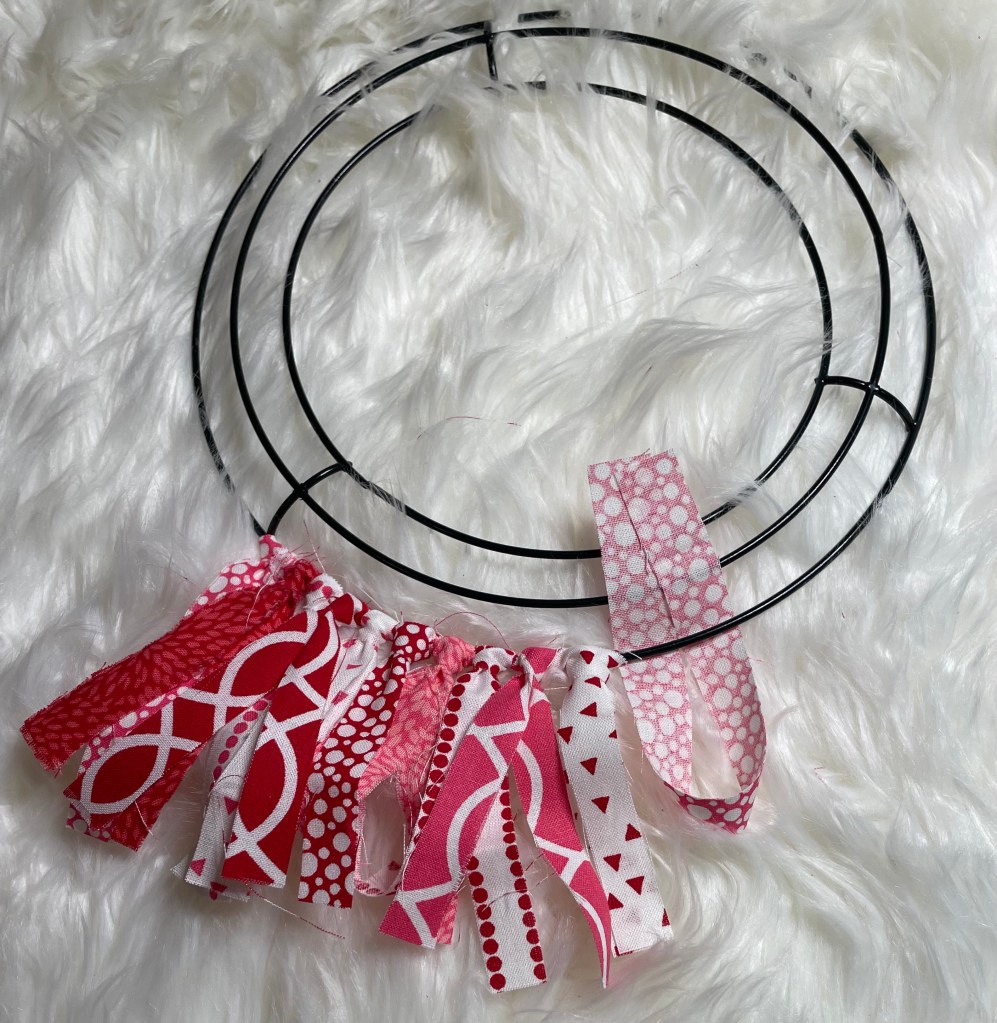
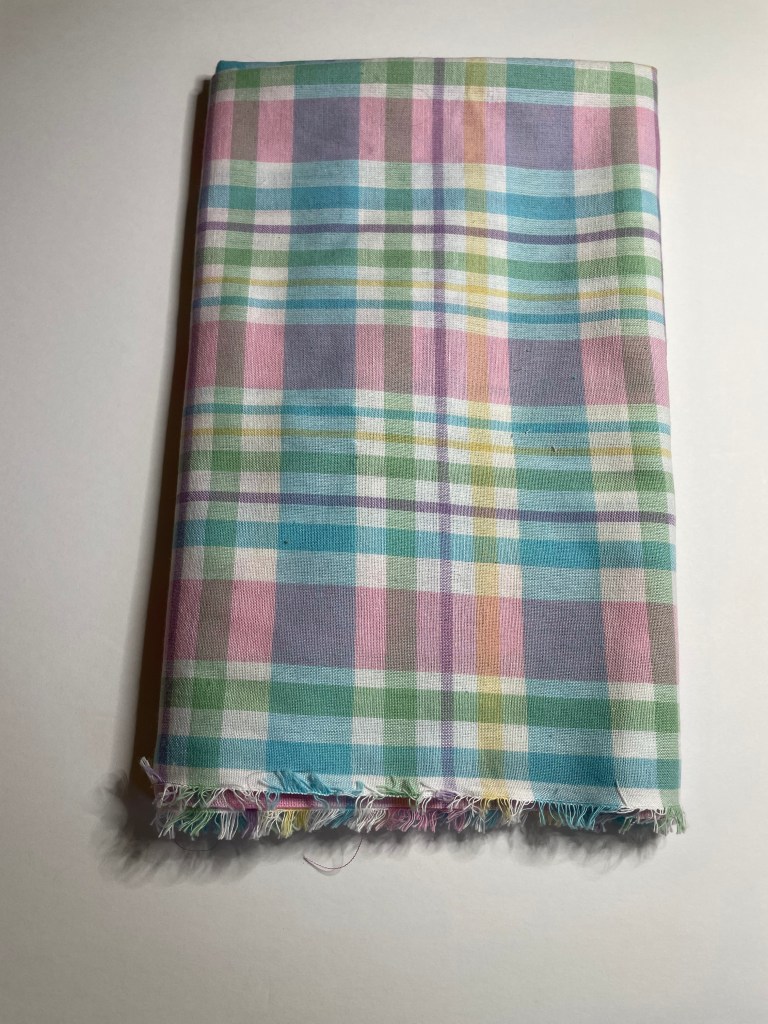
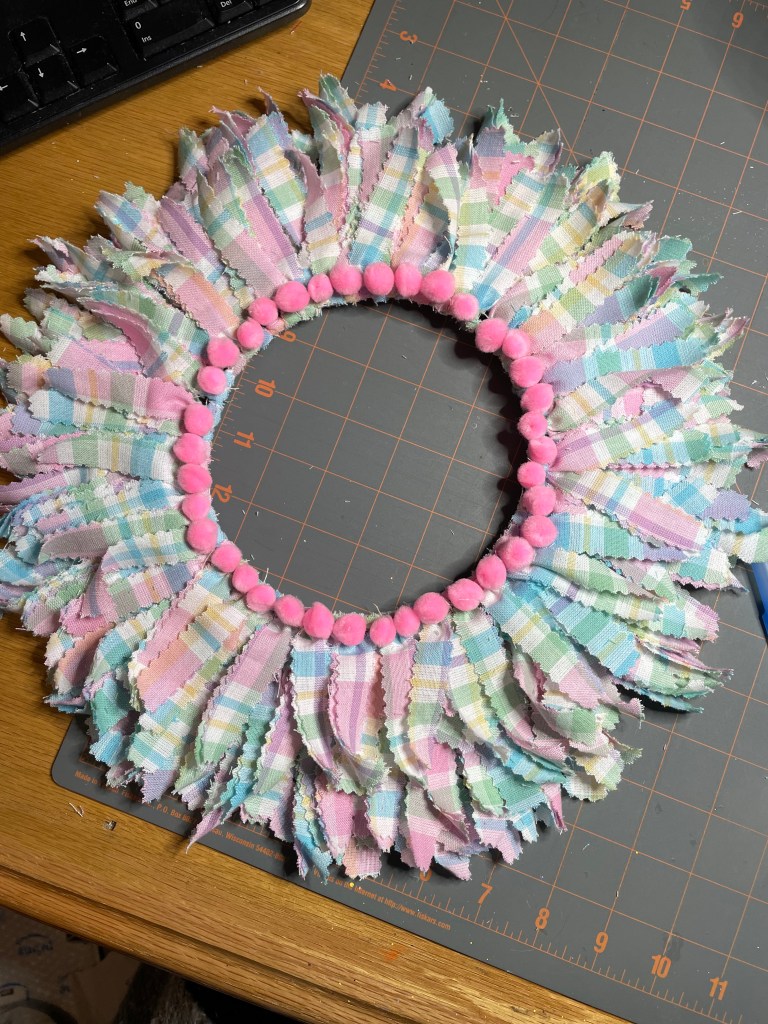
I decided on one fabric that reminds me of spring and Easter that I found at Hobby Lobby. I will be using an eight inch round wire wreath form that I purchased at Dollar Tree.

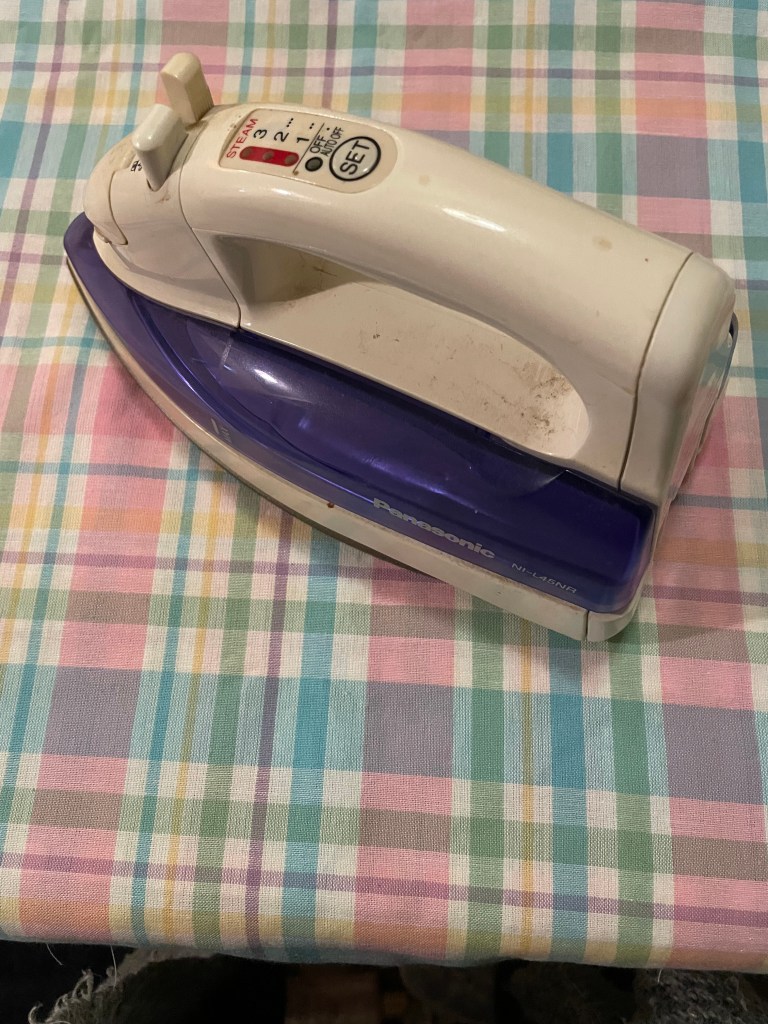
I started by ironing the fabric.

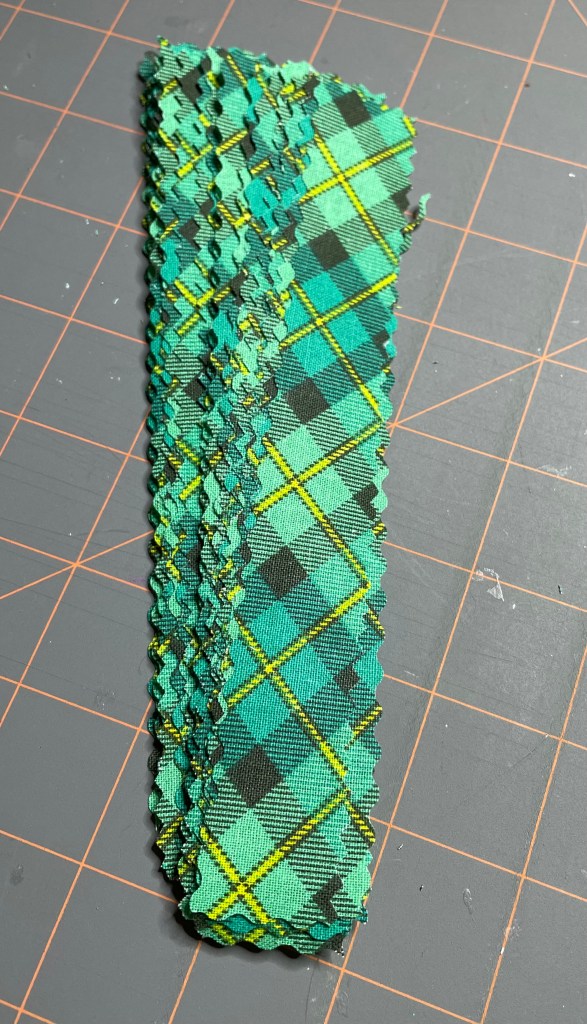
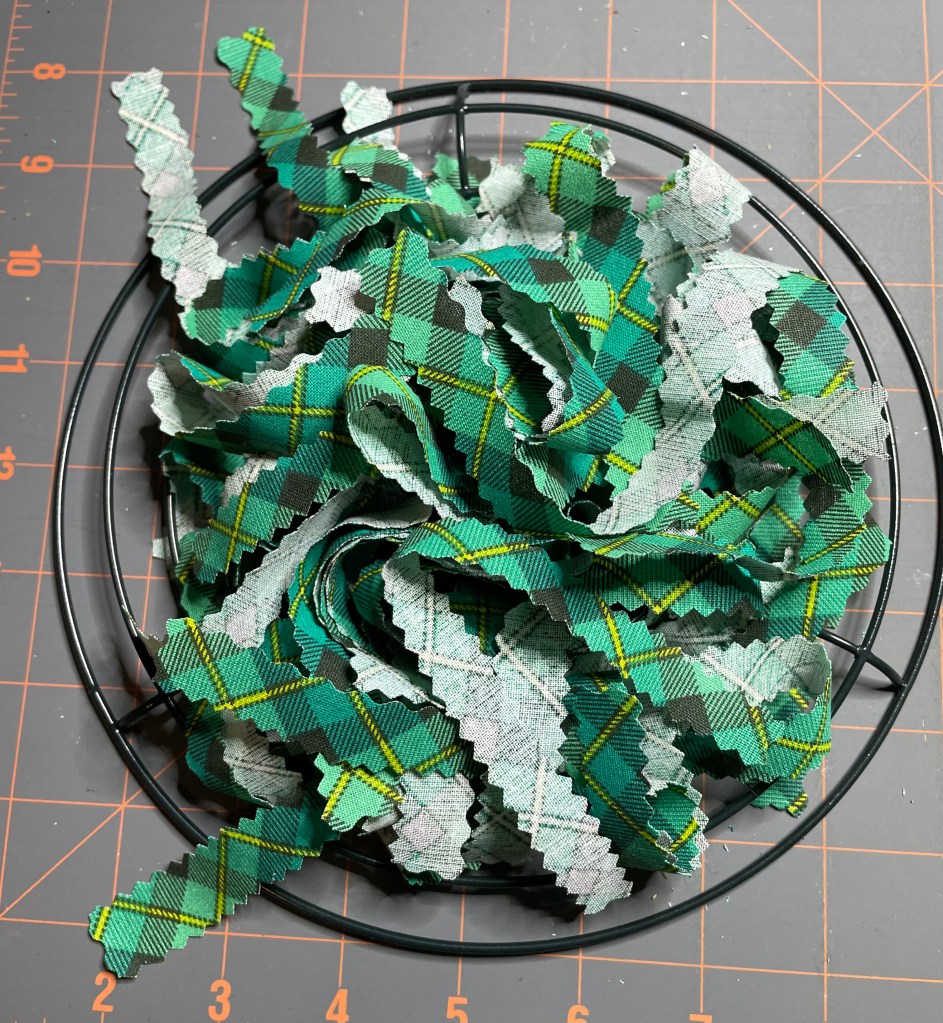
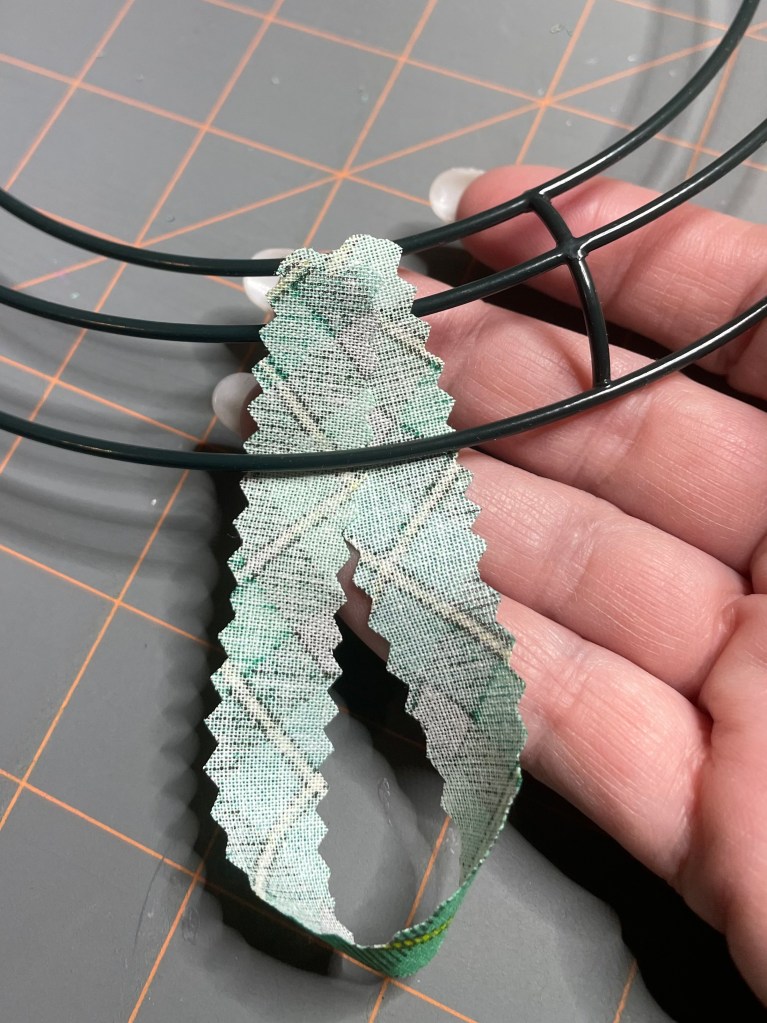
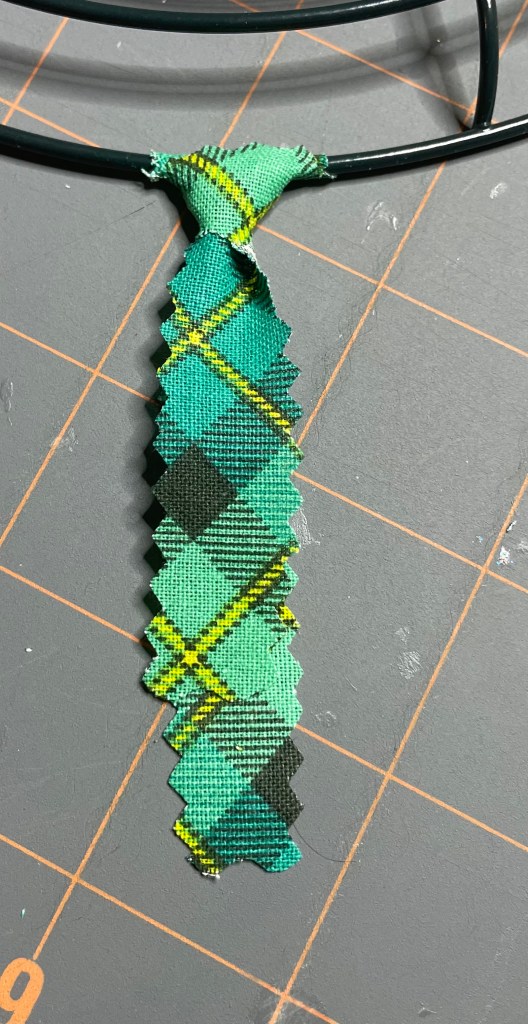
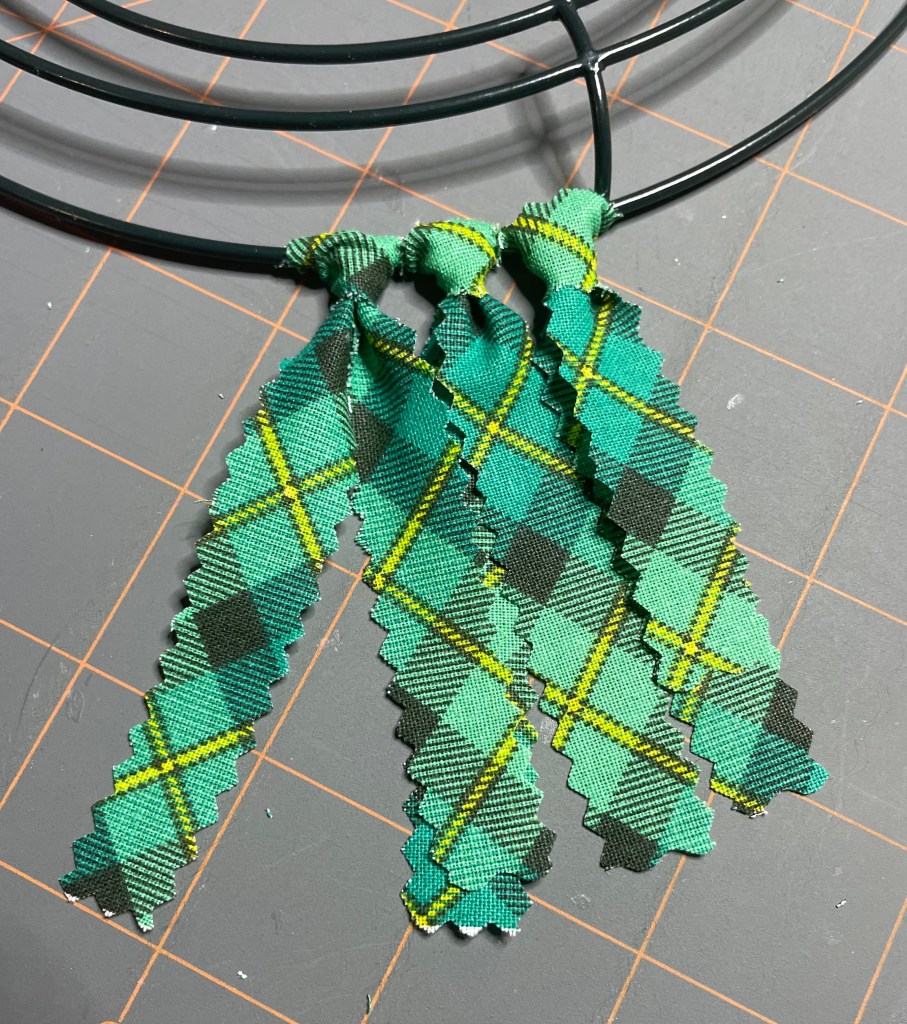
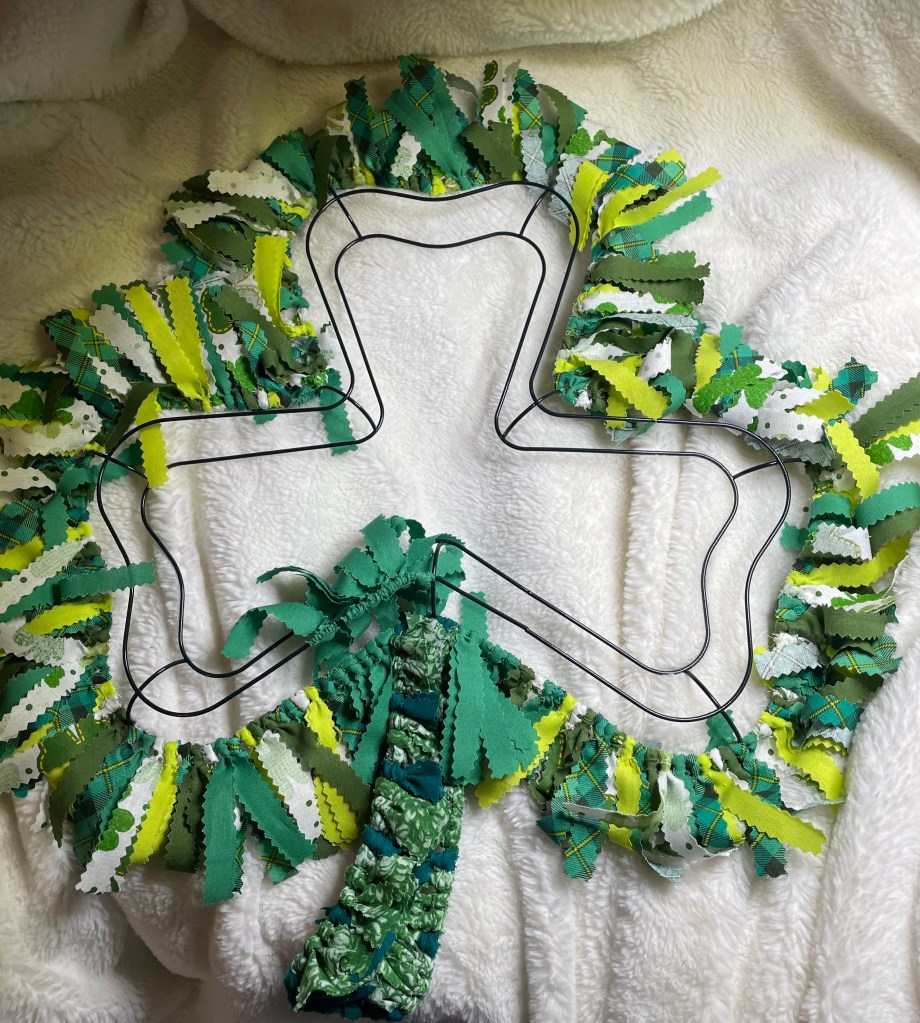
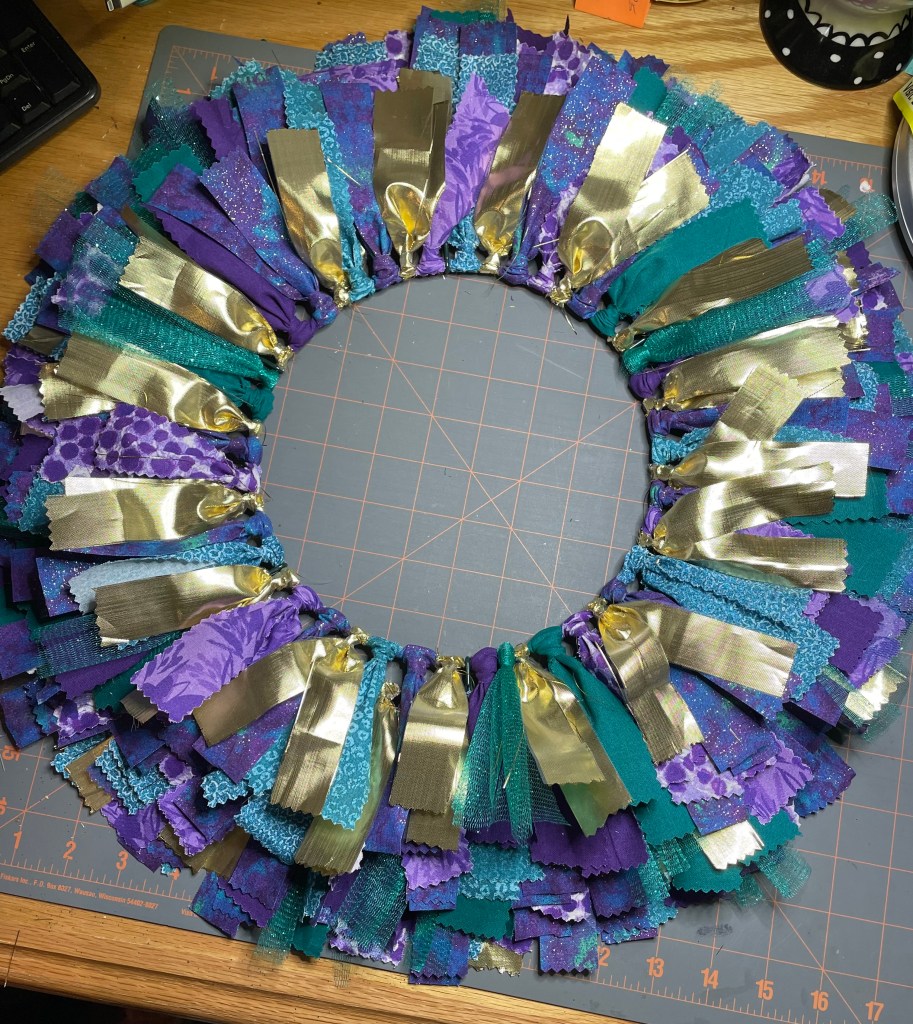
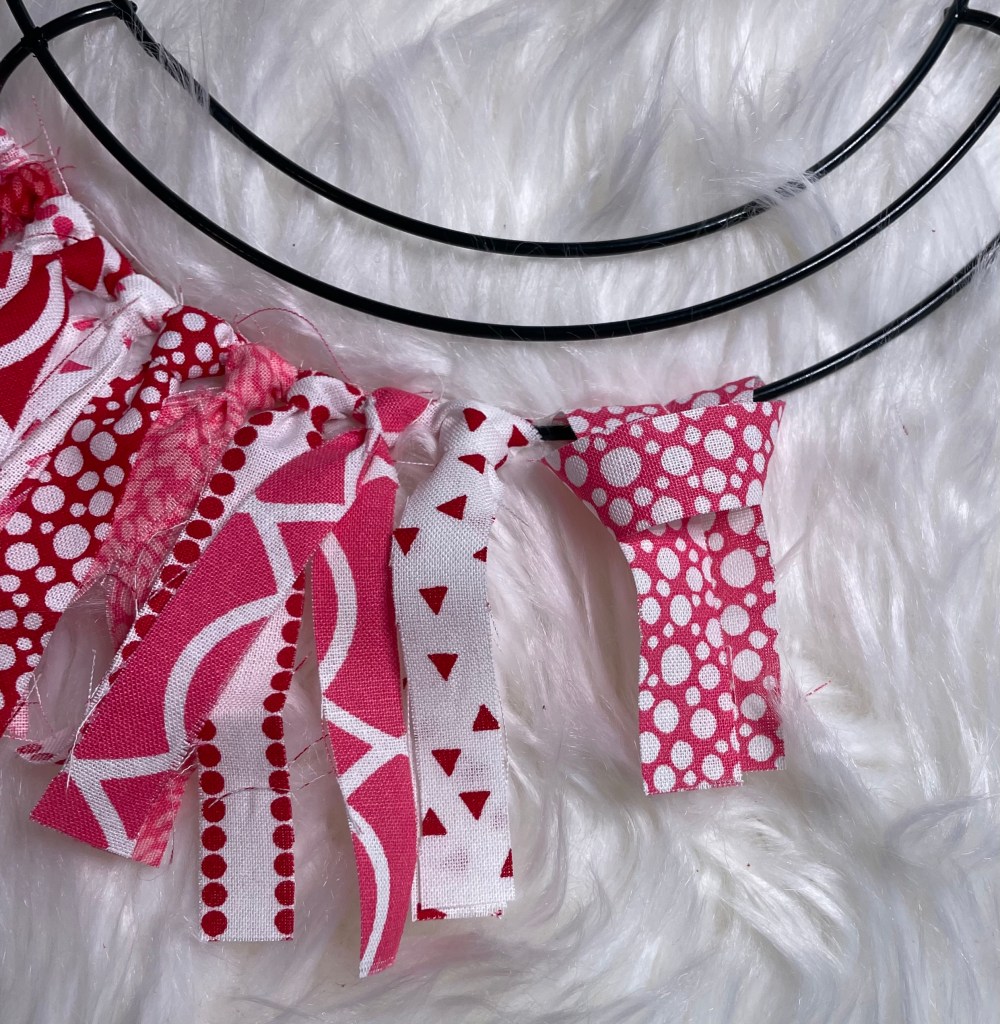
Once this was done, I cut the fabric into 1/2 to 3/4 inch by 7 inch strips. I find this is the perfect size that works best for me. Each fabric was attached using the larks head knot starting with the outer ring and moving inward.

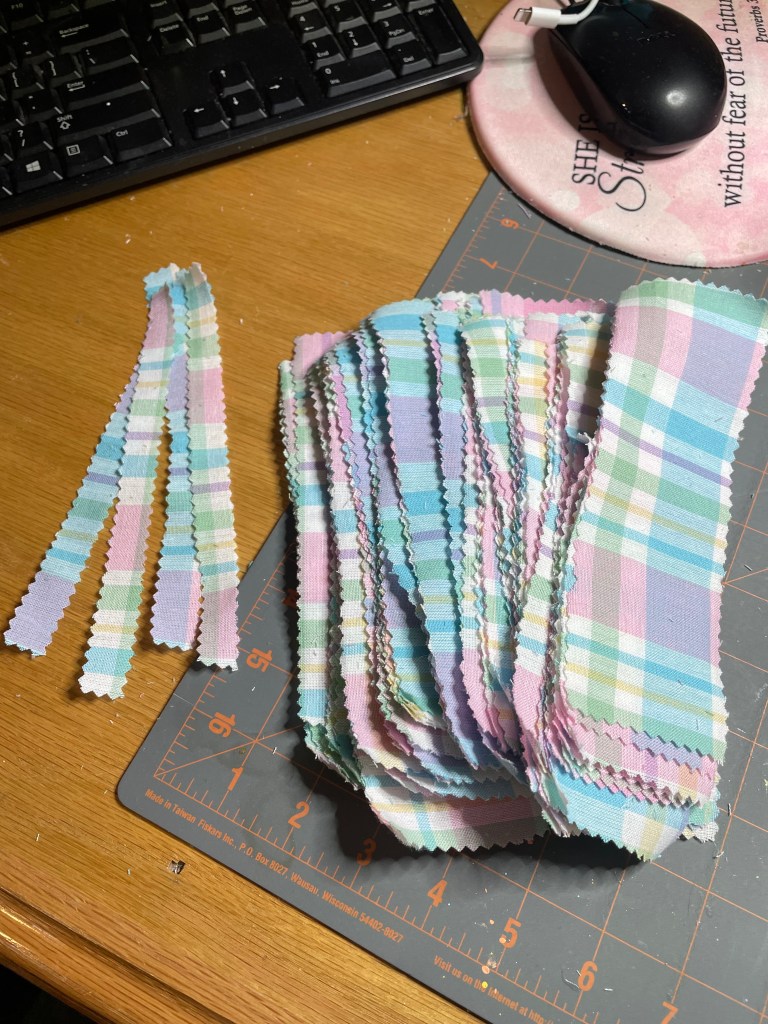
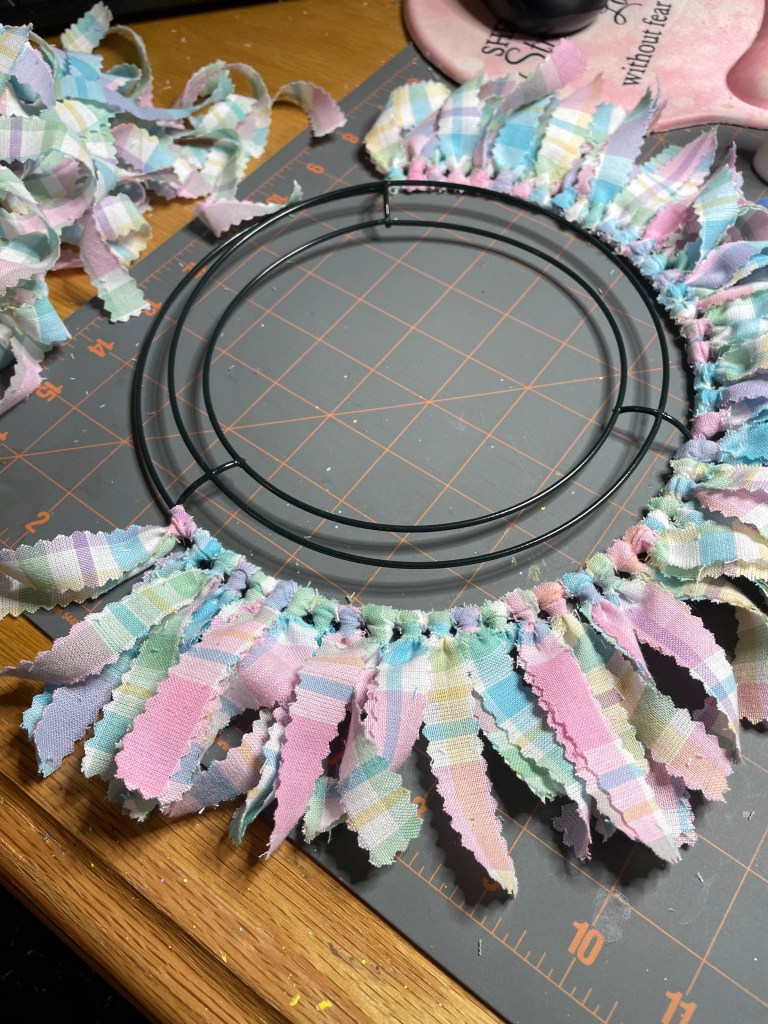
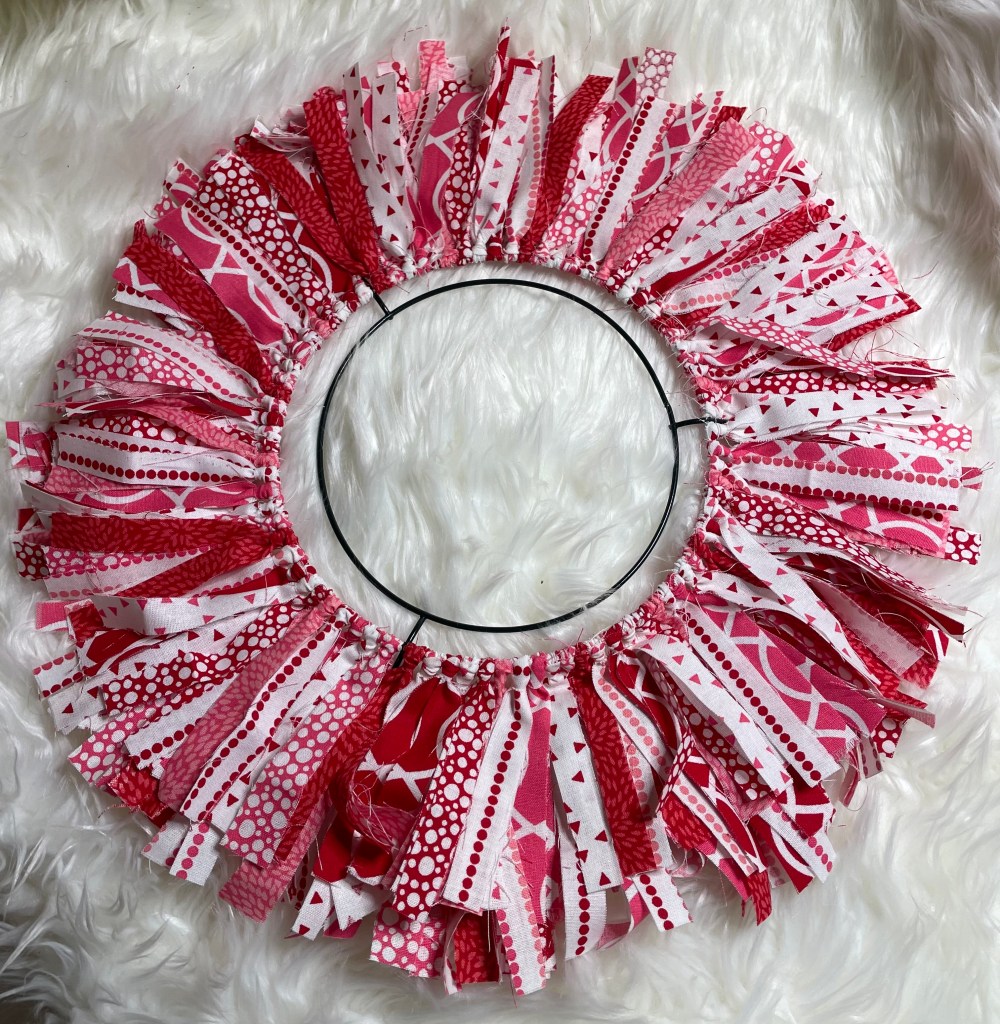
I actually kept track of the number of strips used for this project. The outer ring has 76 fabric strips, the middle ring has 64 fabric strips, and the inner ring has 55 fabric strips. So, it too a total of 195 fabric strips to make this wreath.

After all of the strips were put on the wreath form, I was beginning to wonder if it needed a litte something extra. First I thought I could use some pink pom poms, but my granddaughter voted that down. Then I thought maybe I could use the left over letters I had from the sign and spell out the word spring, but she voted that one down as well. So, it was decided to just leave it as is.

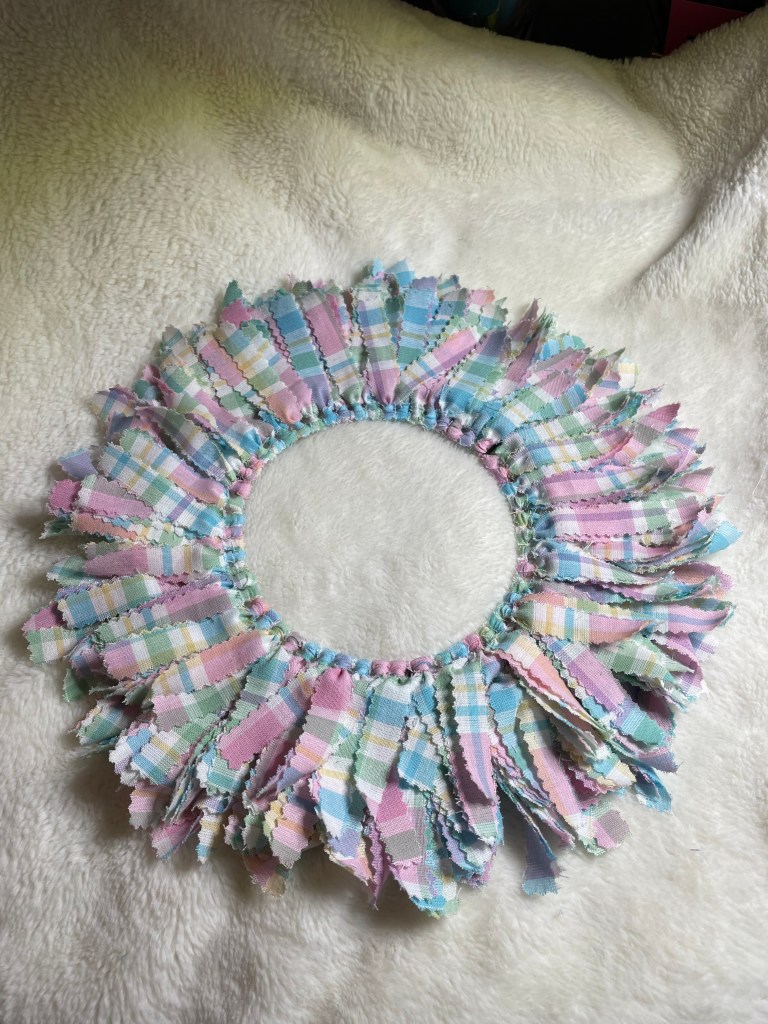
I will using spray starch on the wreath before I put it up so help keep the strips in place.

Coming up next is another craft project to add to mom’s Spring decorations.

Craft Project #7 – small St. Patrick’s Day wreath

Last minute decisions can be fun. That is how this wreath came about. After I finished making the sign, I decided that her door area would need more until we do the complete decorating. Luckily, I had all of the supplies on hand and plenty of spare fabric from the bid wreath for her door.

All I had to do was to cut some of the fabric in half. I already had the 8 inch round wire frame so I did not expect this project to take much time at all.

Once all the fabric was cut, it was time to start putting the fabric strips in place.

I use the Lark’s head knot method when I make a rag wreath. I am very new to this so it is been a trial and error experience for me. But there is one thing I have learned. I turn the fabric to the wrong side then place the ends together as shown in this picture.

I thing place the fabric under the outer wire…

then I bring the two ends up and over the outer wire and through the loop…

pulling the ends tightly until it looks right to me.

I continue doing this for each ring. I have found that I do not have any strips facing the wrong way. At least so far that has been my luck.

After I finished putting the fabric on the frame, it was time to get the wooden gnome ready to put on the wreath.

I used my trusty E6000 adhesive to attach chenille stem (it is still a pipe cleaner to me) to the back of the gnome.

I allowed plenty of time for the E6000 to dry before I attached it to the wreath. I am happy with the way it turned out.

As for the supplies I used for this wreath, the fabric is from Joann’s, the gnome is from Hobby Lobby, and the round frame is from Dollar Tree.

Now it is time for the next craft project.

Craft project #5 part one: St. Patrick’s Day wreath

I have a feeling this rag wreath is going to be a huge challenge. But I’m looking forward to giving it a shot. The frame was found at Dollar Tree.

I selected several fabrics to use on this project. Some may or may not make it to the final project. All of the fabrics were purchased at Joann’s.

I also selected some embellishments I have an idea on how I want to use it. But these too might not make it to the end. The ribbon of gold coins was purchased at Hobby Lobby and the gold coins are from Amazon.

I decided I want to use these two fabrics for the stem portion of the clover.

These fabrics I have selected for the inner and outer rings of the clover.

And these fabrics for the center ring of the clover.

As with all rag wreaths, I ironed the fabric then cut them into strips measuring 7 inches by 2 inches.

I started with the stem and I did not feel comfortable with the size of the fabric strips. I decided to cut them down to 7 inches by 1 inch and I still was not comfortable. So, I cut them down to 7 inches by 1/2 inch and that felt perfect.

I completed the stem and outer ring. I changed my mind on the fabrics I wanted to use on the outer ring and went with two patterned fabrics and 3 solid fabrics in different shades of green.

But something about the ring just did not look right.

So, now I’m going to take some time to remove what I have done to that area and try to figure out where to go from here. This might mean completing a some other craft projects before completing this wreath. But it will definitely be completed before I decorate my mother’s door for St. Patrick’s Day.

Craft project #3 – part two: Mardi Gras inspired wreath

Wow! This definitely did not go as I had originally planned but the final outcome is better than I expected.

I started this wreath by using the single knot method. I completed the outer ring and one section of the second ring and then I stopped. It just didn’t look right. So, I decided to put it aside for a couple of days and come back to it.

After three days, I realized that what I had originally planned was not going to have the outcome I was hoping for. So, I decided to use a Larks Head knot for all 4 rings and it worked perfectly. This meant removing all of the strips of fabric I had already attached to the wreath form but it was worth it. I was able to complete the wreath in approximately 4 hours or so.

I showed my mom a picture of the wreath and she loves it!!!! I cannot wait to decorate my mom’s door for Mardi Gras.

The next wreath project will be for St. Patrick’s Day!!!! I hope you enjoyed this short blog.

Craft Project #3 – part one: Mardi Gras inspired wreath

Once Valentine’s is over, it will be time for Mardi Gras. I have decided to decorate mom’s door with a Mardi Gras inspired wreath. It will be a rag wreath similar to the Valentine wreath, but this one will be on a larger wreath frame I purchased at Dollar Tree and, of course, in colors that are a Mardi Gras staple.

My plan is to use the single knot method on the frame with fabric being placed on all four rings. I’m not sure how it will turn out. And there is a possibility I will change my mind while I working on it, but I guess we will see how it ends.

I selected 3 solid color fabrics in green, purple, and gold. I initially selected 6 patterned fabrics but I decided to eliminate one of the purple patterned fabric. The fabrics were found at Walmart and Joann’s.

Once the final decision had been made, I started cutting the fabric in 1″ x 9″ strips using my pinking shears. I’m not looking for a rotary cutter with a pinking shear blade. I currently have one in my Amazon cart, I just hadn’t decided if it is what I really want. In any case, I will be making a decision very soon as I have several more wreaths to make and my hands will strike if I continue to use the pinking shears!

Now that all the strips are ready and are in the order I want to place them in, it is time to start tying them on the frame.

To see how it turned out, please come back tomorrow to see the final product!

More Craft Projects on the horizon!!!

I have 3 wreaths I will be making soon. Here’s a sneak peek at what will be coming.

Nautical theme:

Mardi Gras theme:

St. Patrick’s Day theme:

I am considering buying some gold fabric to use on the Mardi Gras and St. Patrick’s day wreaths but I have not made a final decision about it. I will need to see what I can find.

There will be more coming as well for other special days and seasons. So please feel free to continue to read about my rag wreath adventure.

2022 Craft Project #1 – Valentine Wreath for mom… part 2

This has definitely been a real learning experience as I have never done anything like this before.

I wasn’t sure how to start this project so the first thing I did after ironing the pieces, was to cut the cloth to sections of 8″ x 21″ with some left over.

Then I trimmed it down to 8″ x 1″ then trimming those down to 8″ x 1/4″. When the strips of material were 1″ wide, it just did not look right. Probably because the wreath form is small. I thing the 1/4″ width works perfectly for this size wreath form. At least it did for me.

Once all of the strips were cut and laid them out in the order I wanted to put them on the wreath.

I started putting the strips on the wreath with the outer ring first.

And several hours later, the wreath was finished with strips of material left over. Actually lots of material left over, but I will find a use for it, that is for certain.

Now, this was my first attempt at making a rag wreath and I’m happy that it is one that does not have to be or look perfect because this one does not look perfect.

I may or may not add some things to it but I’m not 100% certain about it, at least not yet. Only time will tell and that time will be coming up on February 27th when I decorate the outside of her door for Valentines!

Please be sure to return to see how it looks when her door decorations are complete.