My mother lives in at assisted living facility approximately one mile from my home. This location makes it easy for me to get to her should she need anything. Most of the time, she needs me to get her Cokes, Kleenex, Charmin toilet paper, Bounty paper towels, and cookes. Especially Oreo’s and Nabisco Nilla wafers. And the occasional Snickers bar!!! She is very particular about her things!
While living in an assisted living facility has it’s advantages and we love where she is at, the hallways seem like that are lacking in something. A lot of the residents have wreaths on their door but nothing that really stands out.
The first year she was there at Christmas, I went all out on decorating her door and continued doing it for her. It brings her joy. And if my mother is happy, I am happy!
So I started thinking, why not decorate her door for all of the occasions? I decided I would decorate for all the season and occasional happenings during the year. And I will be starting With Valentines Day.

Of course, that would mean shopping for all the goodies at Dollar Tree, Hobby Lobby, WalMart, and Joanns. I want to make her door look like Cupid paid her a visit. Here are all the goodies I will be using.
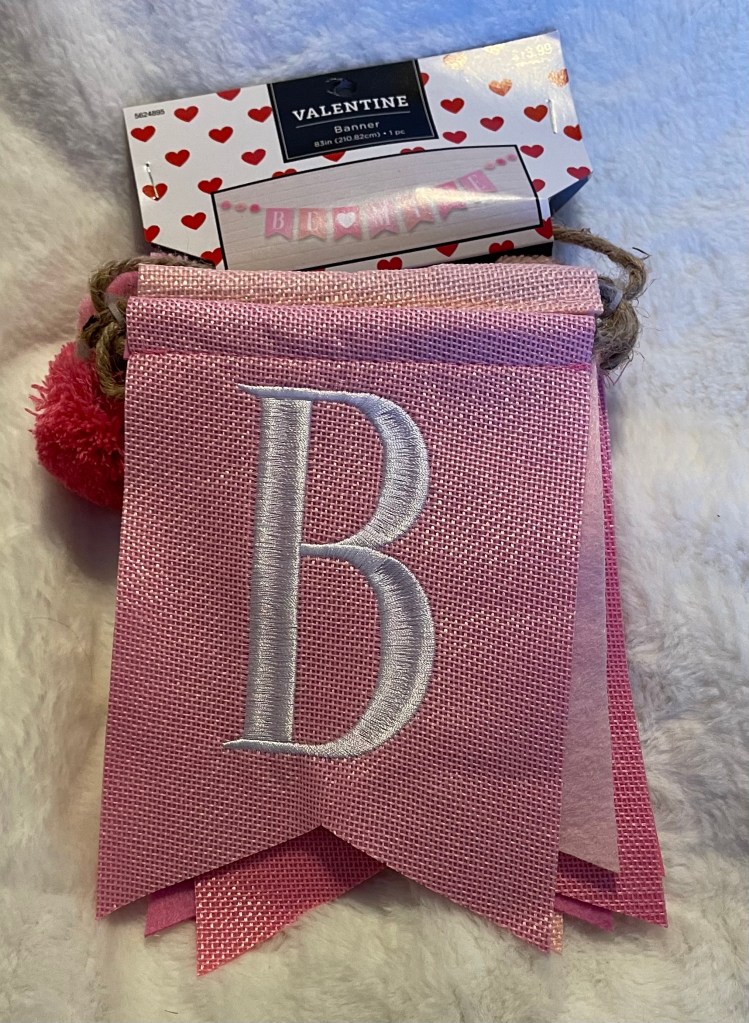
From Dollar Tree:


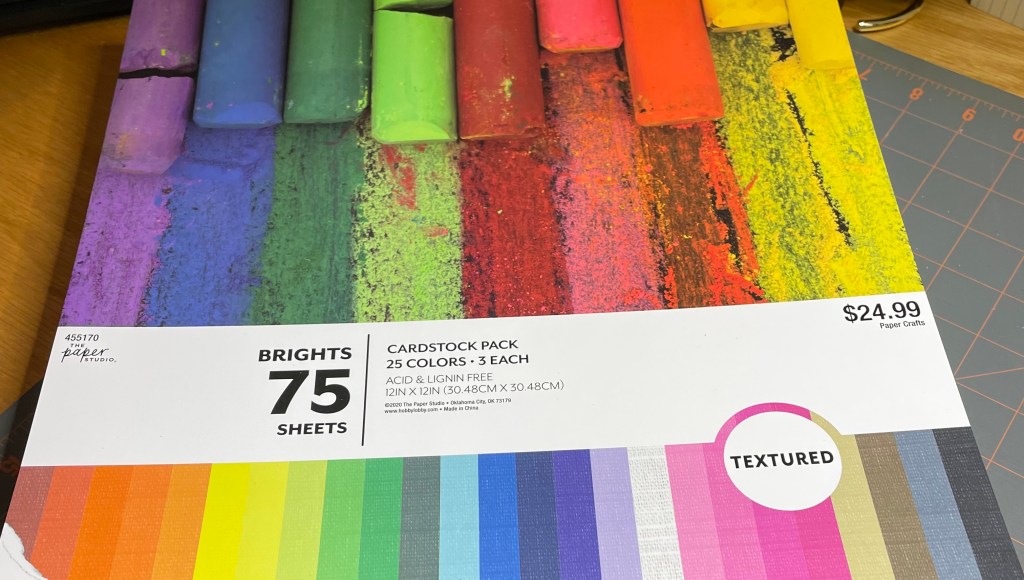
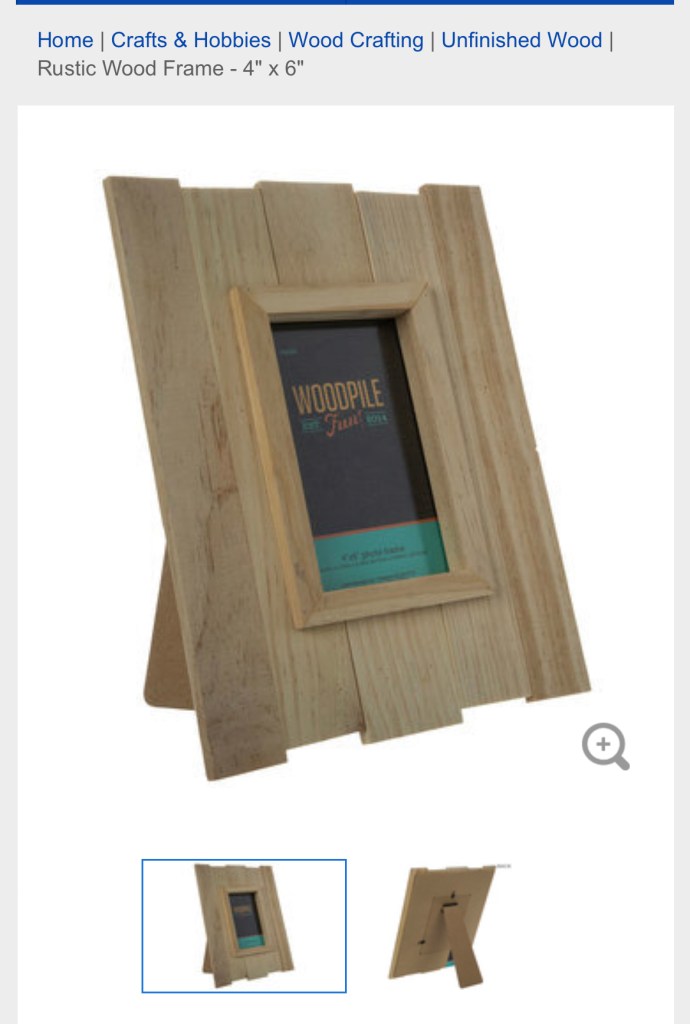
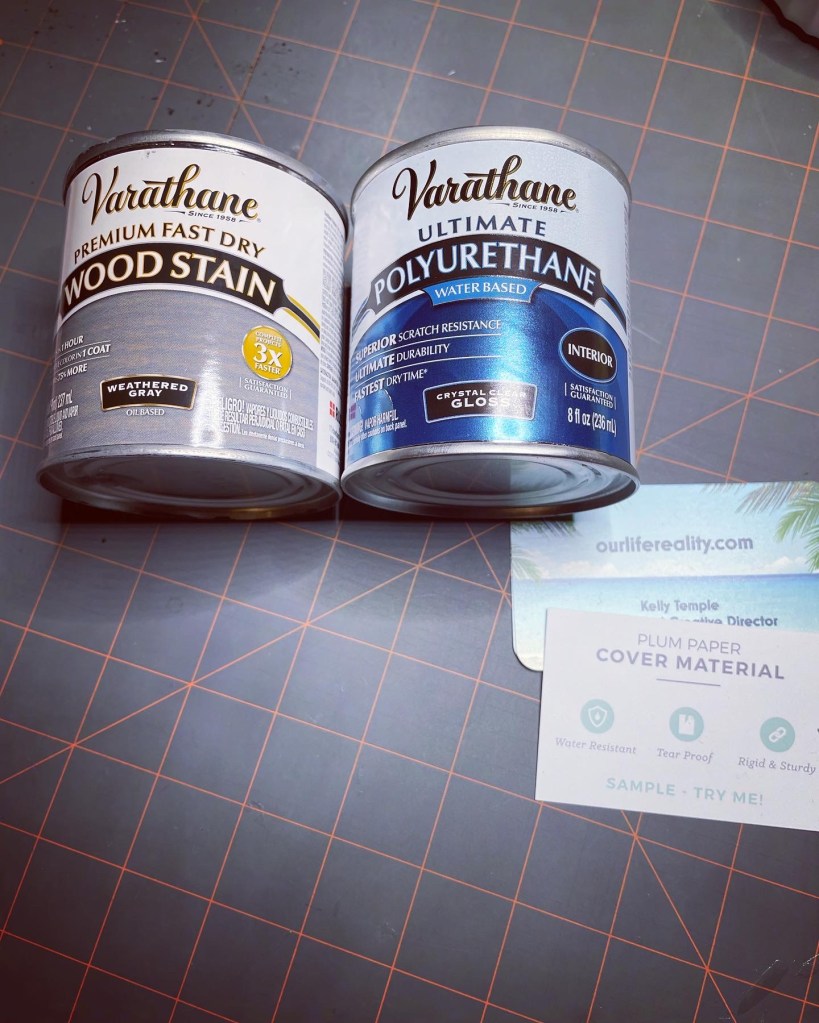
From Hobby Lobby:

From Joanns

In this photo, the bows are from Joann’s, the red heart picks are from Dollar Tree, and the Happy Valentine’s Day teddy bear is from WalMart.

Unfortunately I am not able to decorate her door just yet as they are having a temporary lockdown of sorts. But I hope to be able to make her door stand out on January 30th.
Wish me luck and please come back to see the final outcome.