Craft Project #20 – Eggstravaganza! Let the painting begin part four: all things glitter.

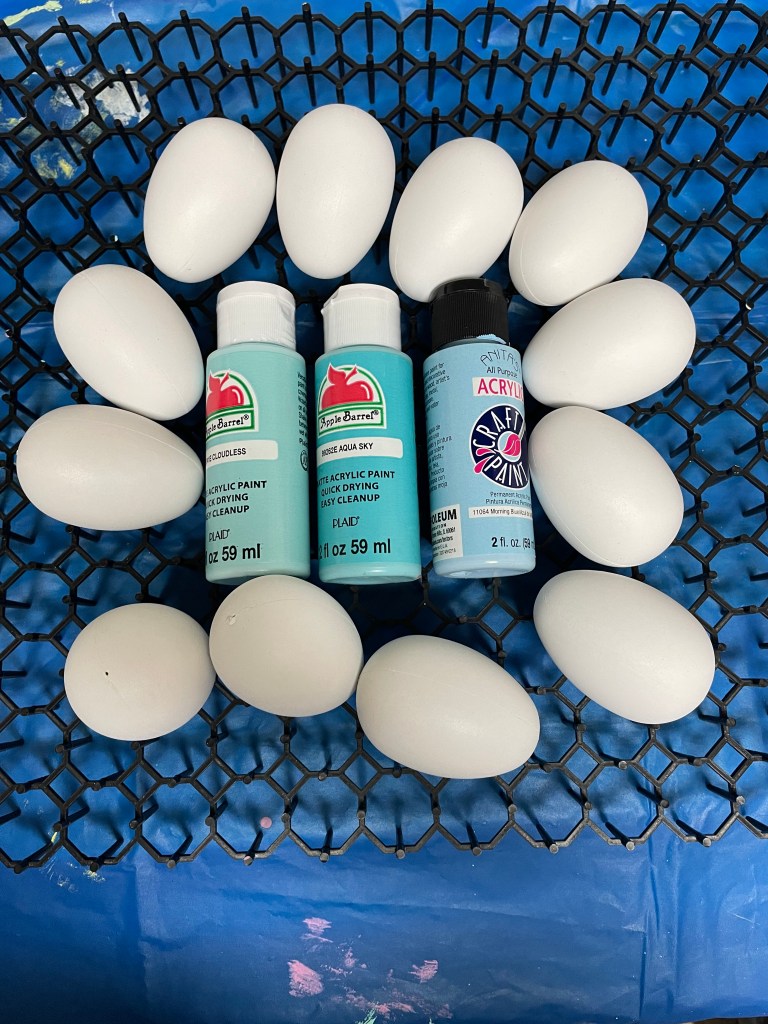
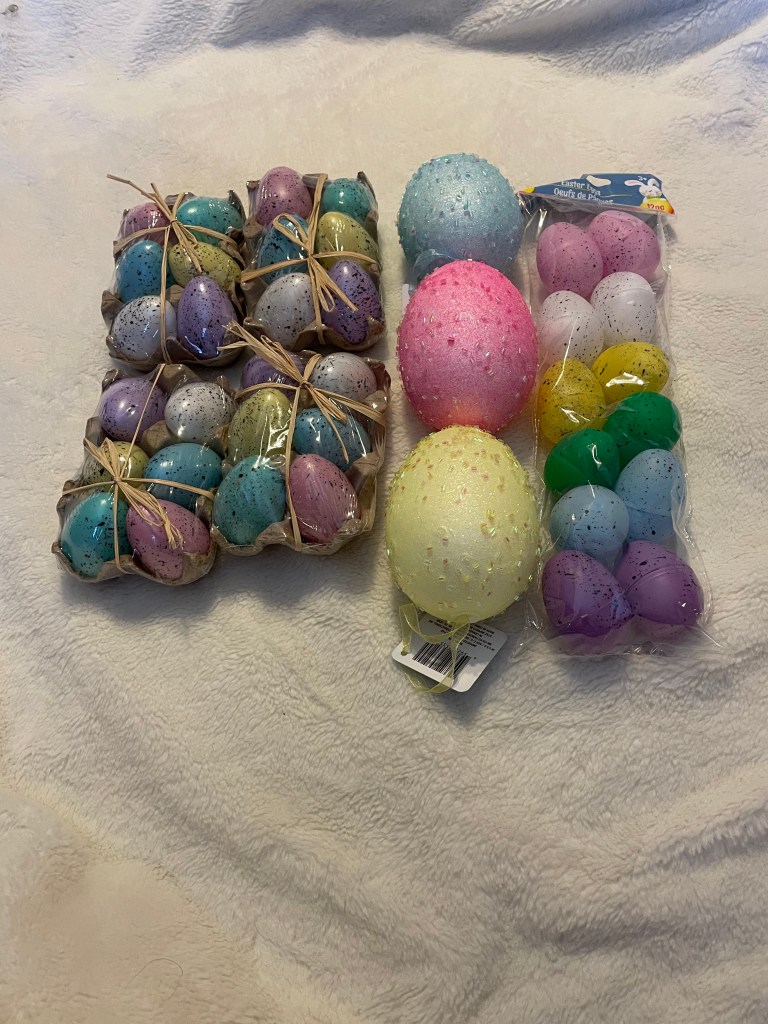
I am so glad I did not do this until the very last dozen eggs. It was definitely a learning experience. The supplies I used were Mod Podge, Clear Acrylic Sealer, and glitter from Hobby Lobby.

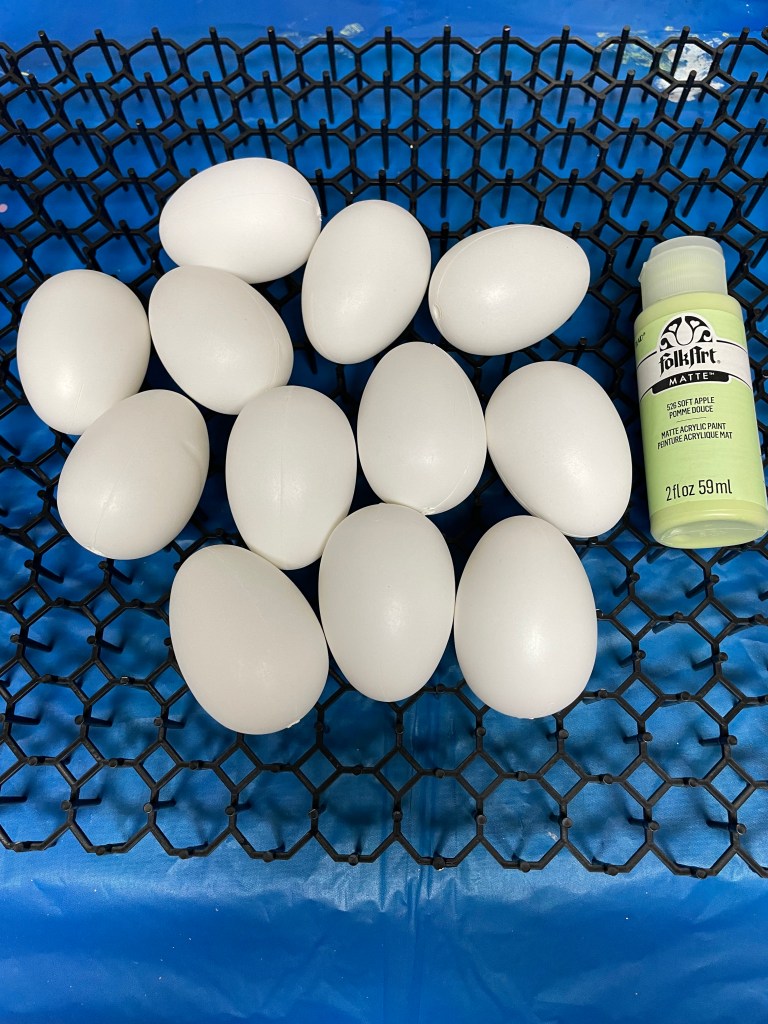
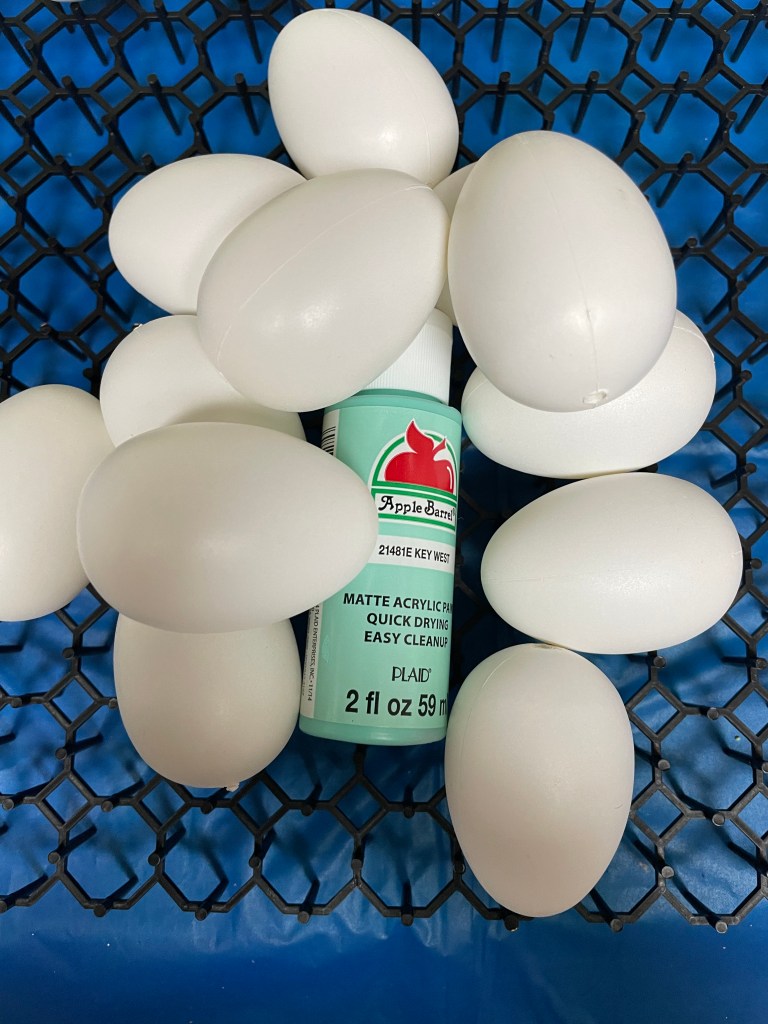
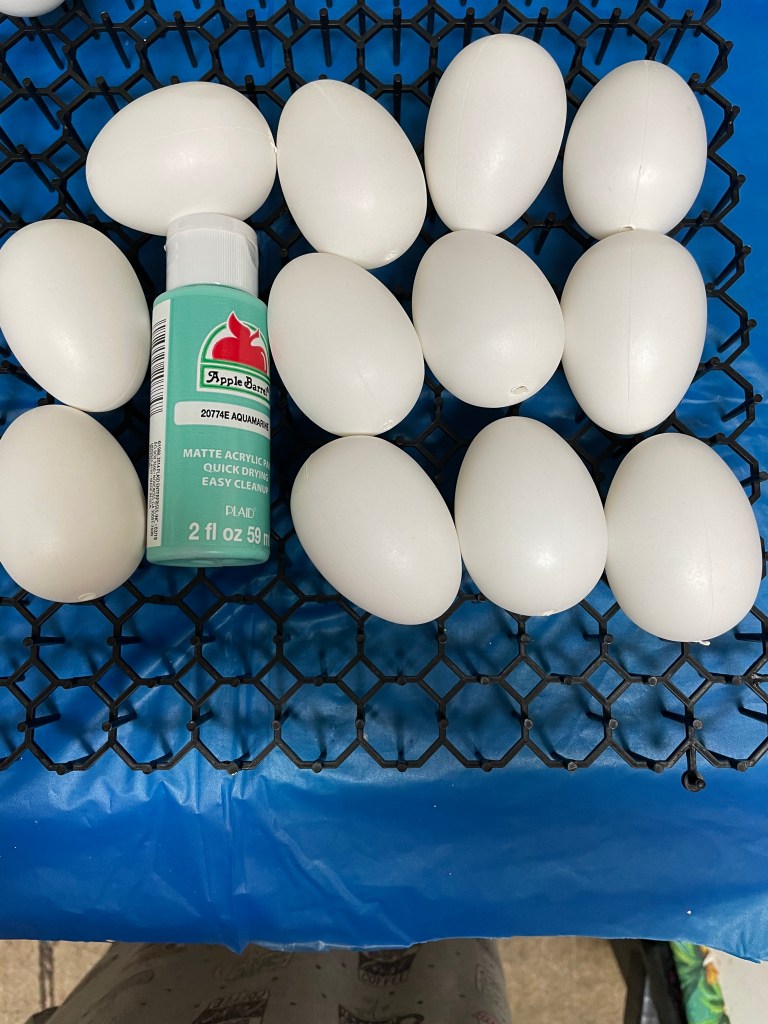
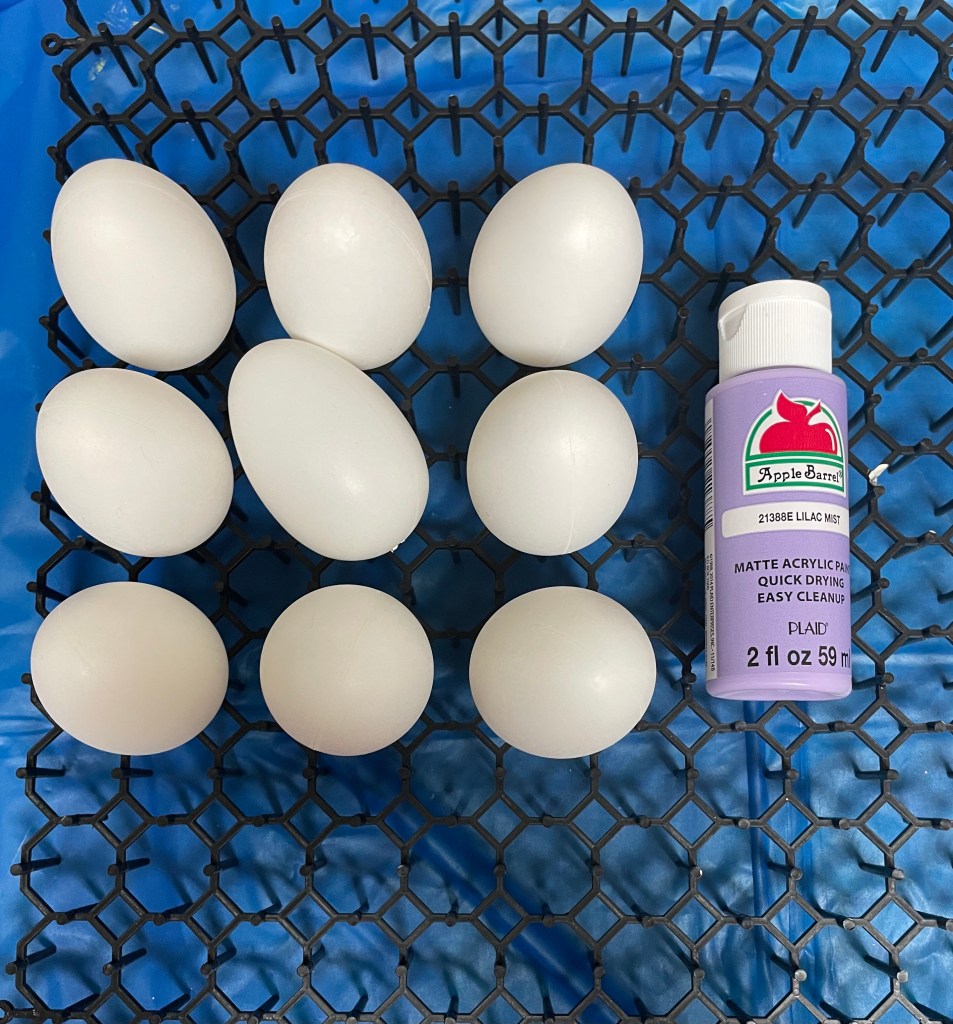
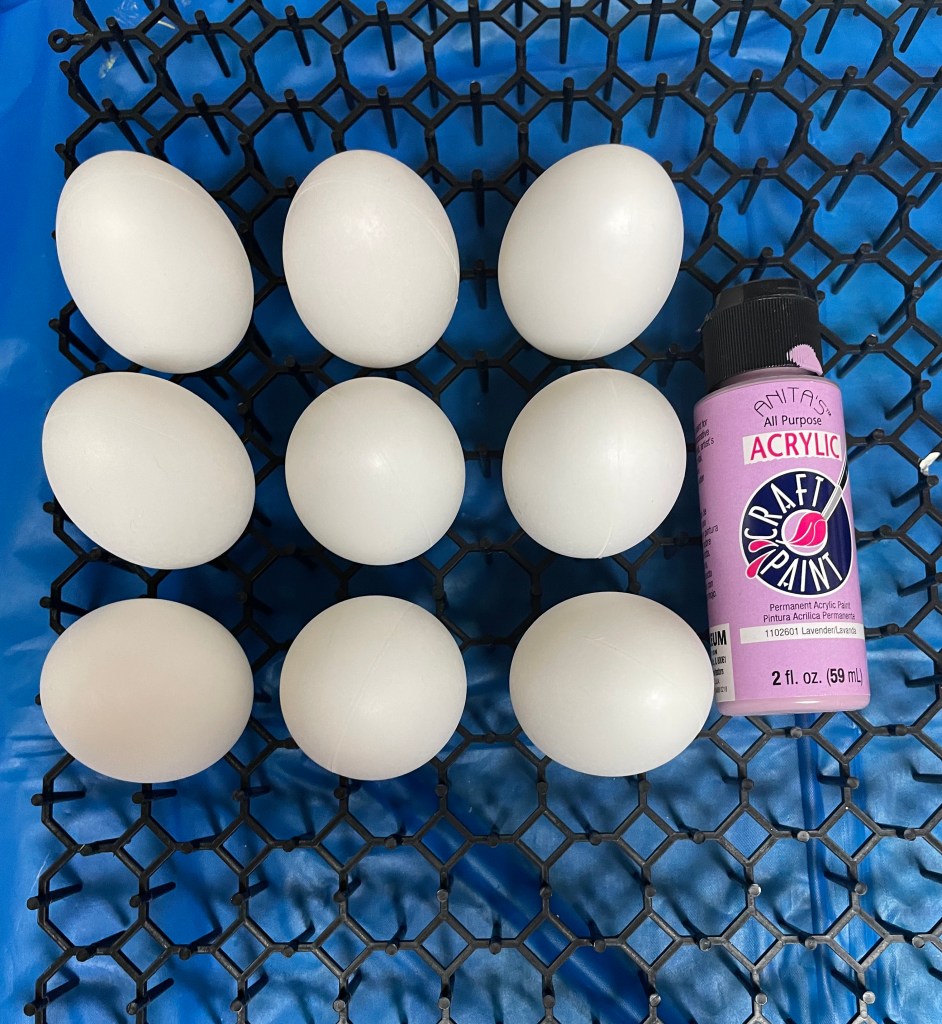
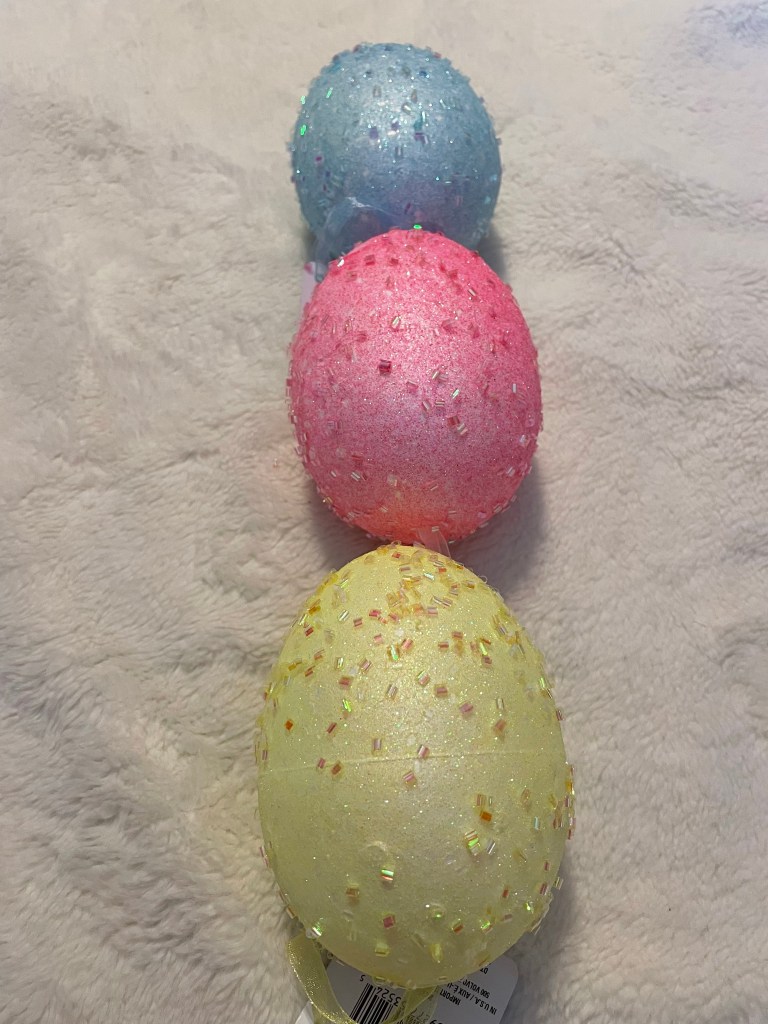
The first thing I did was to apply one coat of Anita’s All Purpose Acrylic Craft Paint in the color Vanilla cream. Once the eggs had dried, I started with the larger glitter then made my way to the extra fine glitter. Only 2 eggs for each glitter. I used Mod Podge as the adhesive. It did not take long to apply the glitter. And I decided on only one coat of glitter for this little experiment. Once all of the eggs were dry, I sprayed them with clear acrylic sealer.

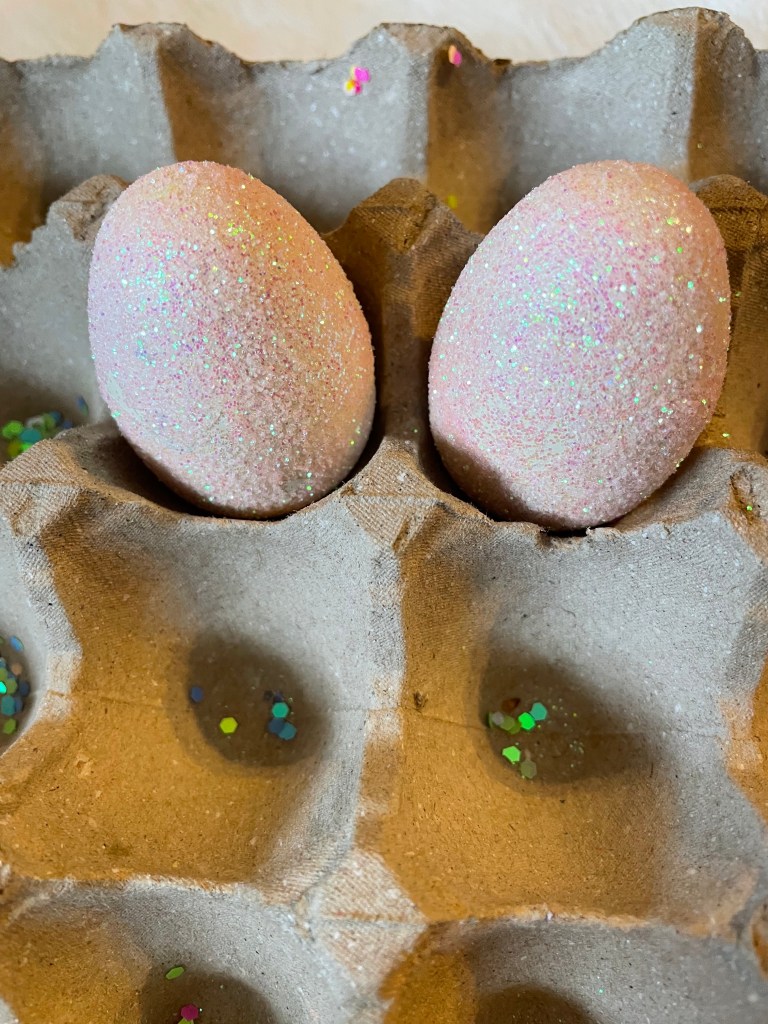
I can honestly say I learned a lot from this project. For instance, the large glitter was not a good idea for this size of egg. Also, I definitely need to add additional coats of glitter on the eggs. But I was in a hurry and just wanted to get the eggstravangza over.

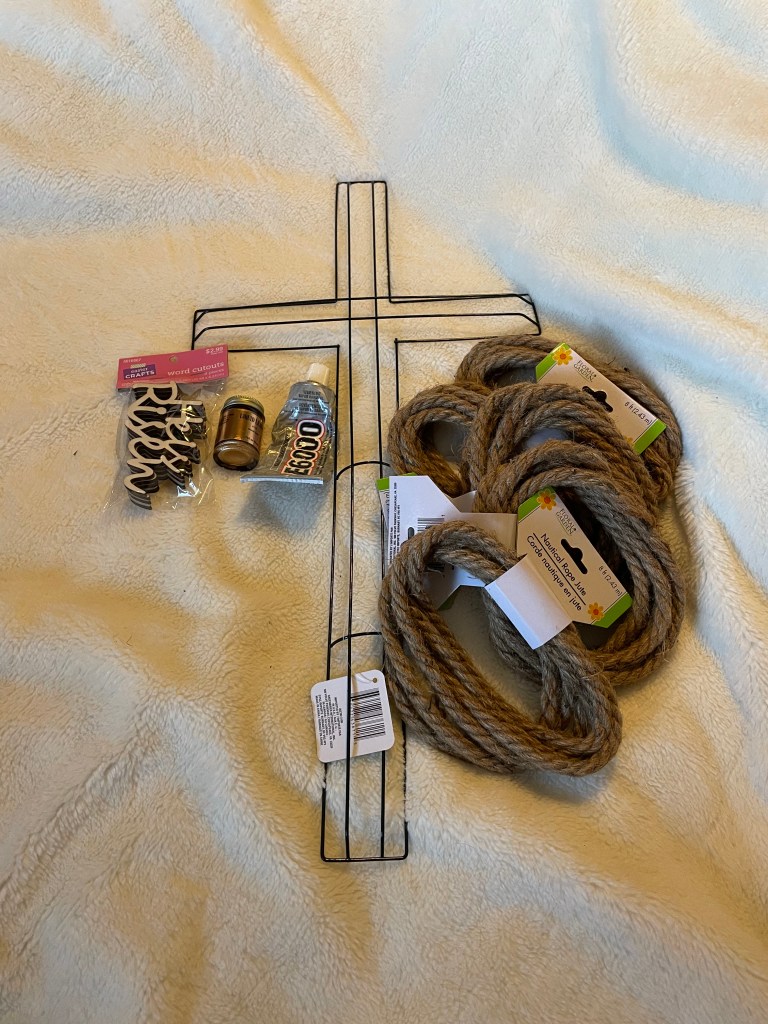
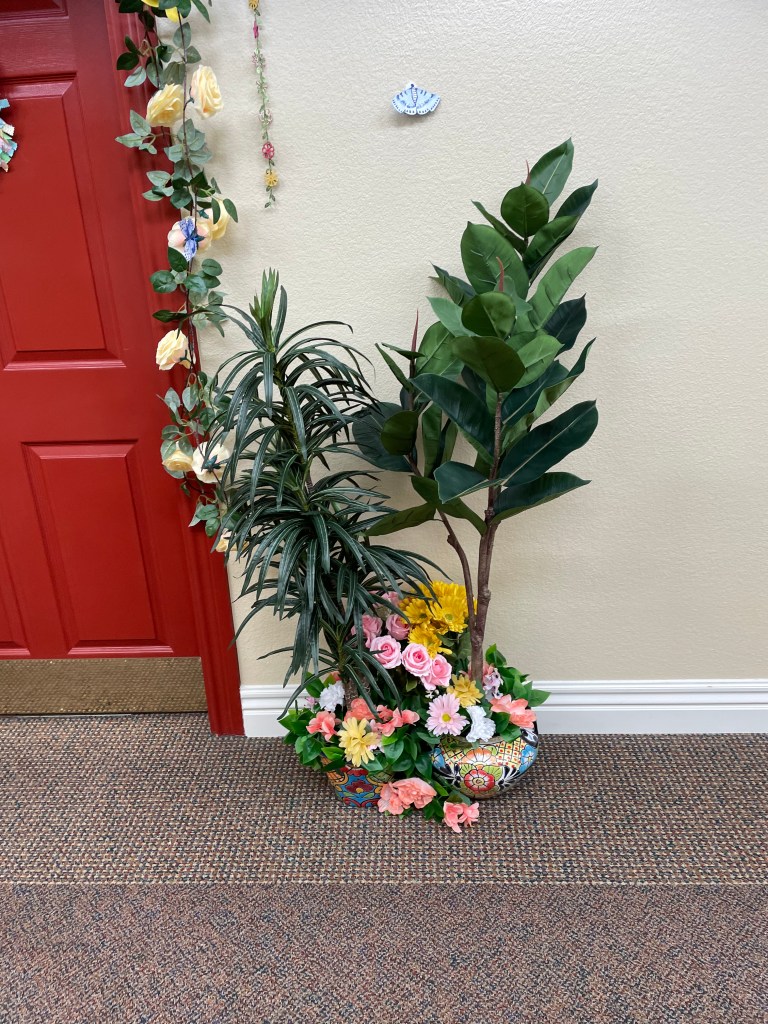
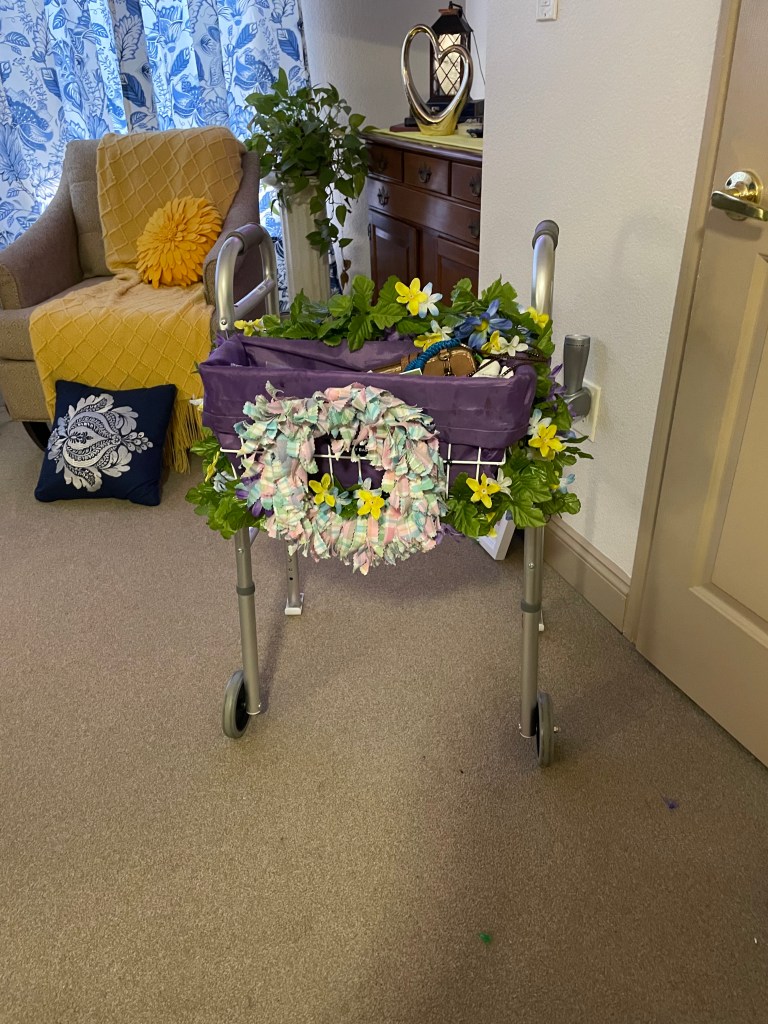
So now it is time to finish up a couple of spring crafts that I will put up at my moms apartment after the Easter decorations come down. After that, I will be making wreaths for Cinco de Mayo, Mothers Day, and Summer as well as other items here and there. But right now, I might need a little break.

Craft Project #20 – Eggstravaganza! Let the painting begin part three: Blues and Greens

Note to self… I need more counter space for projects like this!!!

I started with the greens. I chose Folk Art Matte acrylic paint in the color Soft Apple, and Apple Barrel Matte acrylic paint in the colors Aquamarine and Key West. I applied three coats for each one.

For the blues, I chose Apple Barrel Matte Acrylic Paint in the colors Cloudless and Aqua Sky, and Anita’s All Purpose Acrylic craft paint in the color Morning Blue. I also used three coats for each one as well.

And now there is only one dozen eggs left. There is a possibility that I might try some glitter on them. I guess only time will tell.

Craft Project #22 – Cross wreath

This project definitely took a lot longer than I expected.

The supplies I used were rope and wire cross wreath form from Dollar Tree, word cutout and E6000 adhesive from Hobby Lobby, and Liquid Leaf in the color Classic Gold from Amazon.

I started by attaching the rope along the bottom wire of the cross using E6000 adhesive. I allowed it plenty of time to dry before I started weaving the rope through the different sections.

While I was waiting for the E6000 adhesive to dry, I painted the word cutout using the Liquid Leaf. It only took one coat of pain.

Once the weaving was complete, I place 2 pink daisy’s at the center of the cross and attached the work cutout in the center of the flowers.

Now it is done!!!! And I can go onto the next project. I apologize for not taking any pictures during the weaving process.

Craft Project #21 – Egg shape wire wreath turned into an Easter Basket wreath

I had an idea.. is it possible to make an egg shape wreath form look like an Easter basket??? Let’s find out.

The supplies: one egg shape wire wreath form, yarn, ribbon, flowers, bows from Dollar Tree, Yarn Bee Eternal Bliss yarn in the color white from Hobby Lobby, and scrap material left over from other spring/Easter craft projects.

I cut the paper strips down to 1/2 to3/4 x 7 inches. I had to decide how far up I want to use the fabric and then attached fabric strips just outside the brackets on each side. Using the Larks Head knot, I attached one fabric strip to the outer ring, then 2 fabric strips on the next ring, then 3 fabric strips, then 4 fabric strips on the last ring. I then attached fabric strips to the bottom section of the egg. My goal is to make this look like the lining in an Easter basket.

Once the bottom section was complete, I then used the Yarn Bee Eternal Bliss yarn to weave between the rings for the remainder of the wreath. This went real quick.

After I finished weaving the yarn on the wreath form, I cut out a piece of foam board and attached it to the back of the wreath. This will be used to attached the eggs to. After all, what’s an Easter basket without eggs????

I also attached a bow to the top of the wreath. This is a bow I made for a different project, but decided not to use. I also attached some of the Yarn Bee Eternal Bliss yarn to the top of the foam board.

I used Easter eggs purchased from Dollar Tree to fill the basket along with some left over pink Easter grass. I used Aleene’s Turbo Tacky Glue to attached the eggs to the foam board.

In no time at all, the wreath was completed and is ready to put up at my mom’s place when it is time to do the Easter decorating.

Craft Project #20 – Eggstravaganza! Let the painting begin part two: Pinks and Purples

This group of eggs took more than 2 coats to achieve the coverage I was wanting.

Started with 3 dozen plain white plastic eggs purchased on Amazon. I decided on 4 colors of acrylic paints I want to use. So, there will be 9 eggs of each color.

Group 1 paint color is Anita’s All Purpose Acrylic Craft Paint in the color Princess Pink.

Group 2 paint color is Apple Barrel matte acrylic paint in the color Pink Polish.

Group 3 paint color is Apple Barrel matte acrylic paint in the color Lilac Mist.

And the final group, group 4, paint color is Anita’s All Purpose Acrylic Craft Paint in the color Lavender.

I ended up doing one additional coat of paint on each egg. This seems to achieve the coverage I was looking for.

Now it is time to start the next group of paint colors. This will definitely take longer than the first 2 as I will be doing 6 dozen eggs using 6 different colors of paints.

Changing up mom’s spring door decorations.

I really was not happy with the decorations we did last weekend. So, I made things better today.

I was lucky that Hobby Lobby had their artificial trees on sale this week for 50% off!!! So, I bought 2. Tuesday Morning has excellent prices on Talavera pottery so I was able to buy 3 planters. Each tree needed their own planter. Plus I purchased an artificial yellow rose bush on Amazon.

Also from Amazon, I purchased some more yellow rose garlands to spruce up what I have going around her door and some artificial ivy to put around the bottom of the trees and rose bush.

All in all, I am loving how it turned out.

Items I have purchased to decorate my mom’s area for Easter!

Dollar Tree is always my first stop when I buy decorations for my mom’s tiny apartment. Of course I bought some eggs just in case I do not get all of the eggs I bought painted and decorated. I also bought some stuffed animals, one of which seems heavy/weighted enough to stand up by itself!! I couldn’t forget the grass for any Easter baskets I may or may not make. There were a couple of other things that caught my eye. The bunny picks and basket decorations will make any decoration I decide to make real cute. What’s a door without a welcome sign. I had to get the gnome welcome sign that they had.

I also browsed the Dollar General section that Dollar Tree has. I decided on three things: a pom pom bunny banner, an Easter sign, and a bunny that stands up. I know exactly where all of these items will go!!!

Hobby Lobby always has things I cannot seem to pass up. I purchased some Easter florals from the store while shopping for other things. They are so pretty. I also purchased an Easter egg garland that I plan to use on mom’s walker along with some other items.

I surprised myself by only buying one item from Amazon. That is very unusual for me! The garland I found is so cute and will be easy to add to the yellow rose garland currently around her door.

I just realized that I purchased two welcome signs. I think I will use the gnome in her door area now with the spring decorations I just put up and leave it up for spring. I know that I will definitely be using both signs!!!! Who knows, I might put the gnome sign in her window!!!

For now, it is time to start all the craft projects I need to do!!!!

Started the Spring decorating for mom’s door, walker, and a little something for her room.

Out with the St. Patrick’s Day decorations and on to something new!!!

Starting with a clean slate!!!! Our journey begins with decorating my mom’s door area.

We started with the tree. The goal was to make it look fuller and happy! Much like a rose bush but with every kind of flower imaginable.

From there we moved to the table area and, of course, the frog.

As always, we place garland around the door. We are using a yellow rose garland around the door as well as a banner.

After all of the decorations were put into place, it was realized that the garland looks a little thin. I added some of the butterfly picks I made to the garland but it still needs more. A lot more. This means I need to purchase some more garland and maybe use some deco mesh to fill things out. But that is for another time.

Mom likes the new door decorations but she does agree that it needs more. So we will make sure that more is added.

My granddaughter Victoria did the decorations for my mom’s walker. She was not very happy with taking off the old decorations and there may or may not have been some words spoken under her breath but she managed like a true champ! And she did a terrific job of decorating my moms walker for the spring!!!

While Victoria was working on the walker, I put some rose garlands on the top of mom’s curtain to bring a little spring into her room. I used four garlands for this and it looks great. Now I know how much I need to order to make the door garland fuller.

I also purchased some new vases to use for some spring time flowers I purchased at Hobby Lobby. The vases are from Marshalls.

Everything we have done so far to decorate for spring has made my mom very happy. As soon as I have more to add, I will be doing a part 2 of decorating for her. Who knows. There may even be a part 3!!!

Craft Project #18 – prepping the flowers that will be put in the tree and making a hat for the frog.

The tree by my mom’s door has definitely seen better days. I decided to make the little tree look a little be better, I could add some flowers to it.

I went to Dollar Tree and about several flower bushes in a few different colors. I knew I would not need a lot since the tree is small so this should be enough.

I will be putting individual flowers in the tree so I used my handy dandy wire cutters to cut off each limb making sure there was plenty of stem to be able to anchor the flower in the tree.

I feel certain this will be enough for the little tree.

Then I remembered my mom likes for her frog to be festive as well. For St. Patrick’s day I found a green hat to put on the frog. But spring had me stumped until I saw a small hat that is actually for a doll at Hobby Lobby. I grabbed the hat and some flower ribbon and a plan in my brain was formed.

I decided I would attach the ribbon to the hat around the brim and also around the center of the hat. I was not sure which adhesive I would use, the No Sew fabric glue or the NUVO Deluxe Adhesive. The NUVO won out!!!

I put a generous amount of adhesive to the center of each flower and pressed it against the hat.

It did not take long before the hat was finished and ready to be put on the frogs head.

I think I have come to an end for this series of spring decorations. I’m concerned the decorations may look like it is missing something or needs to be fuller. But if that is the case, I can always add to it.

Craft Project #15 – Spring rag wreath

All of the craft projects for Spring and Easter are based on one single fabric selection. The pastel plaid fabric. I just love this so much.

I decided that this rag wreath will have a total of five separate fabrics with the first one being the plaid. I am also adding fabrics in the colors pink, blue, yellow, and green making sure they compliment the plaid fabric. All fabrics were purchased at Hobby Lobby. I found that they have a better selection of pastel selections.

The pink and blue fabrics have white dots on them.

They yellow fabric has white flowers all over it.

The green is just a plain solid green. I chose this color as I did not want a darker shade of green.

I started the wreath by ironing the fabric before I started cutting them down to size.

The final size of the fabric strips is 1/2 to 3/4 inch wide by 7 inches long. Fabric strips will be attached to a 12 inch round wire wreath form that I purchased from Walmart.

I started with the outer ring and made my way in.

Now that the wreath is complete, I will spray some spray starch of each section to make the fabric stiff. By doing this, my hope is that the fabric strips will stay in place better. I’m using some spray starch I found at Dollar Tree.

The only thing left to do with this wreath is to put it on my mom’s door. Spring decorations will be going up soon.