Craft project #5 part two: St Patrick’s Day wreath

I must admit, this wreath took a lot longer than I expected. But that was only because I changed my mind on a couple of things along the way.

With the inner and outer rings complete, I decided that I did not like the way I had originally done the stem. So, I removed what was there and took some time to think on it while I finished the middle ring.

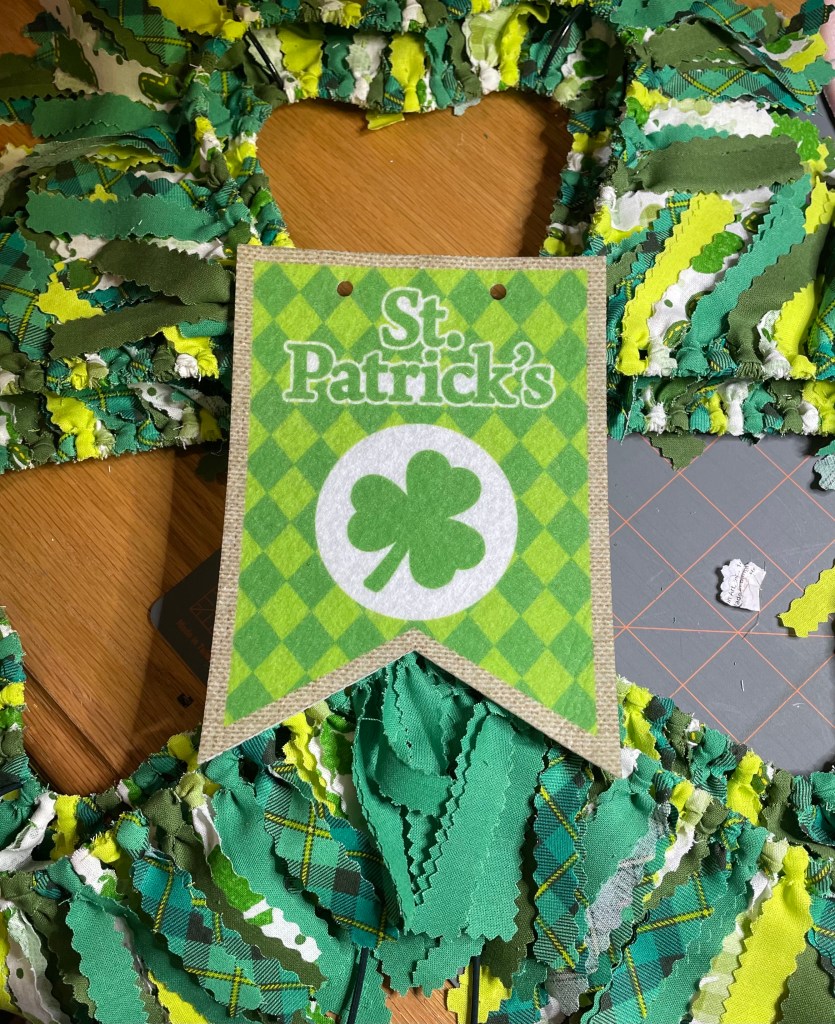
Once the middle ring was completed, I realized that the center of the wreath looked bare. I had purchased a sign at Joann’s on one of my trips there so I thought it might work. But, to me, it looked like it would be too green for the wreath.

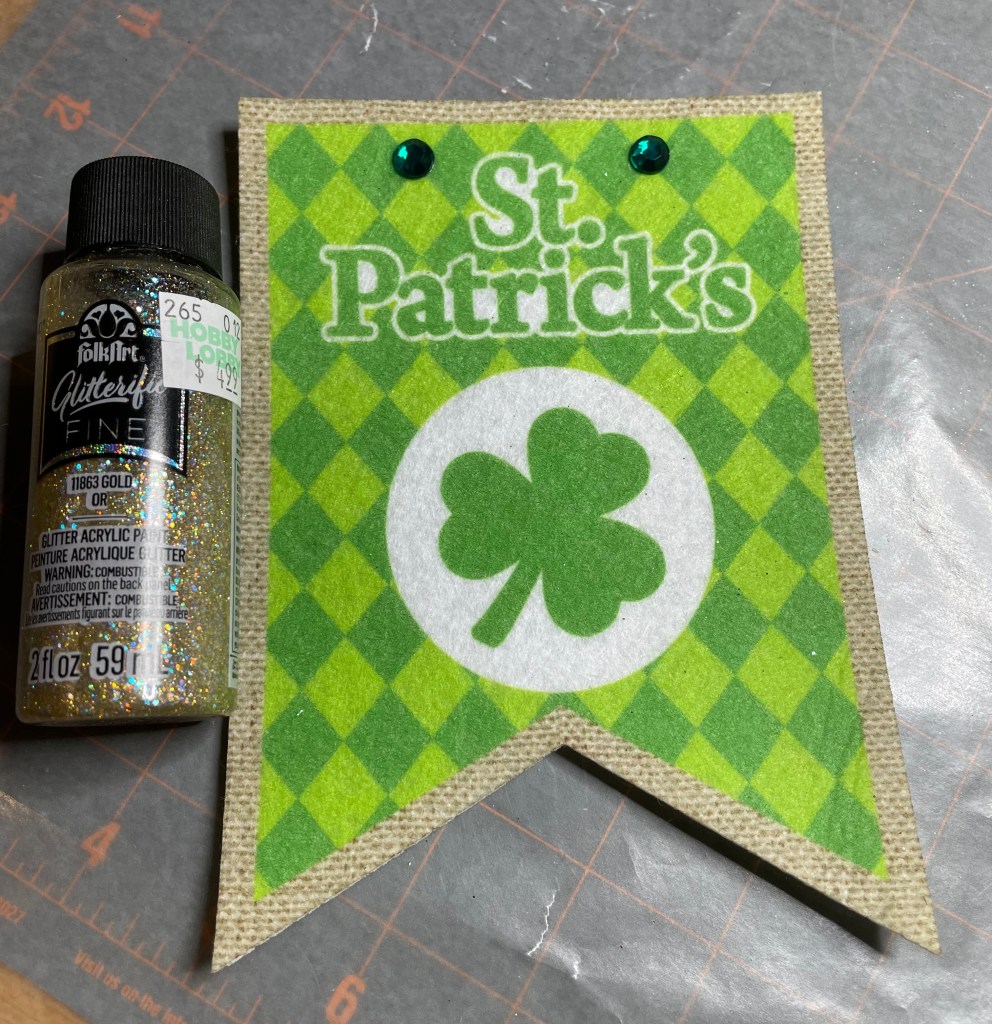
I also had a flag that I removed from the banner I will be using on my mom’s walker that I was also considering. The flag doesn’t have the sparkle that my mom would like, but that is something I can fix easily.

I did what any normal person would do and asked some people that know my mom well what they think would work.

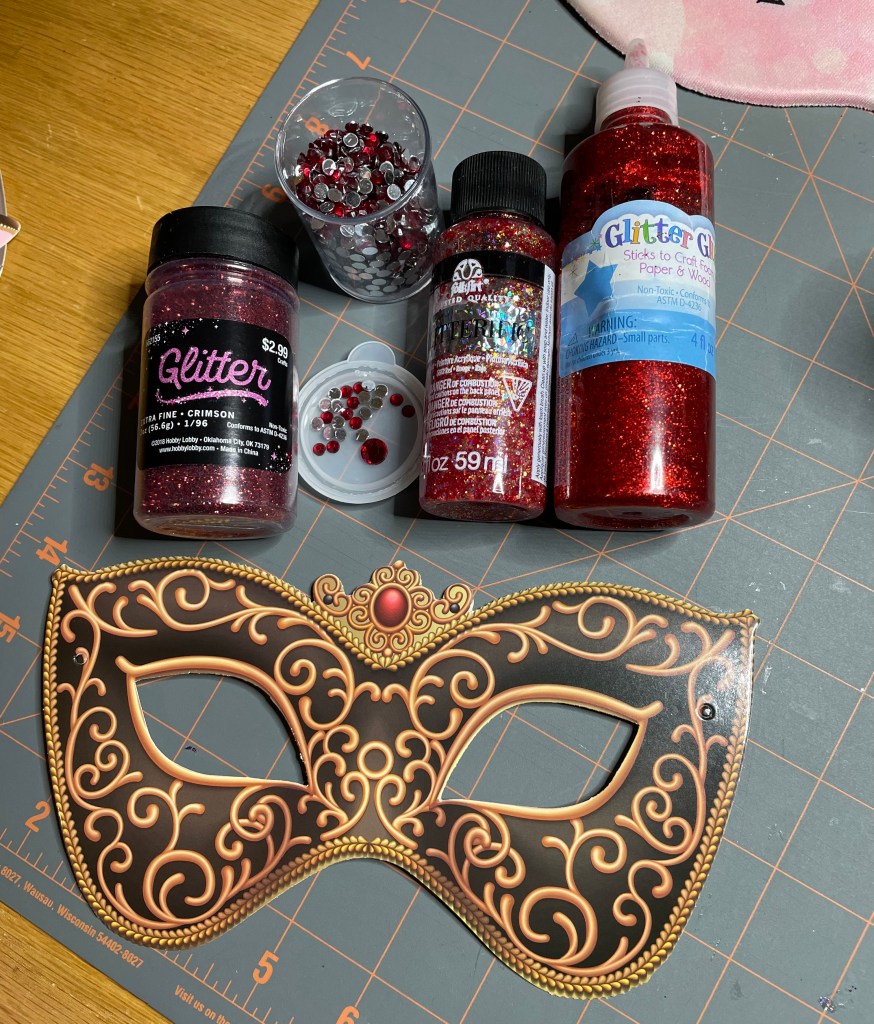
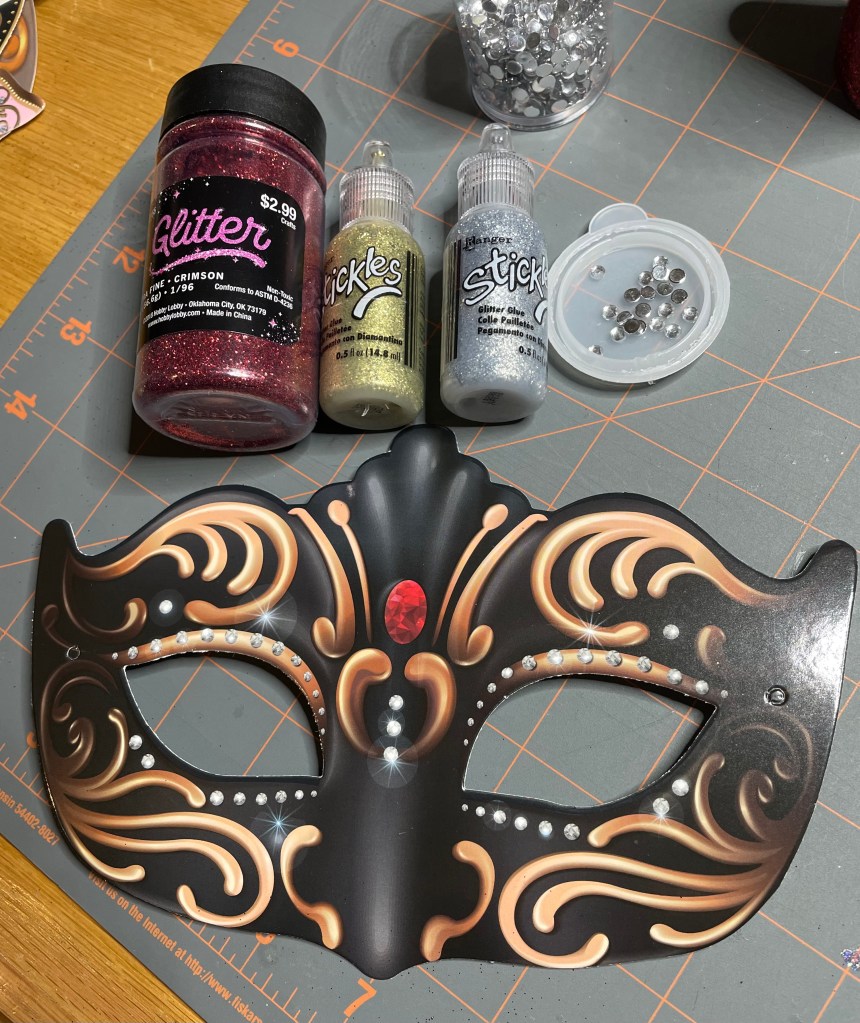
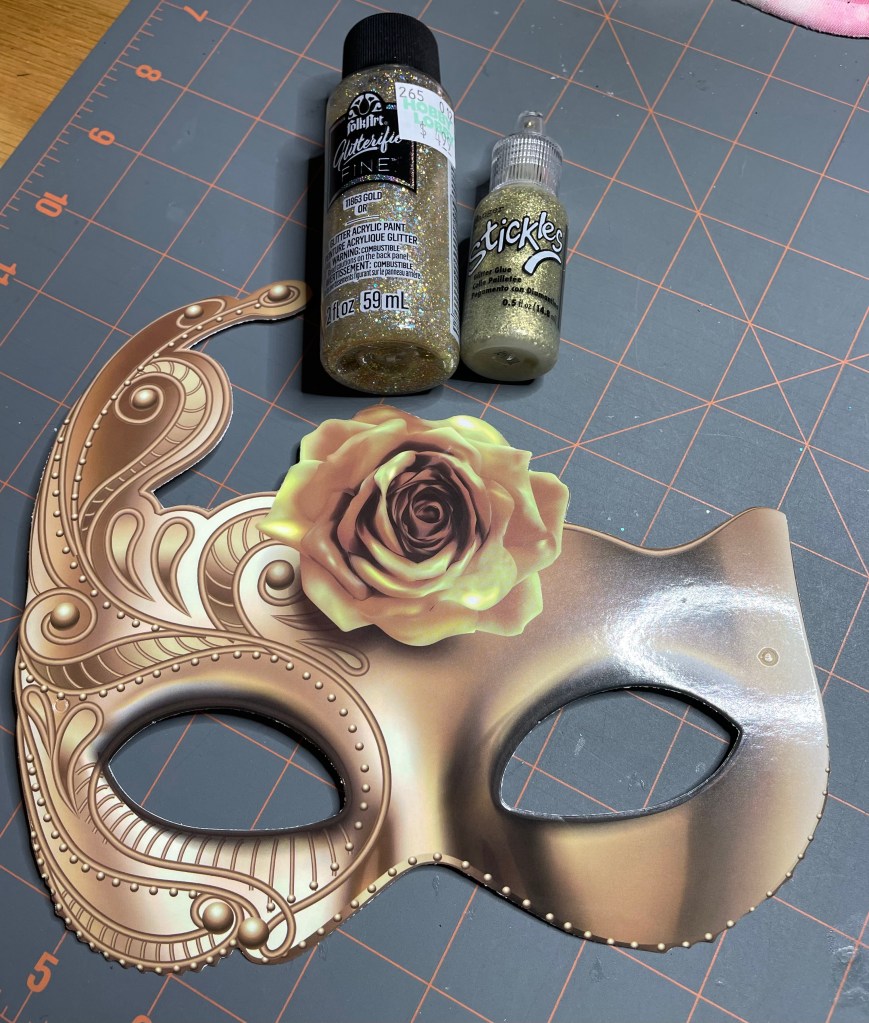
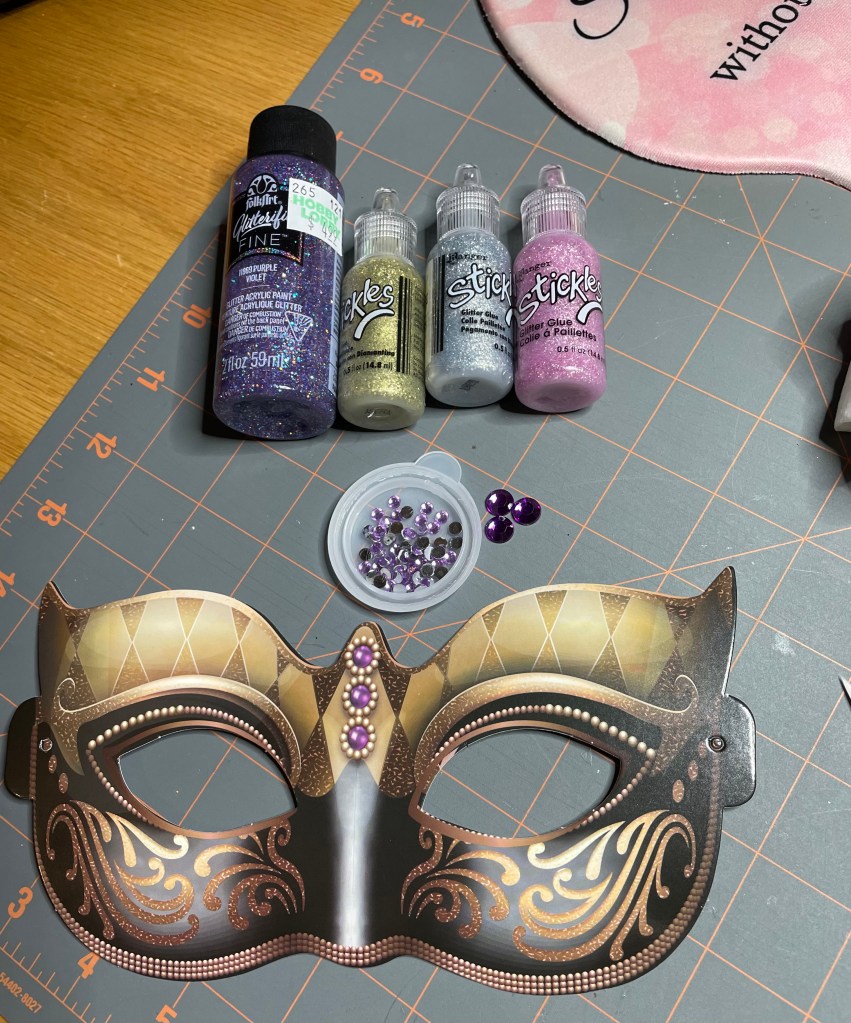
They said they liked the flag best so it was time to make the flag sparkle. I grabbed by container of rhinestones, NUVO Deluxe Adhesive, No-Sew fabric adhesive. Time to make another decision. What color of rhinestones to use.

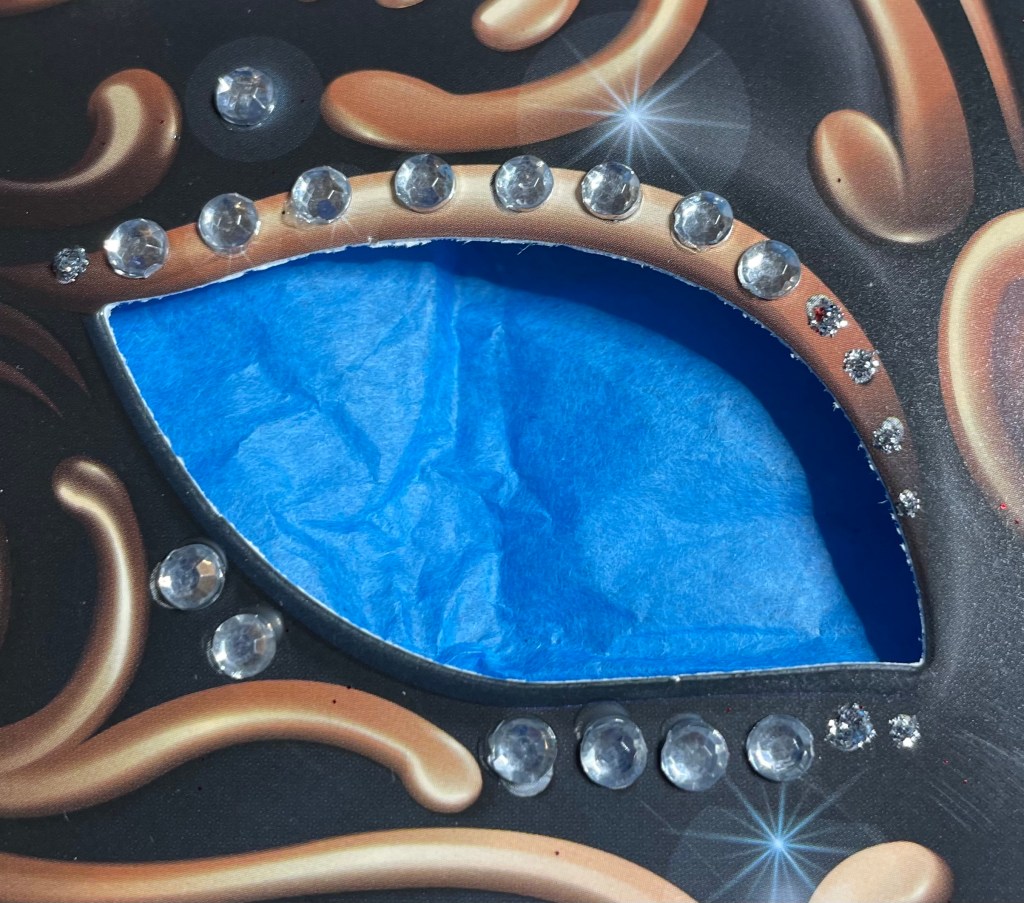
Obviously, green would be the perfect choice. So I covered the holes at the top with the green rhinestones and attached it with the NUVO Deluxe Adhesive.

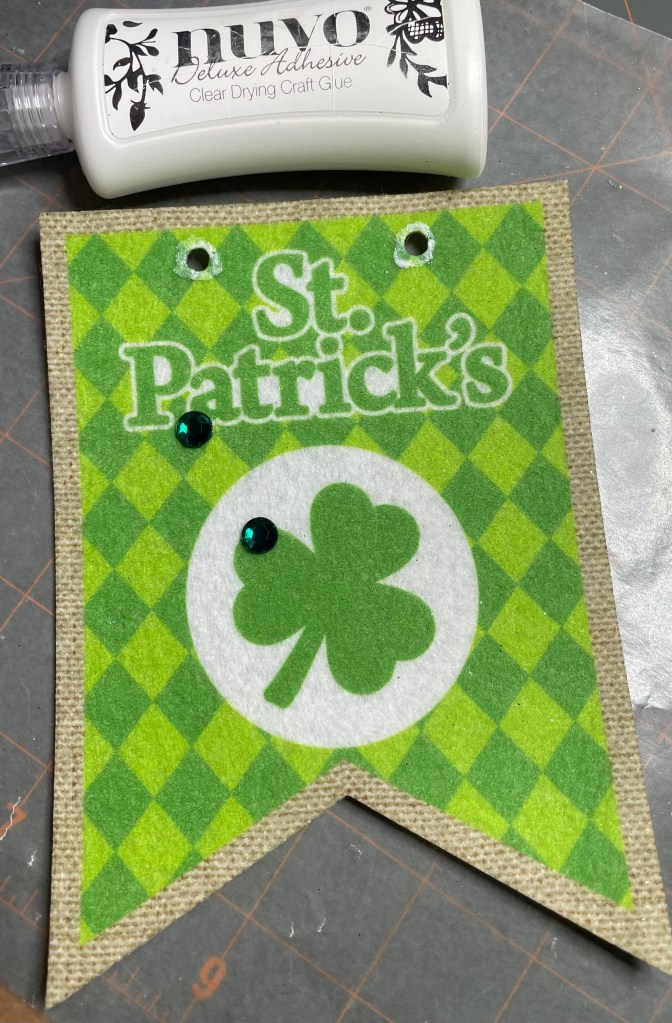
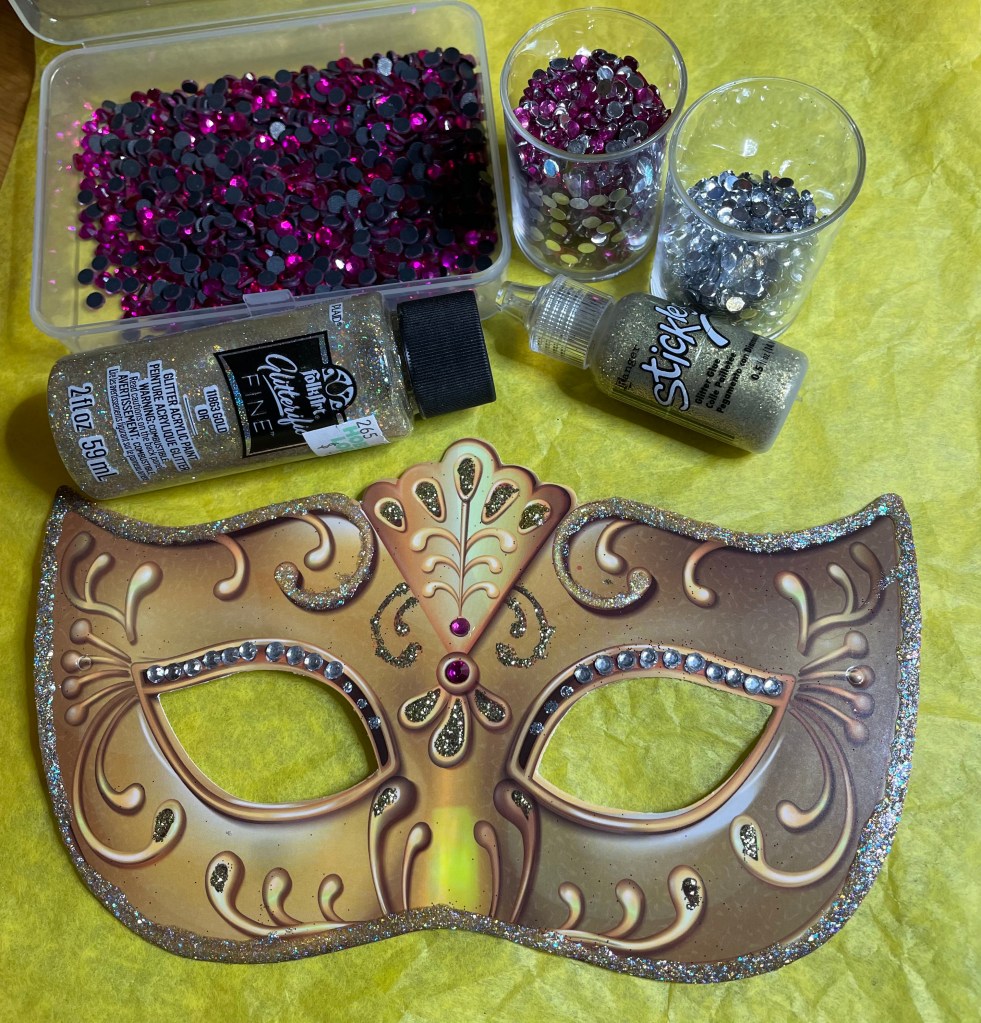
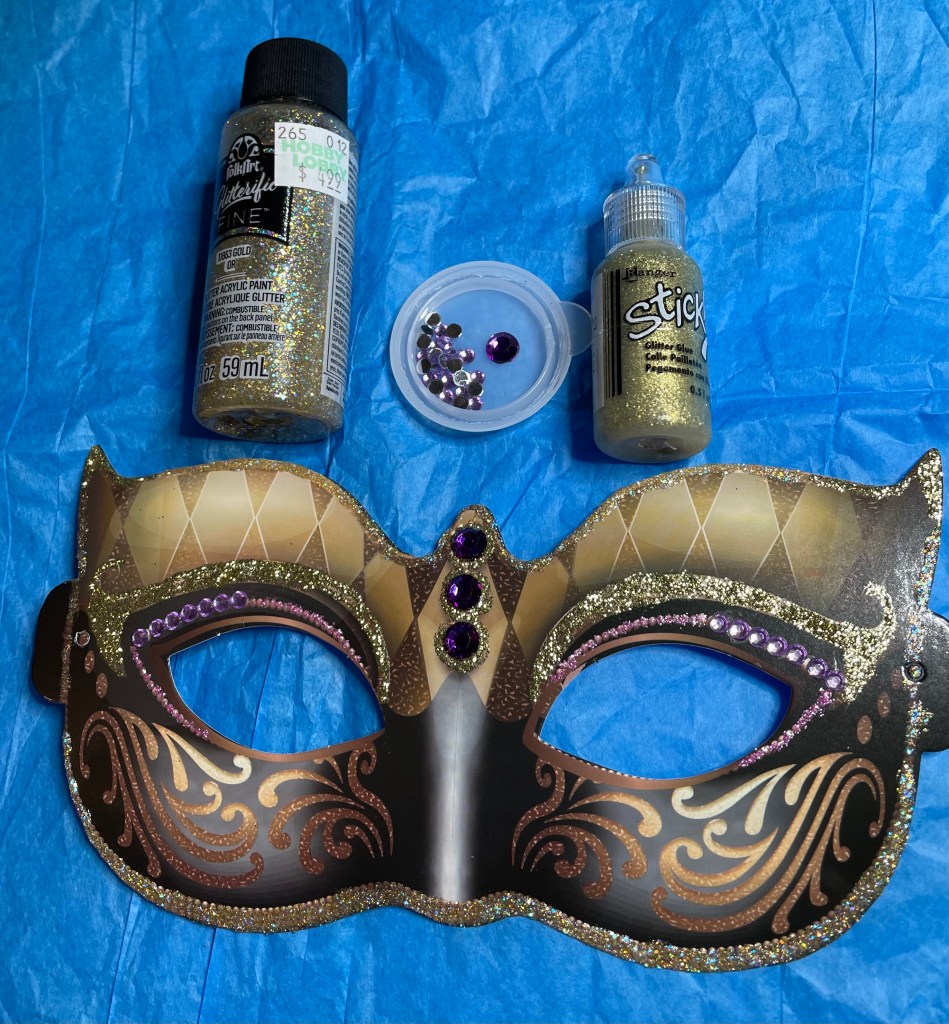
Since I have some FolkArt Glitterific FINE glitter paint, I decided to use the paint to cover the burlap area.

The flag definitely sparkles for my mom.

To complete the wreath, I used some twine to wrap around the stem which definitely came out much better than the fabric I had originally used. To give the stem a little something extra, I attached some gold coins.

And now the wreath is complete.

Next time I make a clover shaped wreath, I will try something different. Like wrapping the entire wreath in twine!!!! But that will be another day, another time!

Thanks for taking the time to read my blog. All that is left to do is to decorate my mom’s door and walker!

Craft Project #4 part three: Decorating masks for Mardi Gras

4 more masks completed. To make this easy, I have decided that the will show what I originally had planned for the mask. Any changes will be noted on the first photo along with where each product is used. On with the masks!!!

Mask #5. Continuing with the less is more theory, the following masks definitely fall under this category. One think I learned on this mask is that the Glitter Glue and the thicker Glitterific glitter paint were NOT a good idea for this project. I need to make a not to myself to remember to dispose of those products. One large(ish) red rhinestone and 4 small red rhinestones were used to accent the center top of the mask. Blue Stickles around the eyes. This is becoming one of my favorite parts of the mask to accent. and ultra fine glitter in the color Crimson was used on the outer edge of the mask.

Mask #6 had me scratching my head as to what to do with it. I decided to use Gold Stickles to accent the upper middle design, blue Stickles for the eyes, and extra fine glitter in light blue was used on the outer edge of the mask. I must say, Nuvo Deluxe Adhesive is amazing! I wonder if it can be purchased by the gallon or maybe a quart!!!!

Mask #7 is one that really did not need a lot to be done to it. I used ultra fine glitter in the color Crimson for the red oval and silver rhinestones to accent the eyes and center of the mask, ans silver Stickles for the small dots around the eyes.

Mask #8 did not have a before picture, but the outcome is fantastic, at least in my opinion. One large(ish) and one small rhinestone in a deep pink color was used as accents in middle area of the mask. Silver rhinestones were placed around the eyes. Gold and silver stickles were used to accent a few areas, gold in the center top area and silver below the eyes. Gold Glitterific was used around most of the outer edge of the mask.

I realize there is glitter dust on the masks and I will work to get them off the masks before I decorate my mom’s door. Does anyone have any ideas on how to remove it???

Up next is part four with the final 4 masks.

Craft project #4 part two: Decorating masks for Mardi Gras

The first 4 completed masks. To make this easy, I have decided that the first photo will be what I intended to use on the mask. If I decide on something different, the second photo will show the products I actually use. Each mask will have4 a list of items I used and where they were purchased from.

The first mask I worked on is the one with a yellow rose. My mom loves yellow roses so it just seem appropriate to use it. I used Folkart Glitterific in the color gold, purchased at Hobby Lobby and gold Stickles purchased at Michaels a long time ago.

Mask #2. Not changes to the selections of item I pulled for this mask. Purple Glitterific was used along the outer edge of the mask, the gold Stickles was used around the eyes, and the other Stickles was used to accent the filigree above the eyes only. Rhinestones were glued in place at the top of the mask using Nuvo Deluxe Adhesive.

Mask #3. The only change I made on this mask was switching the purple Glitterific with the gold Glitterific and I did not use the silver Stickles at all. The gold Glitterific was used on the outer edge of the mask, gold Stickles for the eyebrows, Stickles in the color Mermaid Tail and small light purple rhinestones were used around the eyes. Larger purple rhinestones were used with gold Stickles surrounding the rhinestones.

By the time I got to mask #4, I decided it was time to do something more simple. Along the lines of less is more. Blue rhinestones and faux pearls made great accents as did the gold and silver Stickles. But I think my favorite part is the blue Stickles around the eyes. Yes, that is definitely my favorite part of this mask.

Here is a list of the items used on these masks and where I purchased them from.

Folkart Glitterific FINE gold paint and Folkart Glitterific FINE purple paint purchased at Hobby Lobby

Stickles in Gold, Mermaid Tail, Blue, and Silver purchased at Michaels.

Rhinestones in all colors and sizes along with the Nuvo Deluxe Adhesive were purchased on Amazon.

Faux pearls were purchased at Dollar Tree.

Part 3 coming up with 4 more masks completed. Who knew this could put such a strain on my old eyes!!!!