This project definitely took a lot longer than I expected.
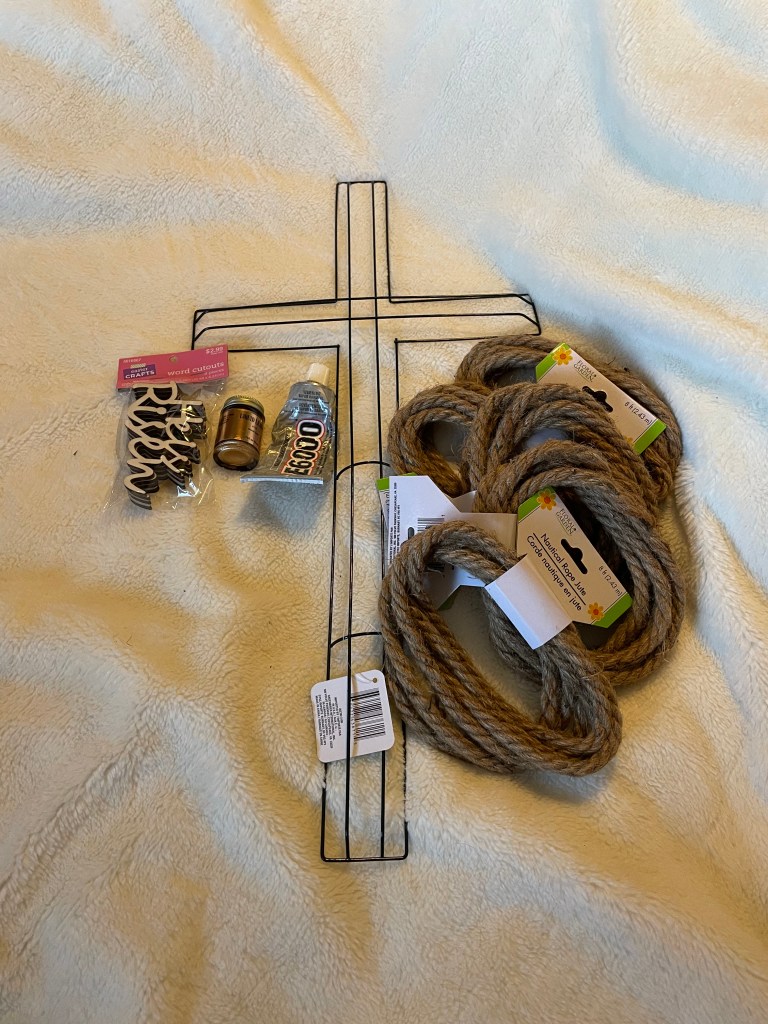
The supplies I used were rope and wire cross wreath form from Dollar Tree, word cutout and E6000 adhesive from Hobby Lobby, and Liquid Leaf in the color Classic Gold from Amazon.
I started by attaching the rope along the bottom wire of the cross using E6000 adhesive. I allowed it plenty of time to dry before I started weaving the rope through the different sections.
While I was waiting for the E6000 adhesive to dry, I painted the word cutout using the Liquid Leaf. It only took one coat of pain.
Once the weaving was complete, I place 2 pink daisy’s at the center of the cross and attached the work cutout in the center of the flowers.
Now it is done!!!! And I can go onto the next project. I apologize for not taking any pictures during the weaving process.
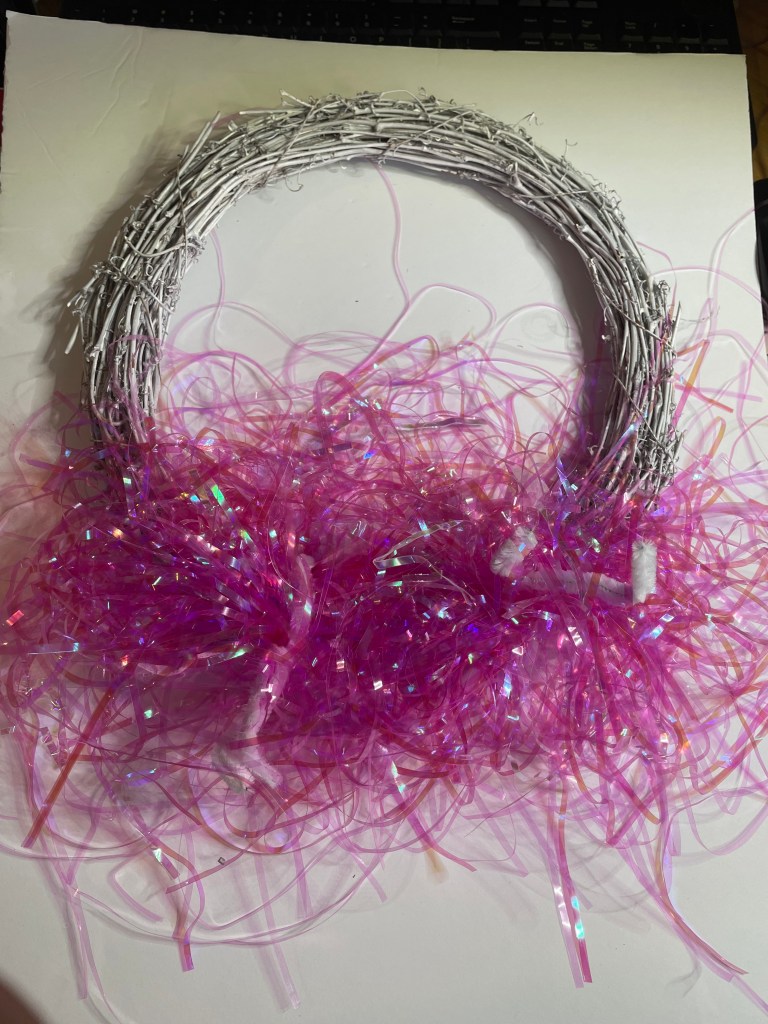
This definitely took longer than I thought it would. The most difficult part was getting the Easter grass glued or otherwise attached to the wreath. But once it was dry, I was able to continue working on this project.
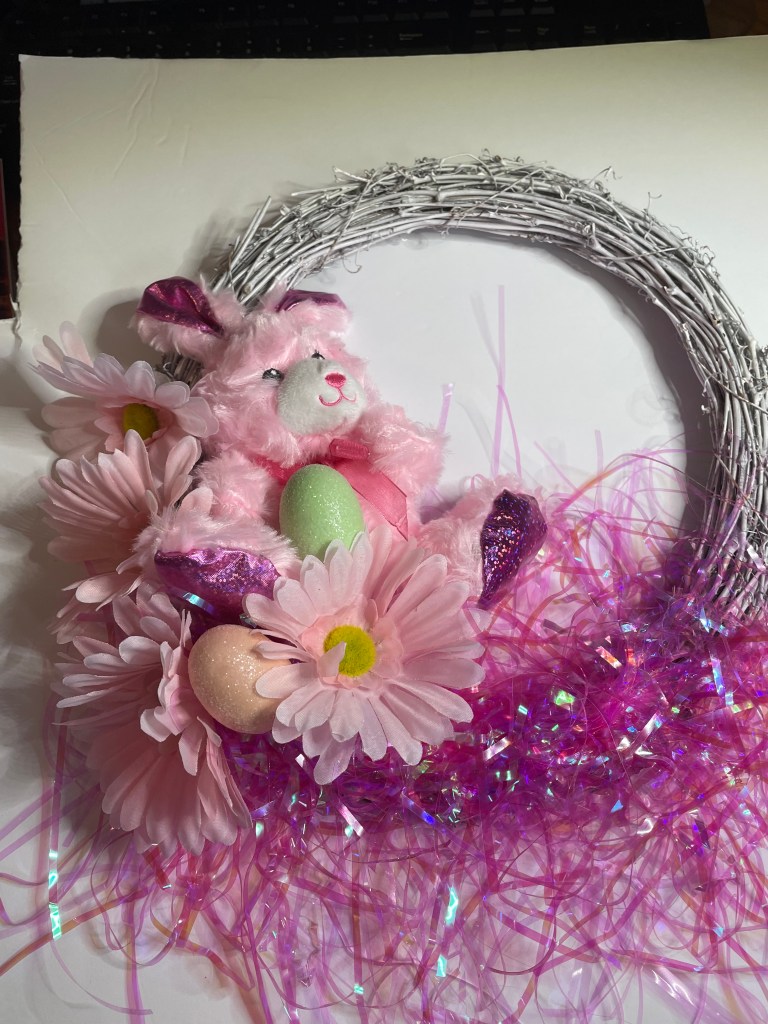
I started by adding some pink daisy’s to the wreath using E6000 to put them in place. Then I attached the small pink bunny to the wreath, also using E6000. And then I decided the bunny needed some eggs so I attached some to the wreath using E6000.
I continued adding eggs and daisy’s on the wreath until I decided that there was enough.
The last thing I did was to trim the Easter grass so it didn’t not look like it was falling apart. I am happy with the way the wreath turned out. Especially since it was my first time to actually make a wreath like this.
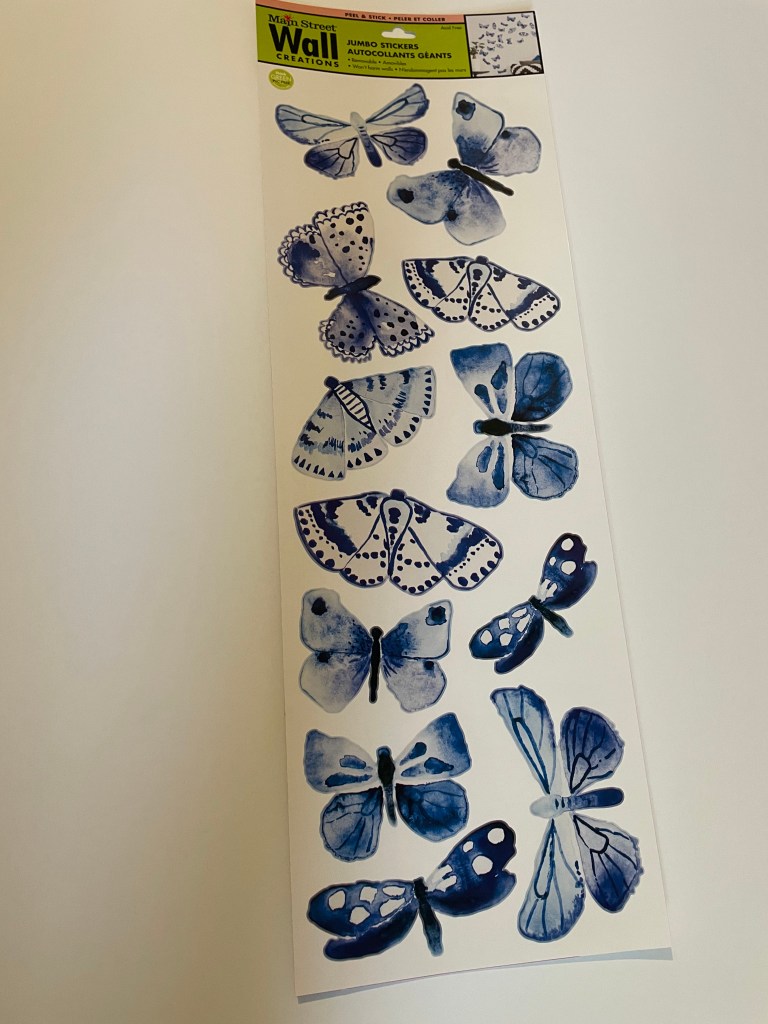
This is a quick and easy project that took very little time to make. I decided that I want to add some butterflies to the garland that I will be putting around my mom’s door as part of her Spring decorations. It is also a very inexpensive project.
The supplies needed for this craft project are:
Main Street Wall Creations Jumbo Stickers and poster board that were purchased at Dollar Tree. You will also need E6000 adhesive and chenille stems/pipe cleaners which I had on hand.
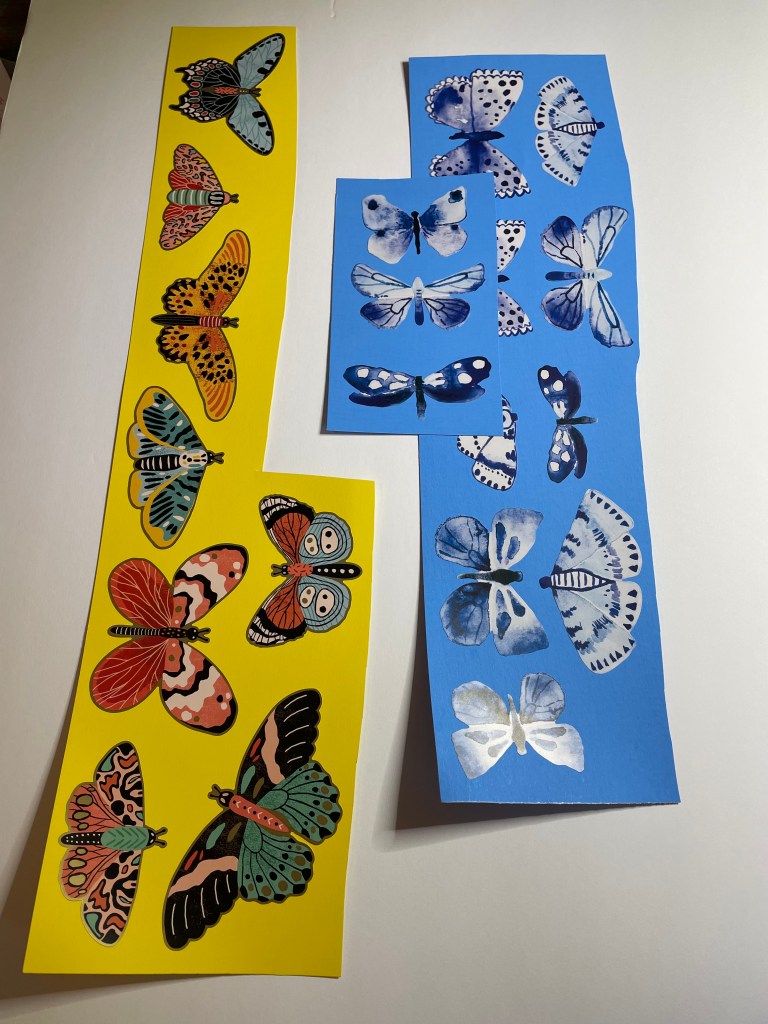
Step one in this project is to attach the butterflies to poster board. This will give them a strong backing.
Step two: cut out the butterflies. Luckily, this does not have to be perfect.
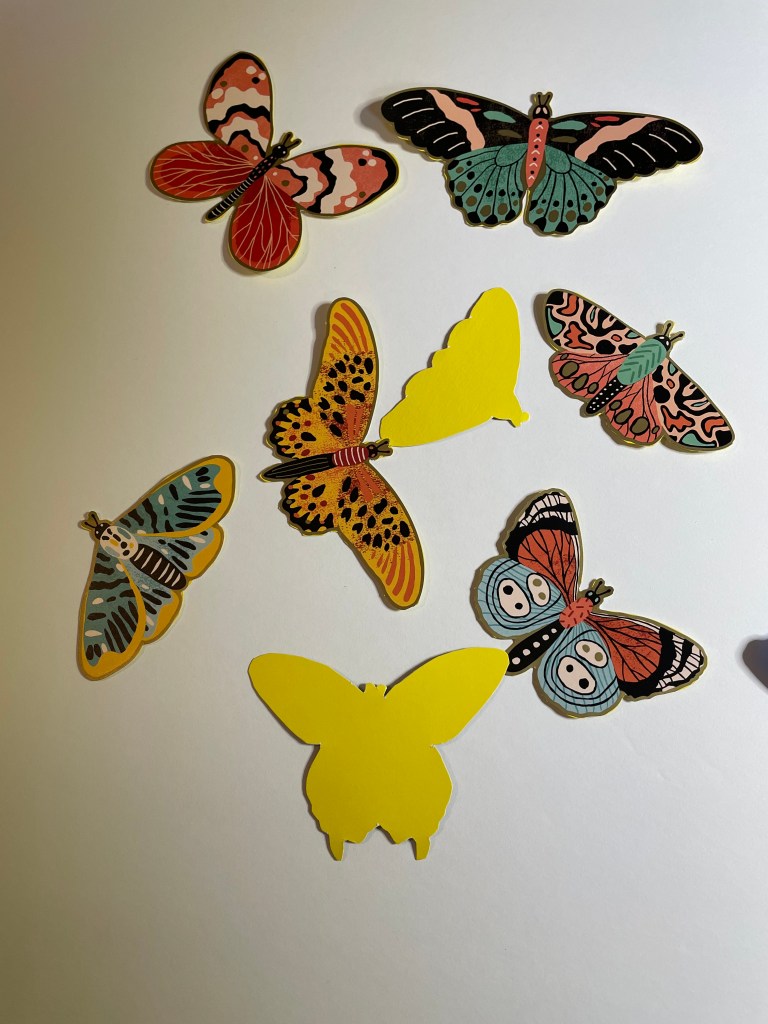
Step three: gather the supplies needed to attach the chenille stems/pipe cleaners to the back of the butterflies. This is something you probably have already done.
Step four: fold the chenille stems/pipe cleaners in half. Add a generous amount of E6000 to the back of the butterfly. Place the chenille stem/pipe cleaner in the E6000 and press down. It is important to press down on the center of the chenille stem/pipe cleaner to make sure the E6000 covers the center of the stem as completely as possible.
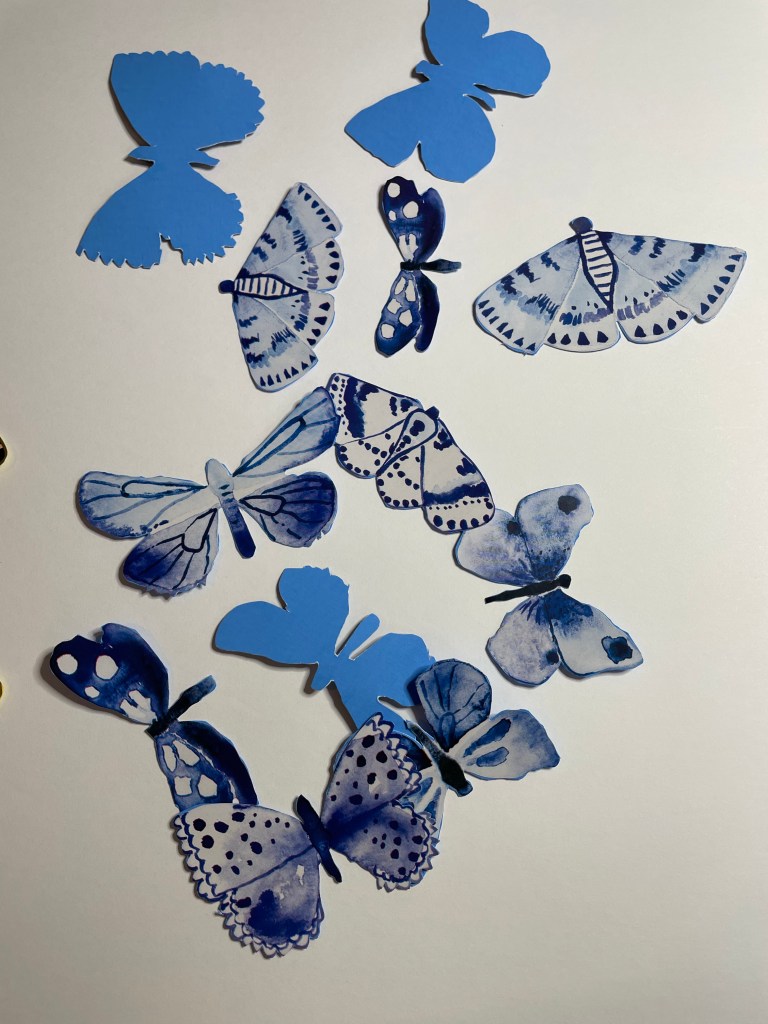
Step five: put the butterflies in an area that the will not be disturbed/moved/touched and allow to dry. I allowed mine to dry overnight.
And now they are ready to attach to the garland when it is time to decorate my mom’s door for Spring.
Now it is time to start working on the next craft project for mom’s spring decorations. I wonder what it will be!
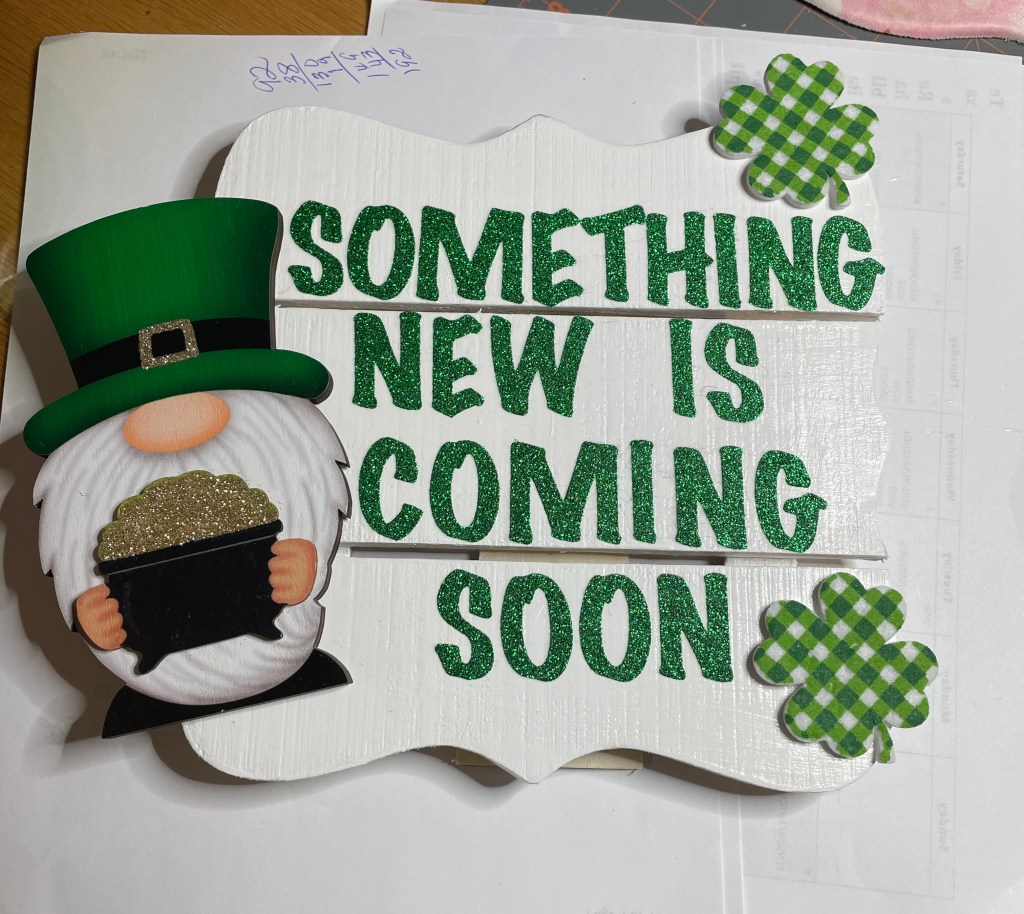
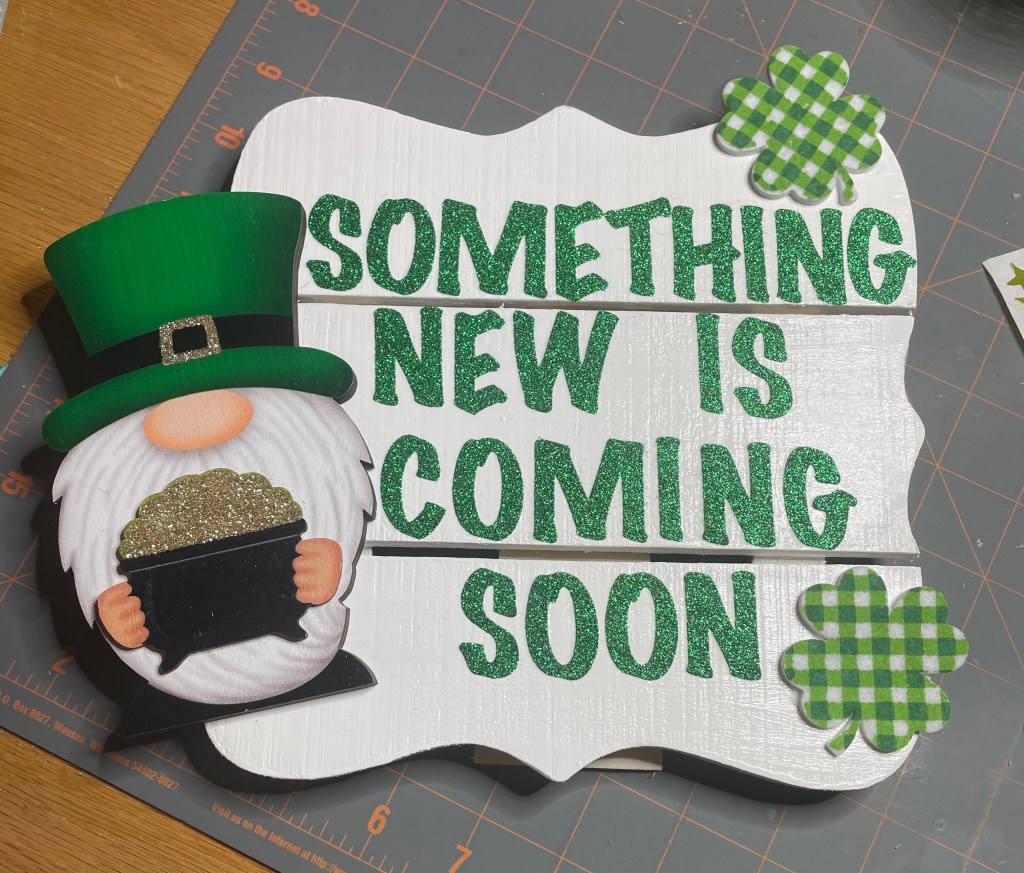
Even the simplest of projects can be fun. I have decided that I will be removing the Mardi Gras door decorations a few days before putting up her St. Patrick’s Day door decorations. Since she has dementia, I decided to make a sign to put just outside her door to remind her that new decorations will be coming soon.
I purchased the unfinished wooden frame at Hobby Lobby one day when I was there for a completely different purchase! The first thing I did was to sand off the rough edges. Then I dusted it off and painted it white. After the first coat was dry, I sanded the frame again and applied another coat of white paint and set aside to dry.
I knew that I wanted this sign to stand out an get her attention so when I purchased the frame I also purchased some green glitter alpha stickers and a wooden St. Patrick’s Day gnome. It seems that gnomes are going to be a part of our decorations this year.
While the paint was drying, I decided what I wanted the sign to say. I bought four packages of the glitter alpha stickers so I knew I would have plenty, and then some. For the first line, I placed the letters starting on the right side of the sign. I did this so I would know exactly where the gnome would fit. After all the letters were in place, I put a coat of Mod Podge over the entire sign and set aside to let dry. I also put some Mod Podge on the glitter areas of the gnome. I also applied a second coat of Mod Podge on the entire sign.
Once everything was dry, I attached the wooden gnome to the sign using E6000 adhesive.
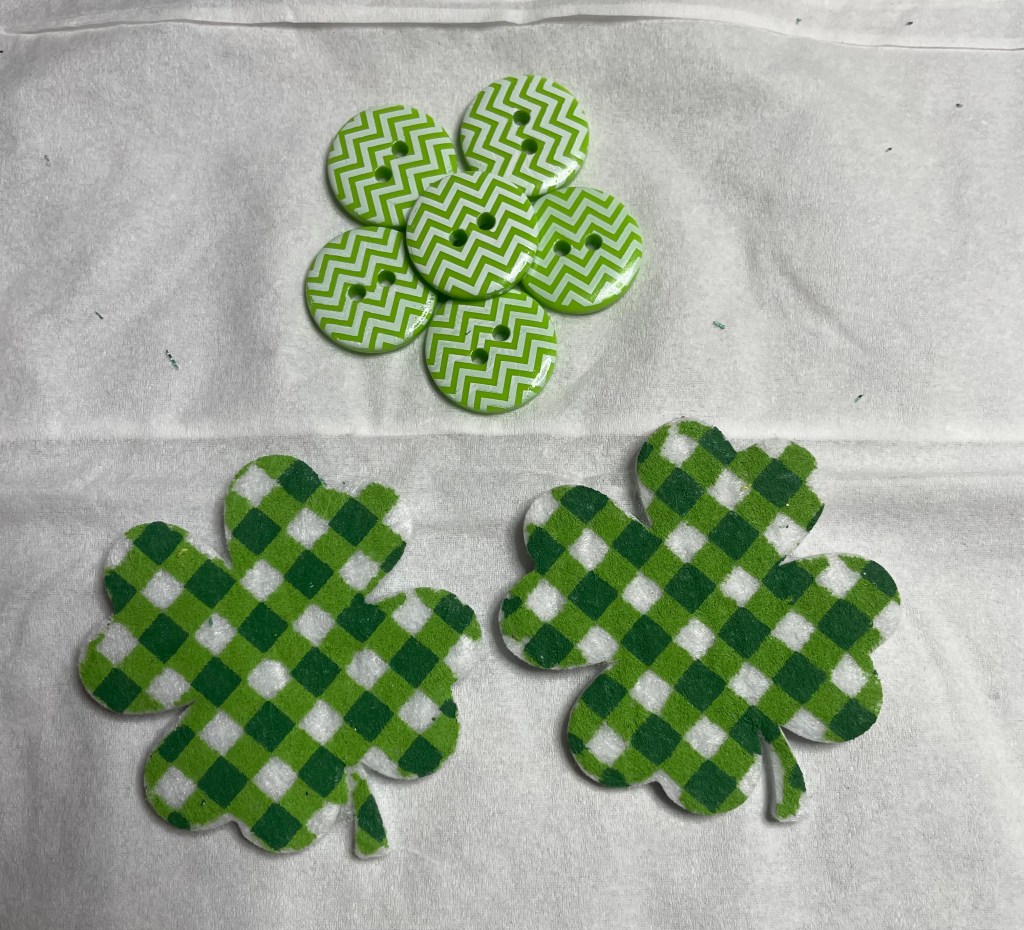
But I then realized that is looked a little too plain. So, I sent a text to some people and asked which they would prefer. The buttons or the clovers. The green chevron buttons are something I had on hand. The green and white foam clover stickers were purchased at Hobby Lobby on this same shopping adventure.
It was decided that the clovers would look best. So, I used my trusty E6000 to attach the foam clover stickers to the frame.
Now it looks so much better. I cannot wait to put it at her door.
There are still a few more crafty type projects I need to finish before I remove the Mardi Gras decorations so please return to see what project I do next!
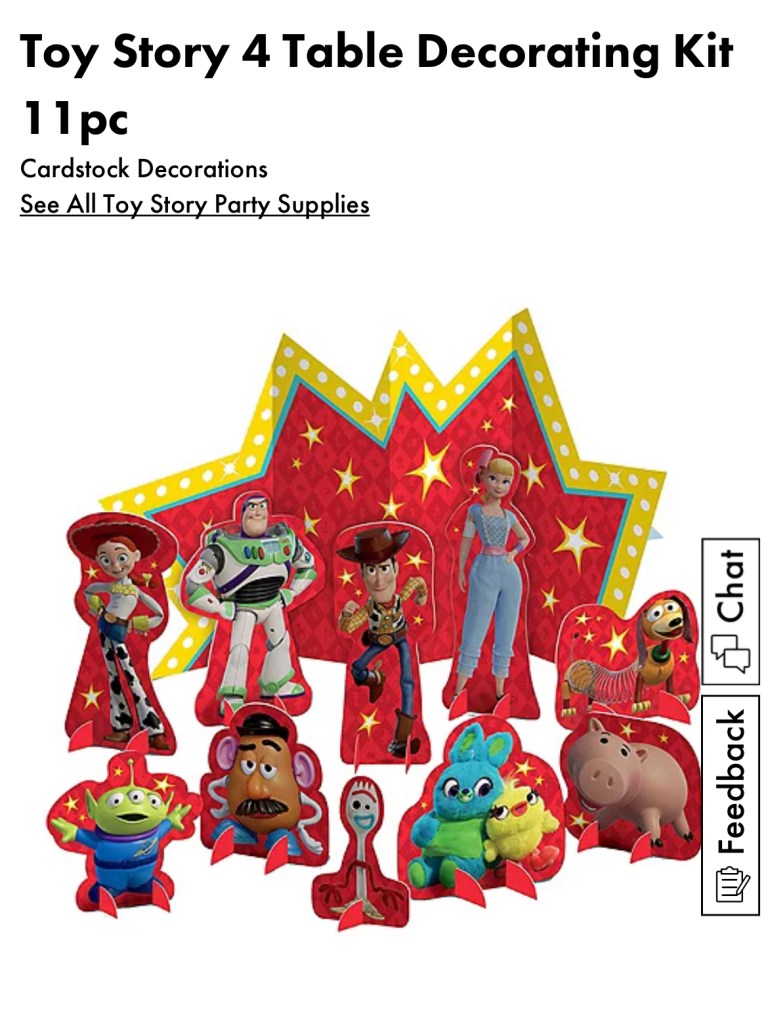
Once again, it is time to make Kimmie’s Disney Theme frame for her Photo with Santa her kids do every year. I decided that this years them is Toy Story. Of course, every frame requires a shopping adventure!!!!
My first stop was to Party City. I found a couple of things that could possibly work for the idea in my head, but I needed to see the items up close. I decided on an 11 piece table decoration set. I know there are pieces that I will not need, but the three I had in mind would work perfectly.
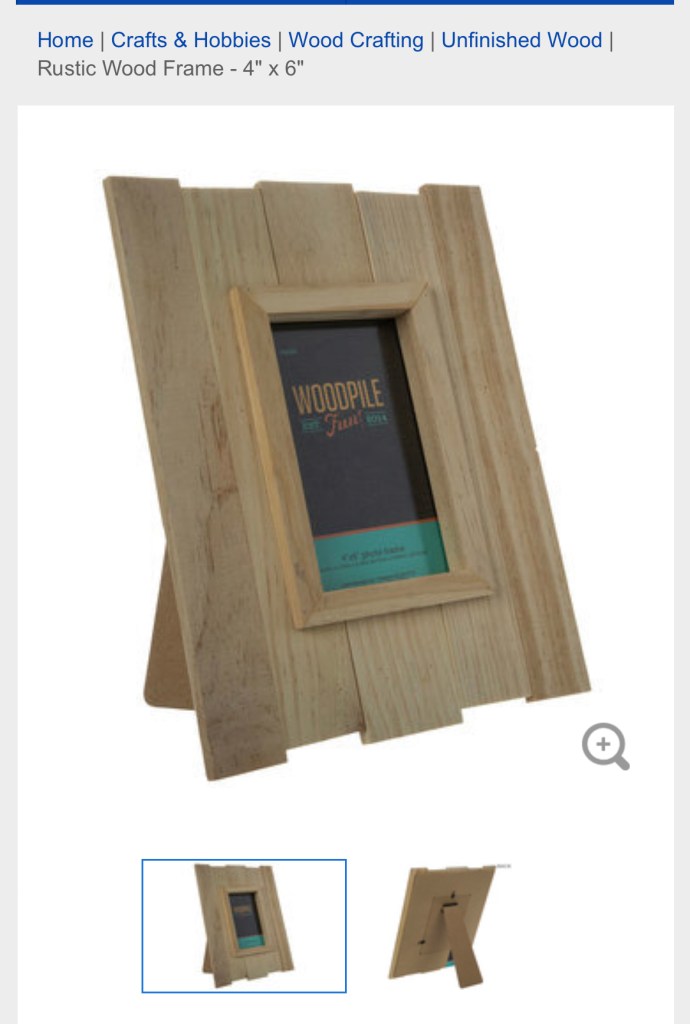
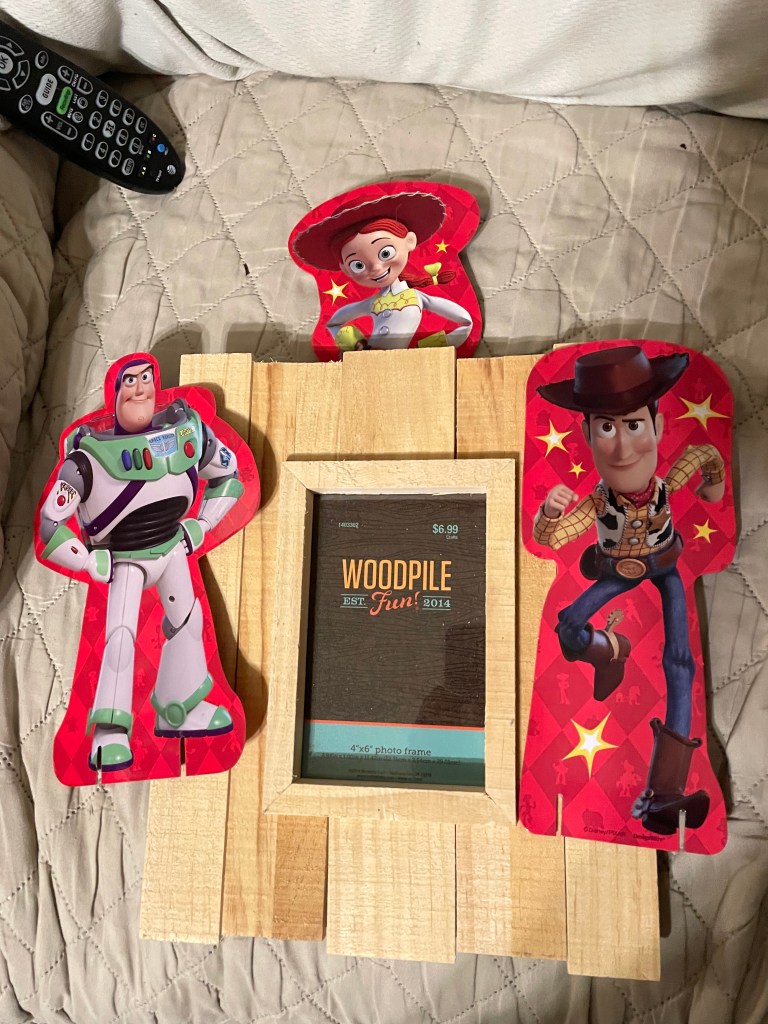
My next stop was to Hobby Lobby. Luckily, I knew what I was looking for so I didn’t stray from the task at hand. I decided on a frame that would resemble a fence and this one is exactly what I had in mind. I also purchased a sticker set that had blingy MERRY CHRISTMAS and also Christmas lights. and a couple jingle bell necklaces that I thought I could repurpose the bells for this frame. Unfortunately, I did not remember to take a picture of the stickers, but it definitely is on the finished project.
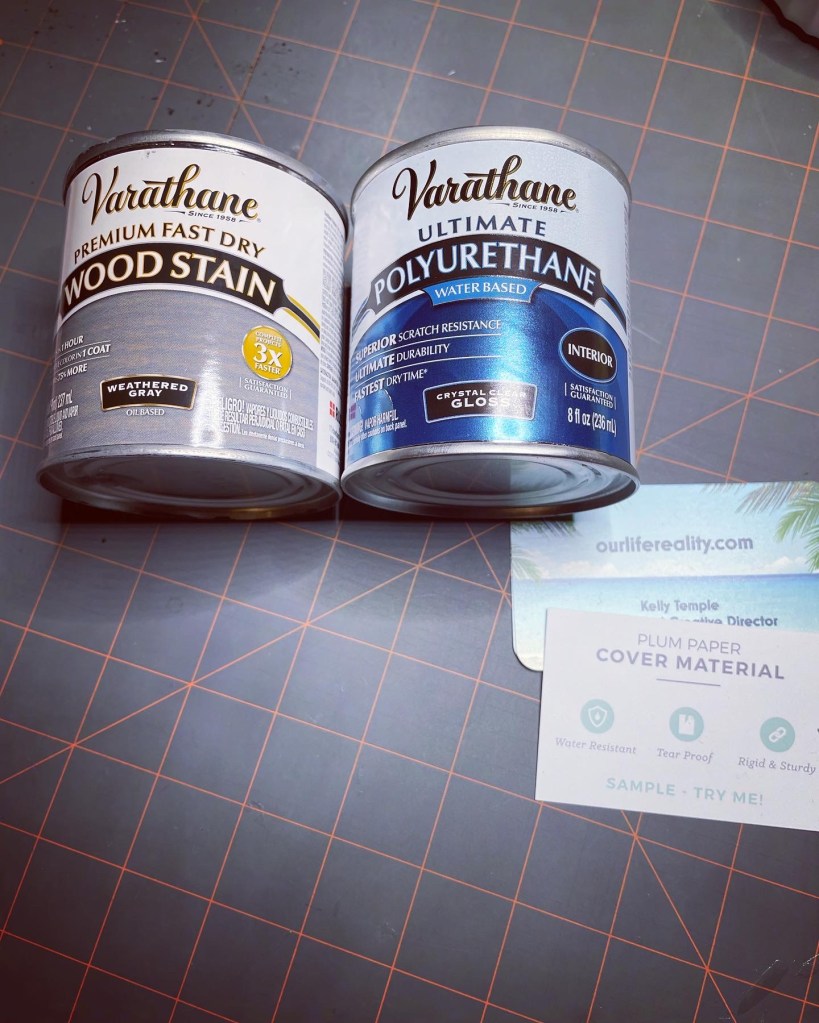
My final stop was to Michaels. For the first time in a very long time, I only purchased what I knew I needed. Varathane premium fast dry wood stain in weathered gray and Varathane ultimate polyurethane water based, crystal clear gloss.
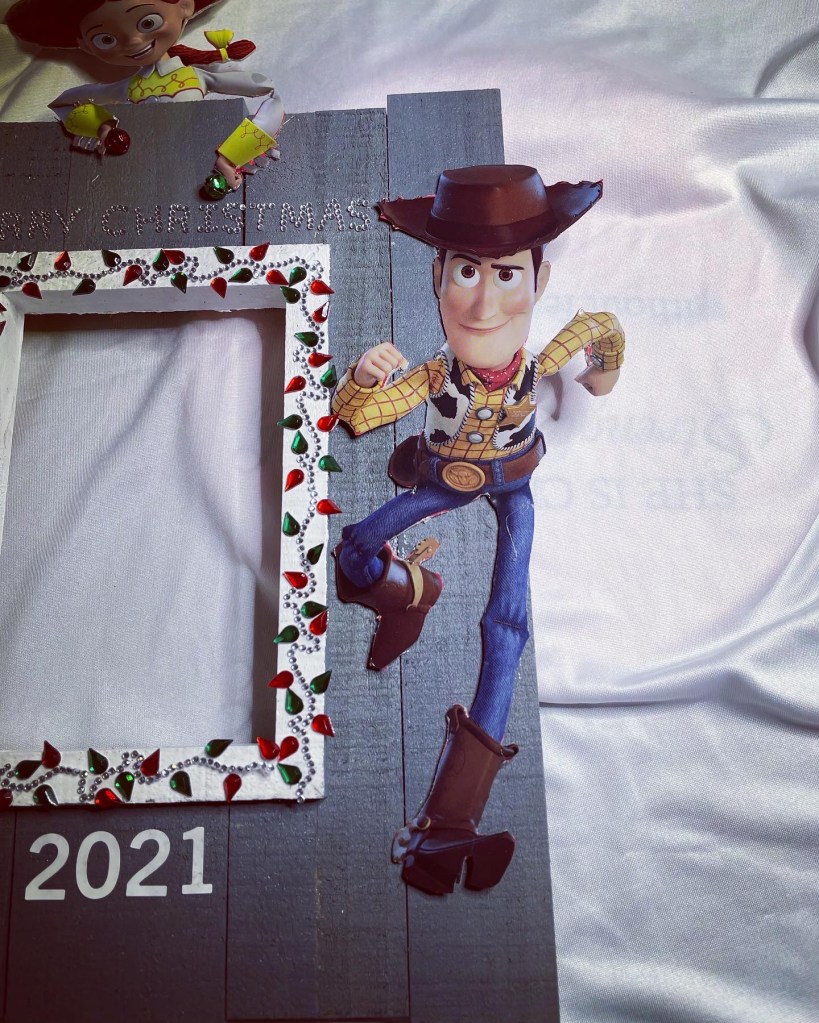
Now that I have all the supplies I would need to purchase, it was time to get started on the Disney Toy Story inspired frame. The figures I decided to use o this project were Woody, Buzz Lightyear, and Jessie. I trimmed them down to remove as much of the red background that I could. I know it isn’t perfect, but that’s okay.
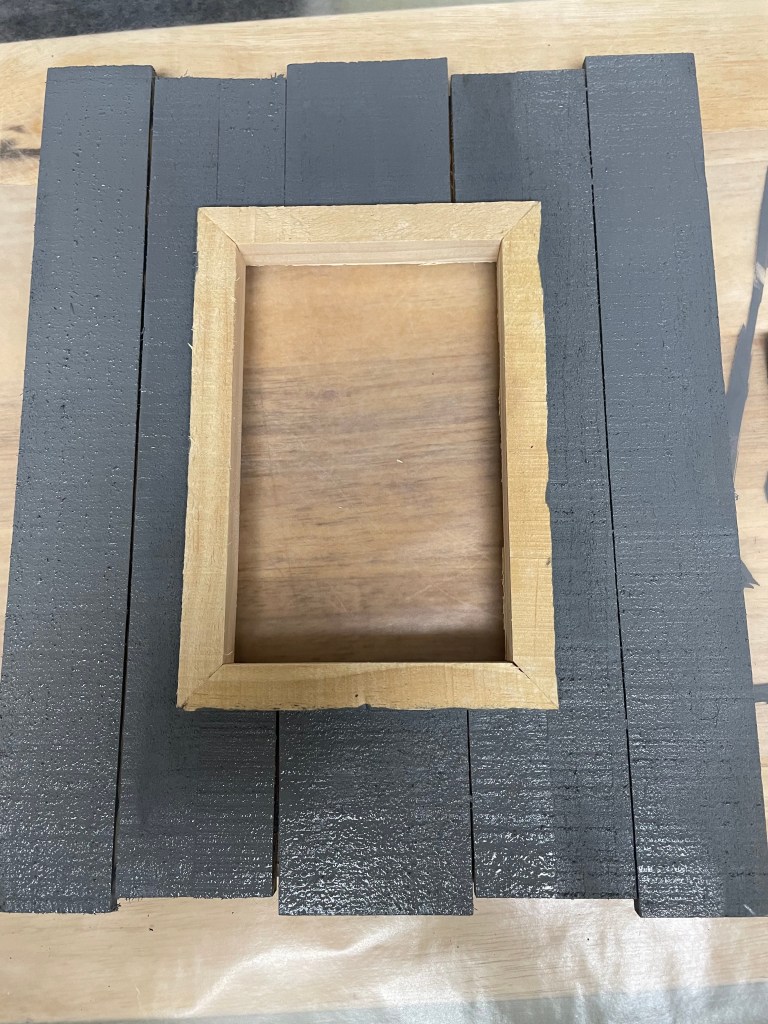
I decided to not sand down the frame as I wanted it to feel like a fence so stained the frame. And it only took one coat of stain!!! I love the color and I have plans for other projects to use this stain on!!!
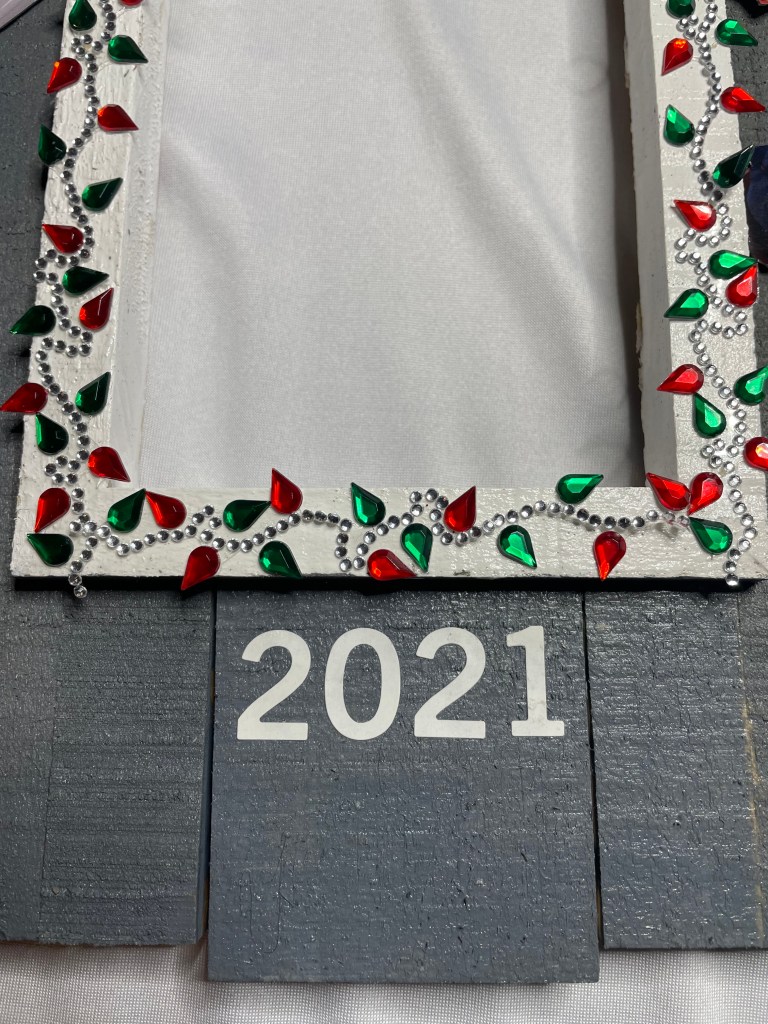
Once the stain dried, and it did dry fast, it was time to paint the inner portion of the frame. I used a white acrylic paint I had on hand that I purchased either from Hobby Lobby or found on Amazon.
After the white paint dried, it was time to decide on the numeric stickers I had on hand. I was not sure of the size of numbers would be best so I sent pictures to Kimmie to let her decide.
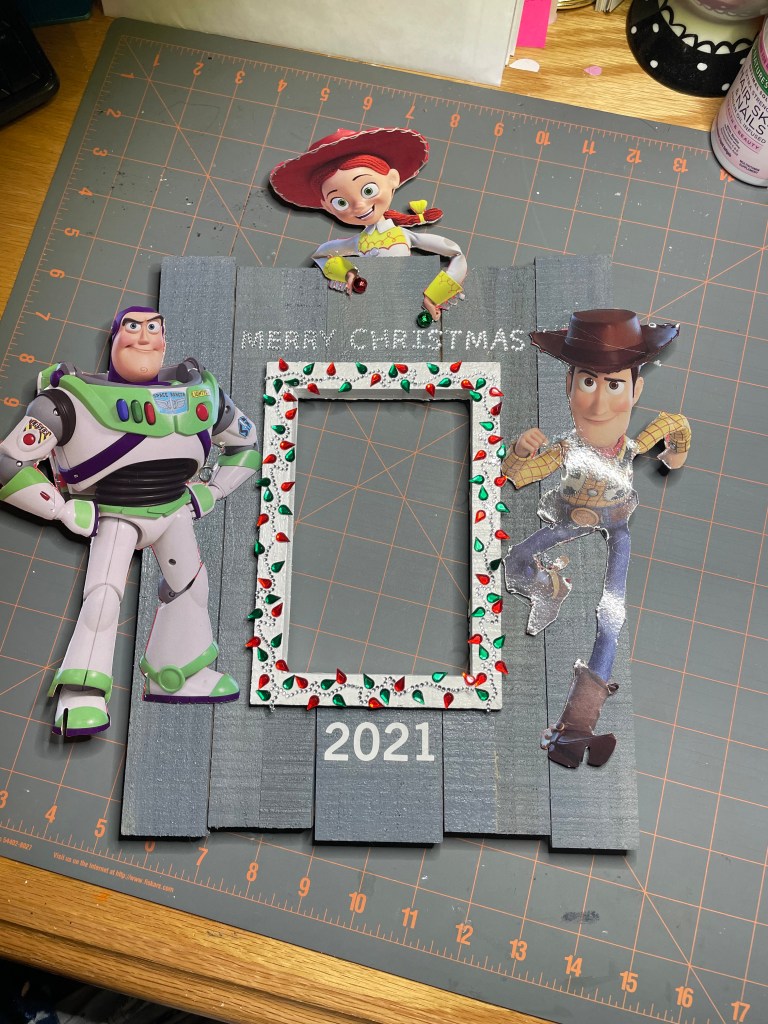
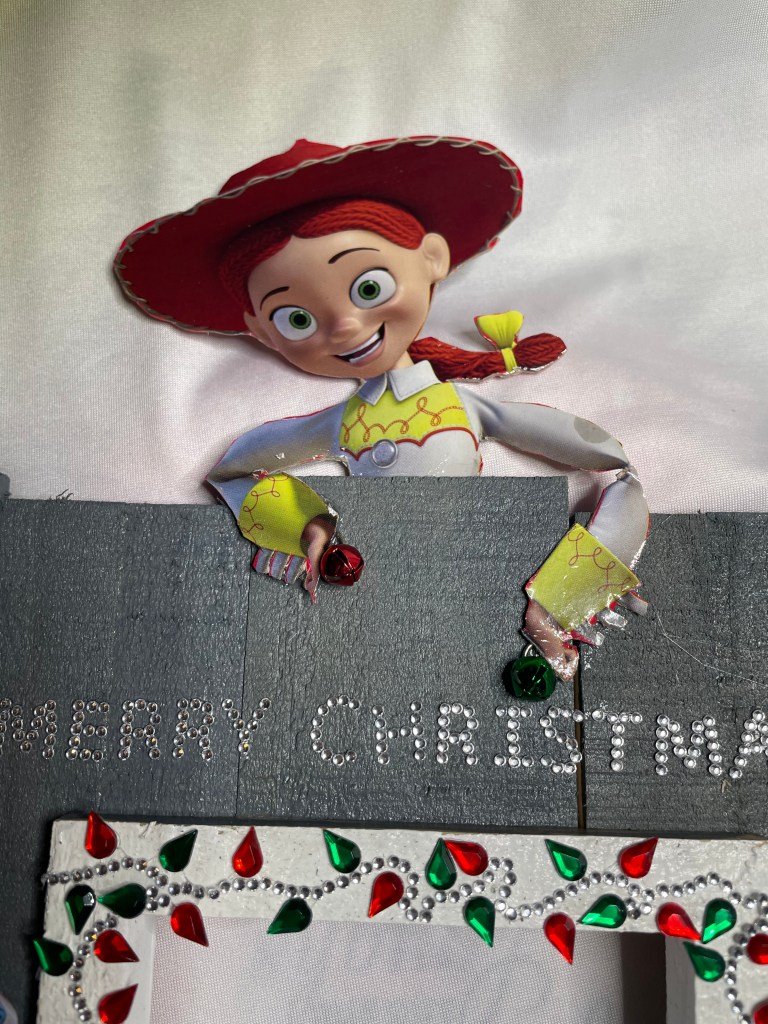
She decided on the smaller numbers so I placed them at the bottom of the frame and tried to decide on the placement of the Toy Story characters. I decided that I thought I would add character if I could place Jessie at the top of the frame to make her look like she was climbing over or something like that. So, this is the final placement of the characters with the Merry Christmas sticker below Jessie and the Christmas Lights stickers around the white frame. Jingle bells were added to Jessie’s hands and are held in place using E6000 glue. The 2021 stickers were so old they would not stick on their own so I used my Nuvo Deluxe Adhesive to keep them in place.
I am currently in discussions with my daughter regarding next year’s frame. I think it my be Disney Aladdin inspired. My mind is going crazy with all of the possibilities for the 2022 theme.