Craft Project #23 – small Easter wreath for mom’s walker: part one.

I decided I would try something different for this project. I have seen lots of YouTube videos on making a wreath using plastic table covers. I had a small wreath on hand so I made my way to Dollar Tree and bout 3 plastic table covers that I thought I would work for what I had planned.

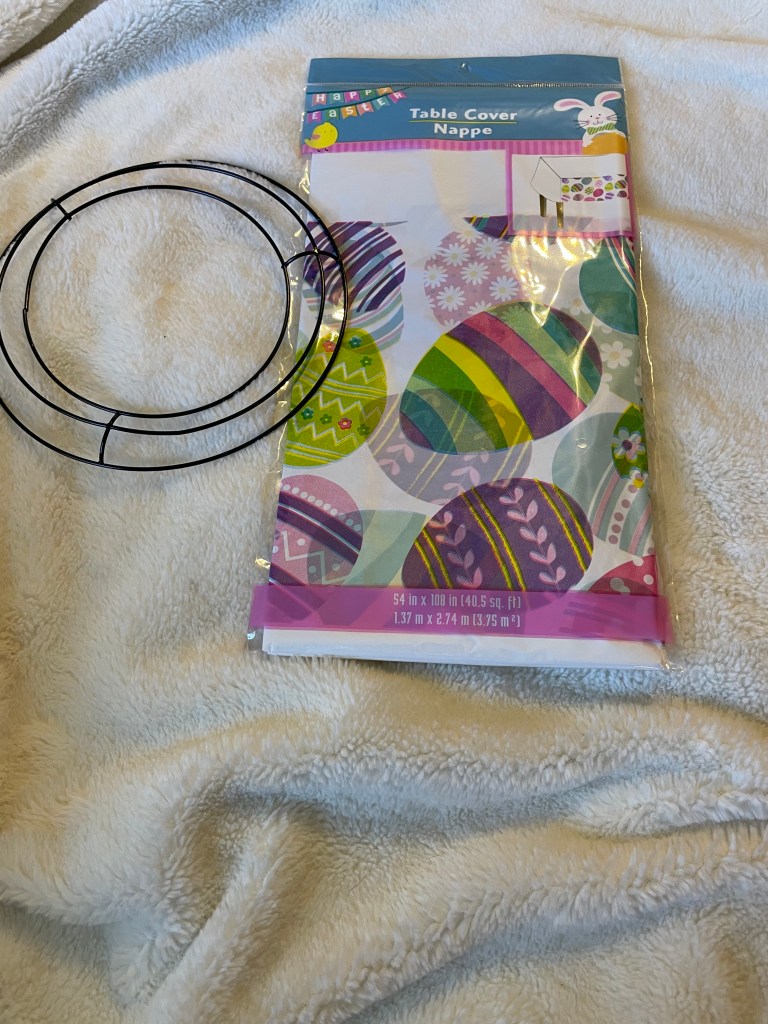
My first mistake was not paying attention to the design of the table cover. I thought it was solid Easter eggs. But it wasn’t. The Easter eggs are only on the edge.

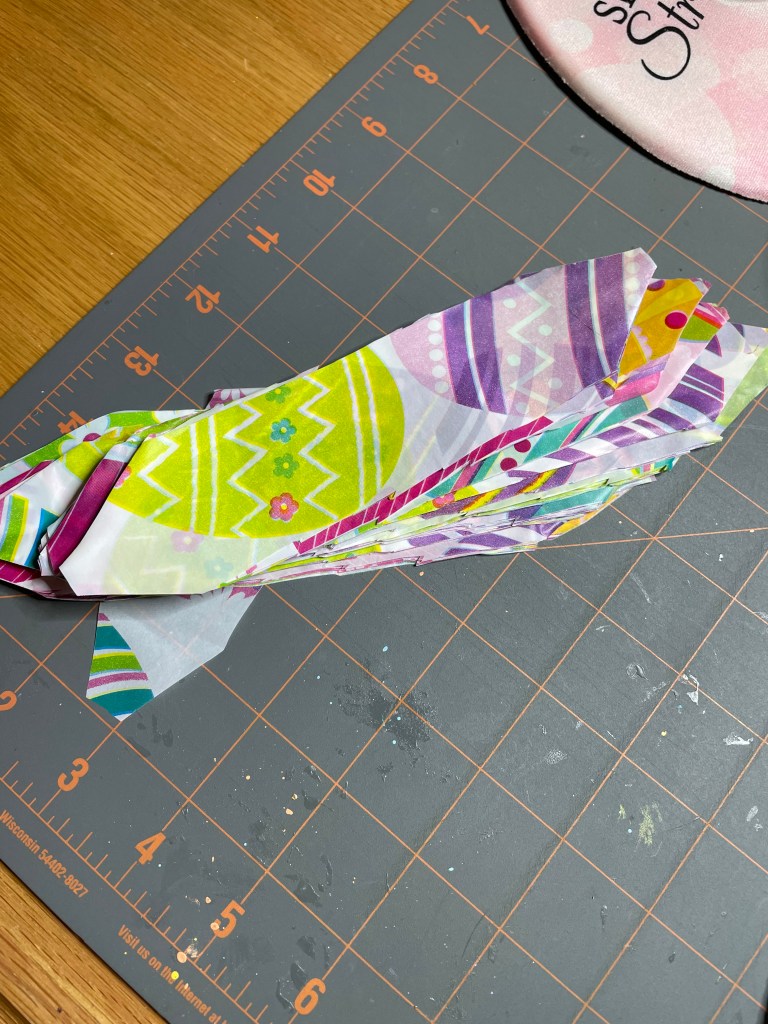
Then the second mistake happened. Since I was using a small wreath form, I thought that strips 1 1/2 inches wide and 6 inches long would work perfectly. I was wrong. I wasted one plastic table cover. But that’s ok. I still had 2 left.

I moved on to another table cover and cut strips 1 1/2 inches by 7 inches long. This worked out well. So, I started to tie the strips to the wire wreath form. By the time I finished cutting and attaching the last plastic table, it became obvious that I did not purchase enough.

So now, I cannot finish this project until I am able to go to Dollar Tree and get some more Easter plastic table covers. I just hope I do not get distracted when I go there.

Started the Spring decorating for mom’s door, walker, and a little something for her room.

Out with the St. Patrick’s Day decorations and on to something new!!!

Starting with a clean slate!!!! Our journey begins with decorating my mom’s door area.

We started with the tree. The goal was to make it look fuller and happy! Much like a rose bush but with every kind of flower imaginable.

From there we moved to the table area and, of course, the frog.

As always, we place garland around the door. We are using a yellow rose garland around the door as well as a banner.

After all of the decorations were put into place, it was realized that the garland looks a little thin. I added some of the butterfly picks I made to the garland but it still needs more. A lot more. This means I need to purchase some more garland and maybe use some deco mesh to fill things out. But that is for another time.

Mom likes the new door decorations but she does agree that it needs more. So we will make sure that more is added.

My granddaughter Victoria did the decorations for my mom’s walker. She was not very happy with taking off the old decorations and there may or may not have been some words spoken under her breath but she managed like a true champ! And she did a terrific job of decorating my moms walker for the spring!!!

While Victoria was working on the walker, I put some rose garlands on the top of mom’s curtain to bring a little spring into her room. I used four garlands for this and it looks great. Now I know how much I need to order to make the door garland fuller.

I also purchased some new vases to use for some spring time flowers I purchased at Hobby Lobby. The vases are from Marshalls.

Everything we have done so far to decorate for spring has made my mom very happy. As soon as I have more to add, I will be doing a part 2 of decorating for her. Who knows. There may even be a part 3!!!

Craft Project #17 – creating a tree topper

My mom’s little Christmas tree that sits outside her apartment door needs to be decorated for spring as well. I decided to make some picks to use as a tree topper.

While shopping for things at Dollar Tree, I picked up a pink baby headband that has a flower on it, some Main Street Wall creations Jumbo Stickers in pink flowers, and some floral wire. I will also be using 3 wood butterflies left over from other craft projects.

The first part of this project was to attach 3 wood butterflies to the pink baby headband. The supplies I used for this are E6000 adhesive, floral wire, 3 left over wood butterflies, and wire cutters.

The first step was to cut 6 inch pieces of the floral wire.

I then folded the floral wire in half and attach the wire to the back of the wood butterflies using E6000 adhesive. I then set them aside to dry.

Once the adhesive was dry, I then attached the wood butterflies to the baby headband using E6000 adhesive. To make sure the butterflies did not slip, I used a small piece of foam board that I pressed down onto of the wires and excess adhesive.

I have happy with the outcome. I plan to wrap the headband on the top stem of the tree but without something else around it, the tree would look like it has a pony tail. So, I will be using the pink flower jumbo stickers to make picks out of and place them around the top of the tree as well.

I used the same process for making the flower picks as I did for the butterfly picks. The first thing I did was to put the stickers onto pink poster board.

I then separated each flower but cutting them into single flowers. Then trimming off the excess poster board from each flower.

After that was done, it was time to add chenille stems/pipe cleaners to the back of the flowers. I used white chenille stems as that is what I had on hand.

I folded each stem in half and attached it to the back of the flowers using E6000 adhesive. I also place a small piece of foam board on top of the stem and excess adhesive. They were then set aside to dry overnight.

Now, I have 3 large flowers to place around the headband to make a unique tree topper. I cannot wait to see how it looks.

I wonder how many more spring craft projects I will make. I guess only time will tell!