This project definitely took a lot longer than I expected.
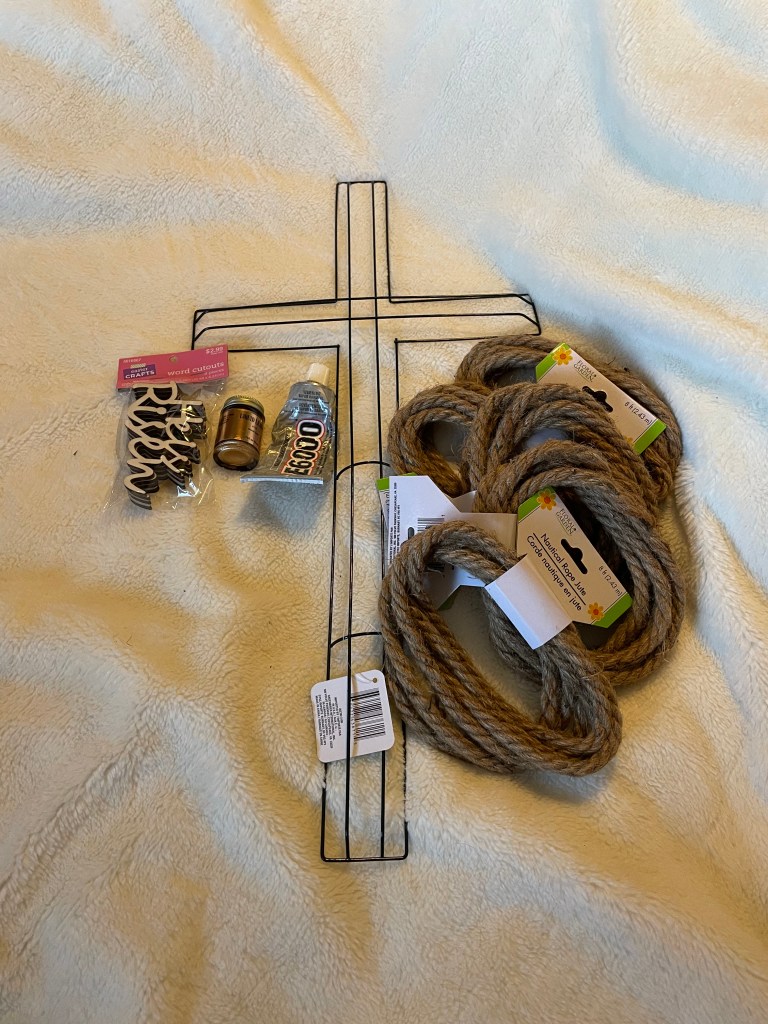
The supplies I used were rope and wire cross wreath form from Dollar Tree, word cutout and E6000 adhesive from Hobby Lobby, and Liquid Leaf in the color Classic Gold from Amazon.
I started by attaching the rope along the bottom wire of the cross using E6000 adhesive. I allowed it plenty of time to dry before I started weaving the rope through the different sections.
While I was waiting for the E6000 adhesive to dry, I painted the word cutout using the Liquid Leaf. It only took one coat of pain.
Once the weaving was complete, I place 2 pink daisy’s at the center of the cross and attached the work cutout in the center of the flowers.
Now it is done!!!! And I can go onto the next project. I apologize for not taking any pictures during the weaving process.
I had an idea.. is it possible to make an egg shape wreath form look like an Easter basket??? Let’s find out.
The supplies: one egg shape wire wreath form, yarn, ribbon, flowers, bows from Dollar Tree, Yarn Bee Eternal Bliss yarn in the color white from Hobby Lobby, and scrap material left over from other spring/Easter craft projects.
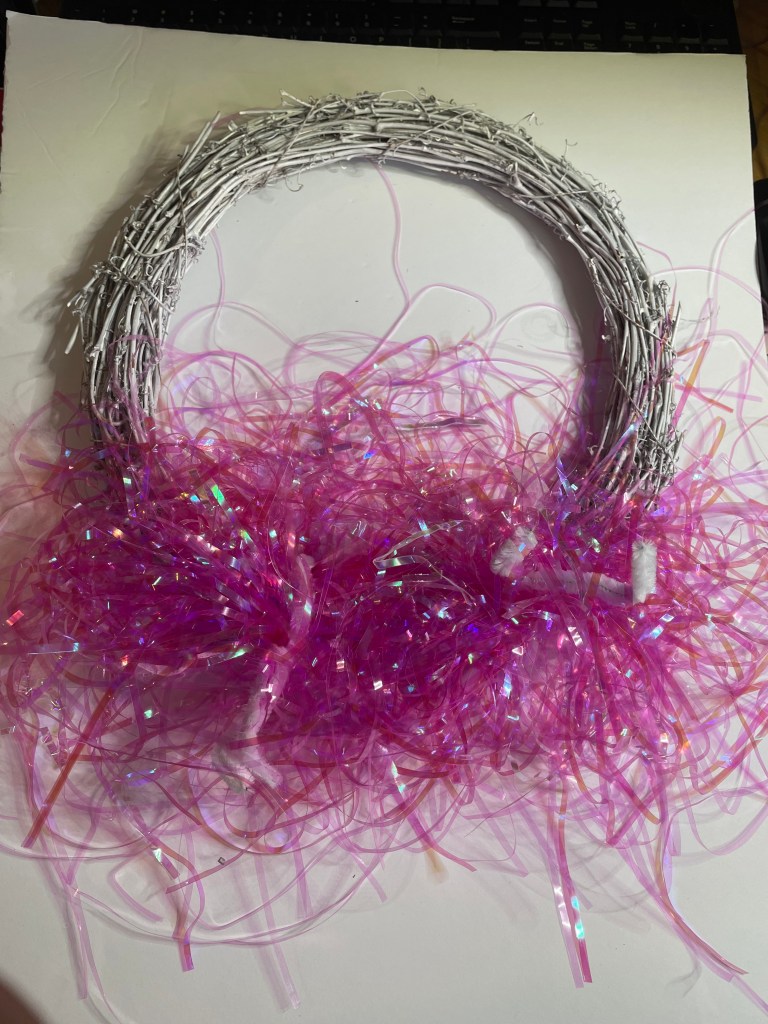
I cut the paper strips down to 1/2 to3/4 x 7 inches. I had to decide how far up I want to use the fabric and then attached fabric strips just outside the brackets on each side. Using the Larks Head knot, I attached one fabric strip to the outer ring, then 2 fabric strips on the next ring, then 3 fabric strips, then 4 fabric strips on the last ring. I then attached fabric strips to the bottom section of the egg. My goal is to make this look like the lining in an Easter basket.
Once the bottom section was complete, I then used the Yarn Bee Eternal Bliss yarn to weave between the rings for the remainder of the wreath. This went real quick.
After I finished weaving the yarn on the wreath form, I cut out a piece of foam board and attached it to the back of the wreath. This will be used to attached the eggs to. After all, what’s an Easter basket without eggs????
I also attached a bow to the top of the wreath. This is a bow I made for a different project, but decided not to use. I also attached some of the Yarn Bee Eternal Bliss yarn to the top of the foam board.
I used Easter eggs purchased from Dollar Tree to fill the basket along with some left over pink Easter grass. I used Aleene’s Turbo Tacky Glue to attached the eggs to the foam board.
In no time at all, the wreath was completed and is ready to put up at my mom’s place when it is time to do the Easter decorating.
This definitely took longer than I thought it would. The most difficult part was getting the Easter grass glued or otherwise attached to the wreath. But once it was dry, I was able to continue working on this project.
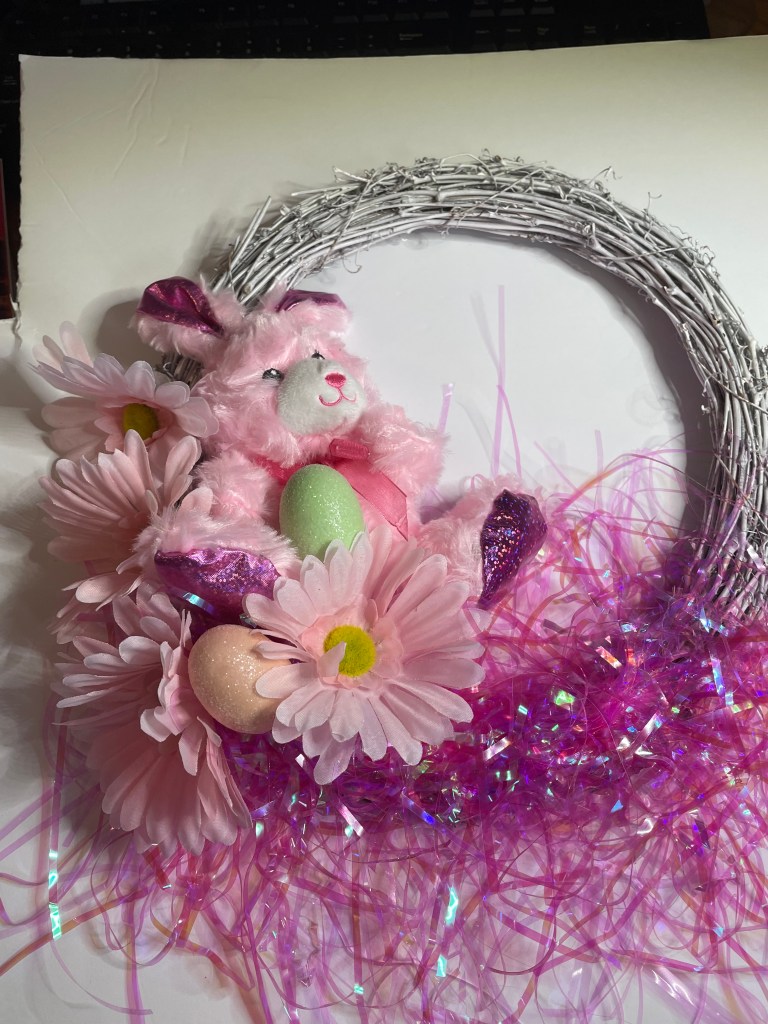
I started by adding some pink daisy’s to the wreath using E6000 to put them in place. Then I attached the small pink bunny to the wreath, also using E6000. And then I decided the bunny needed some eggs so I attached some to the wreath using E6000.
I continued adding eggs and daisy’s on the wreath until I decided that there was enough.
The last thing I did was to trim the Easter grass so it didn’t not look like it was falling apart. I am happy with the way the wreath turned out. Especially since it was my first time to actually make a wreath like this.
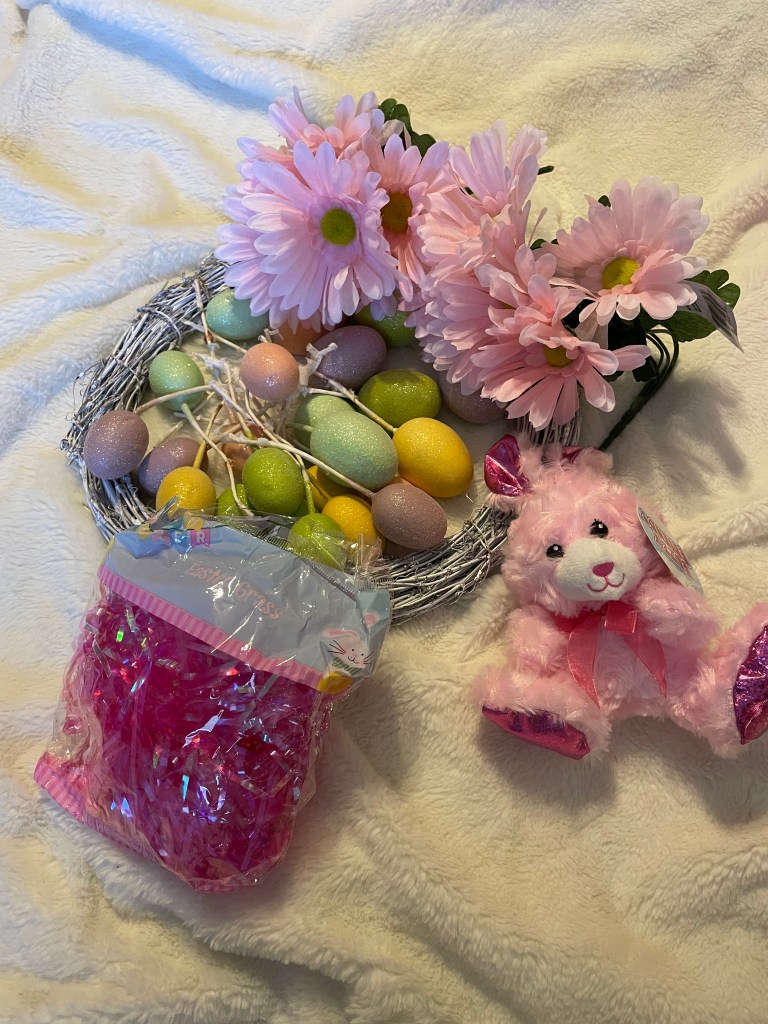
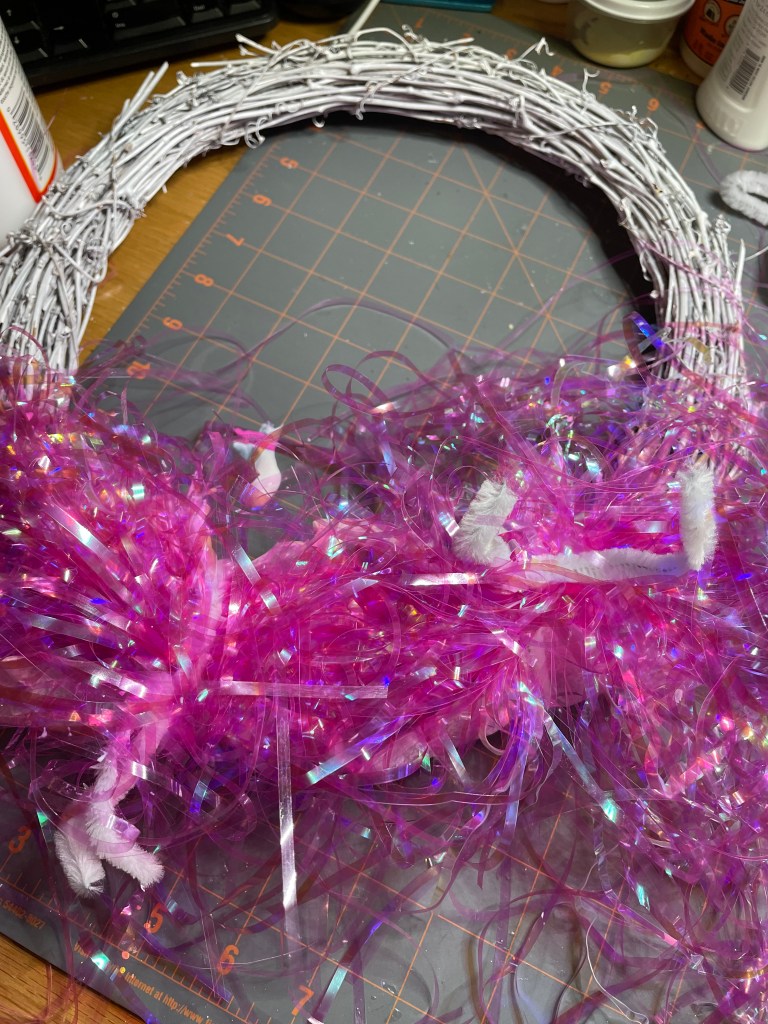
Another trip to Dollar Tree was in order since my original plans for the wreath would not work out. At Dollar Tree, I purchased some pink daisy’s, a small stuffed pink bunny, and some pink Easter grass. I hope it is not pink overload!
I decided that I would use the pink Easter grass on the bottom of the wreath, hoping that Mod Podge would hold it in place. So far, I have done this process two times with the possibility or more to come.
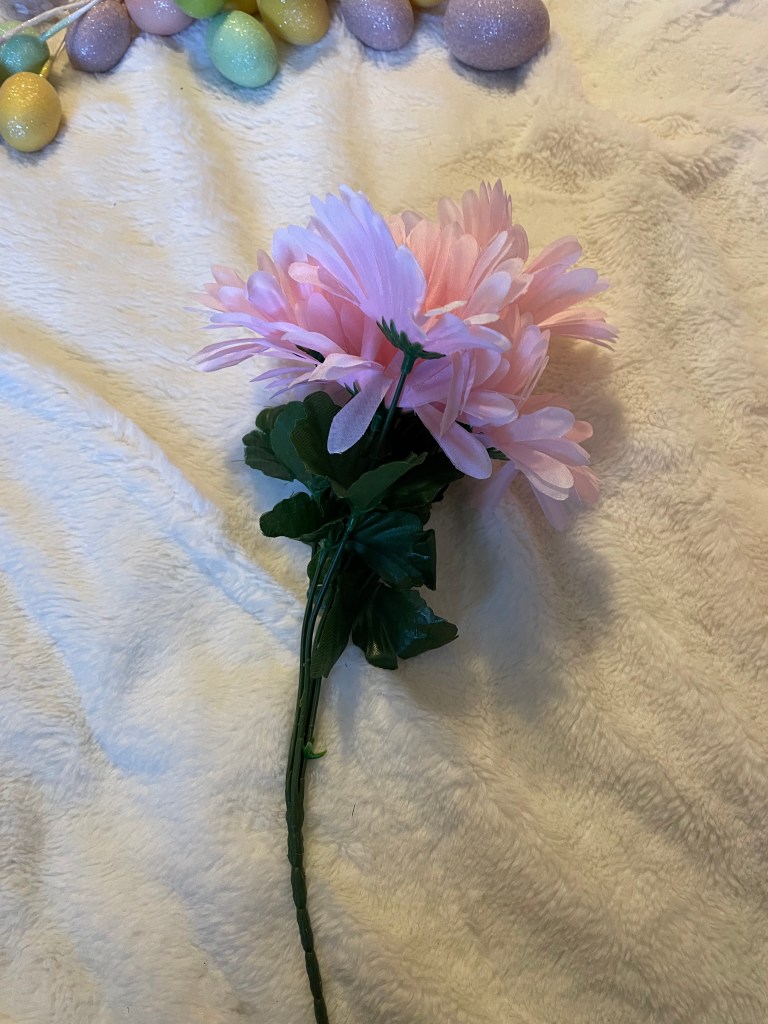
While I was letting the Mod Podge dry, I decided to use the time to trim down the daisy’s.
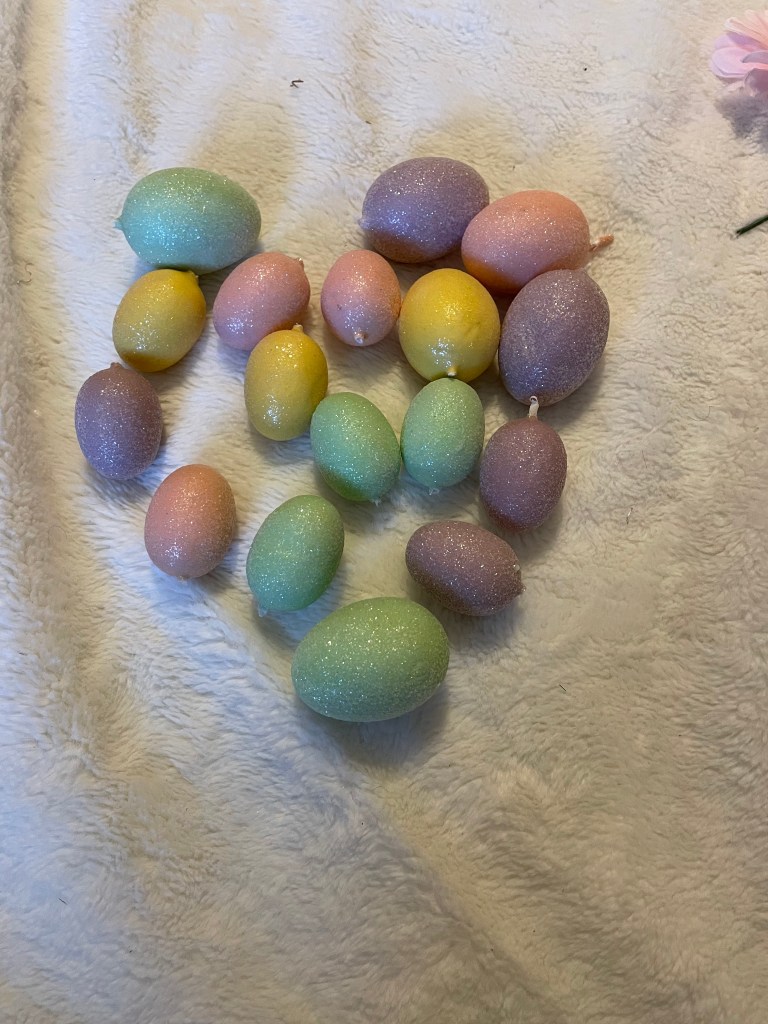
I then decided on the eggs I want to use on this wreath then removed the stems from the eggs.
Now I have to wait for the Mod Podge to dry and probably add another later of Mod Podge and Easter grass to the wreath. This means there will be a part three for this craft project.