Note to self… I need more counter space for projects like this!!!
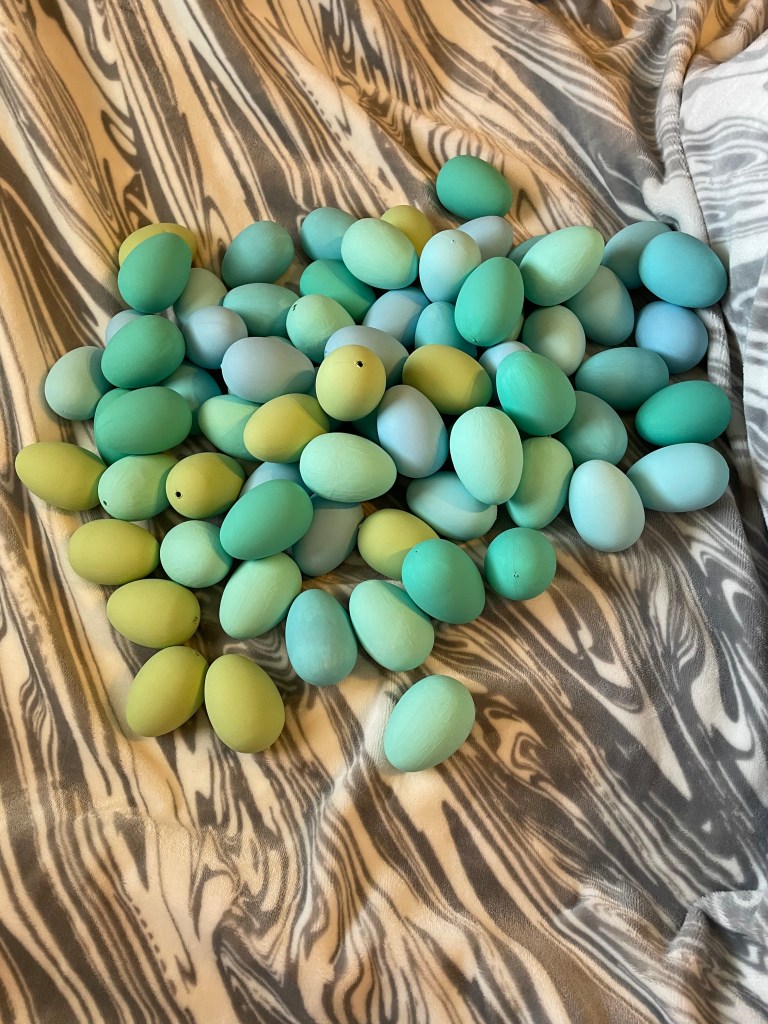
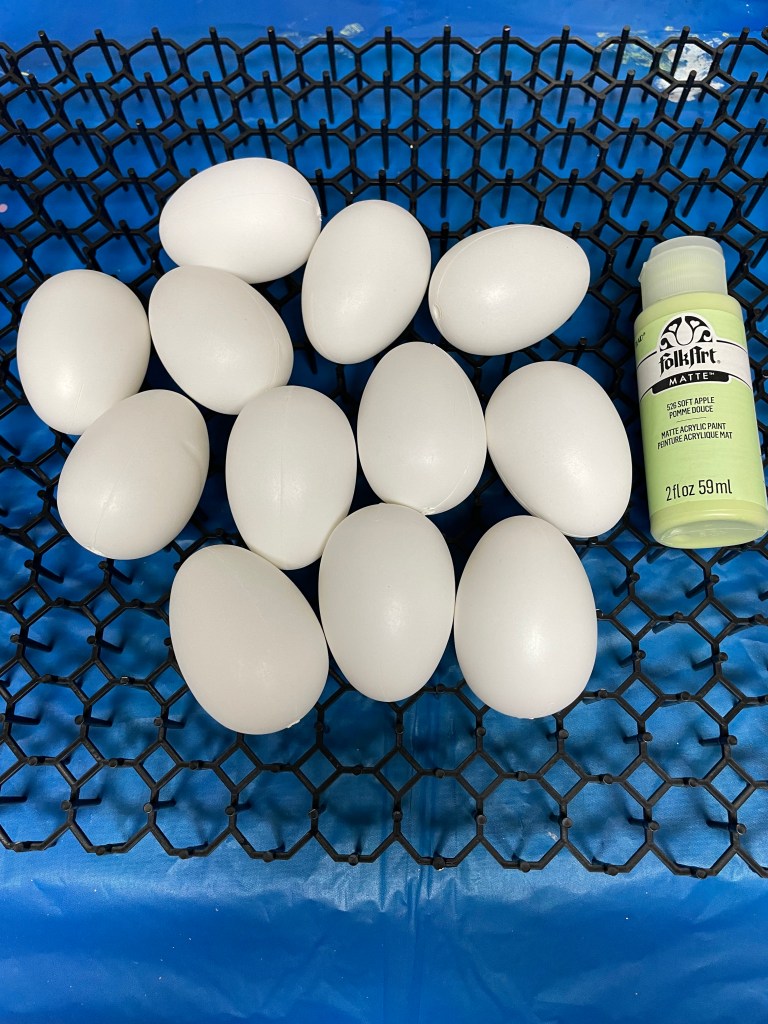
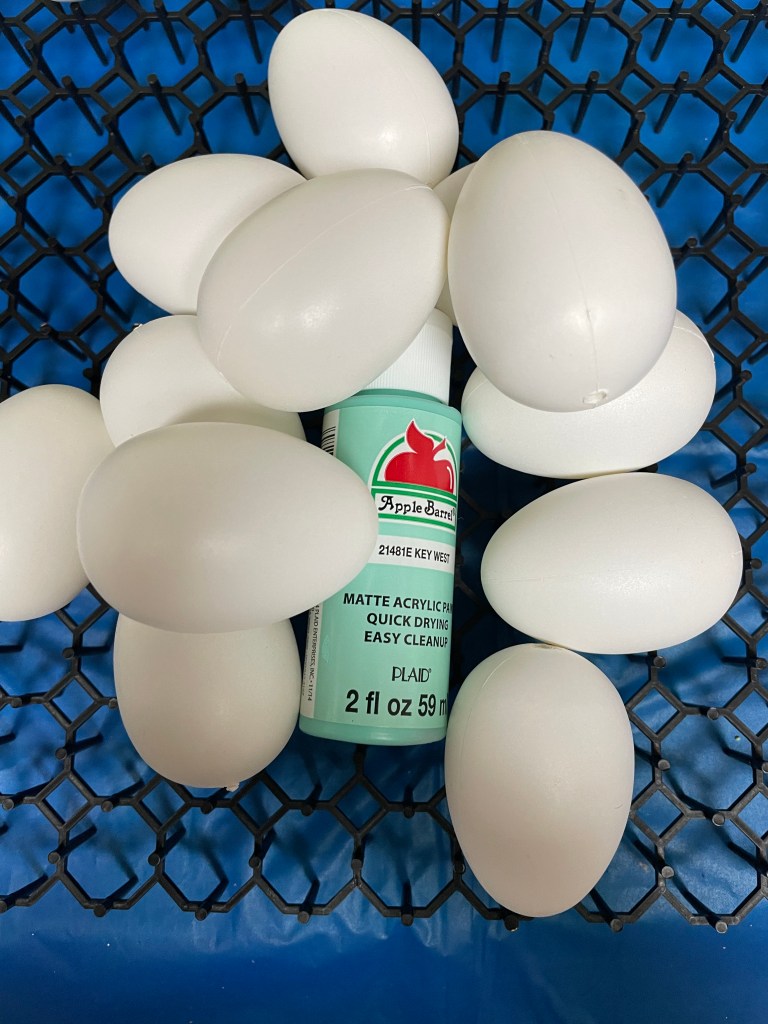
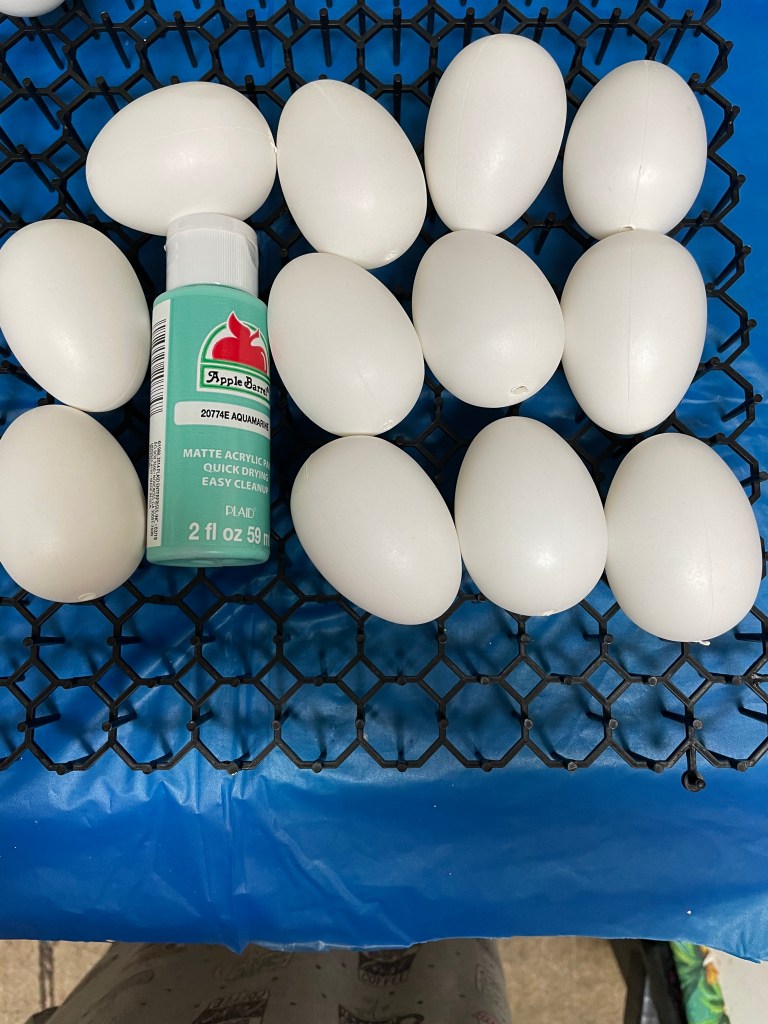
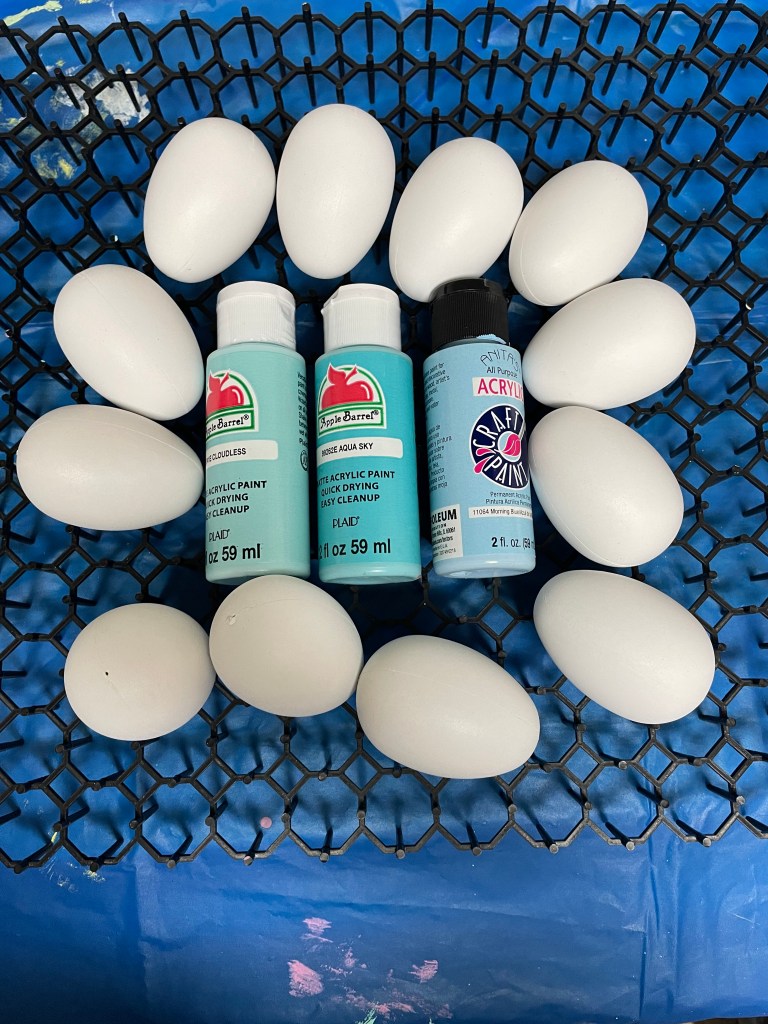
I started with the greens. I chose Folk Art Matte acrylic paint in the color Soft Apple, and Apple Barrel Matte acrylic paint in the colors Aquamarine and Key West. I applied three coats for each one.
For the blues, I chose Apple Barrel Matte Acrylic Paint in the colors Cloudless and Aqua Sky, and Anita’s All Purpose Acrylic craft paint in the color Morning Blue. I also used three coats for each one as well.
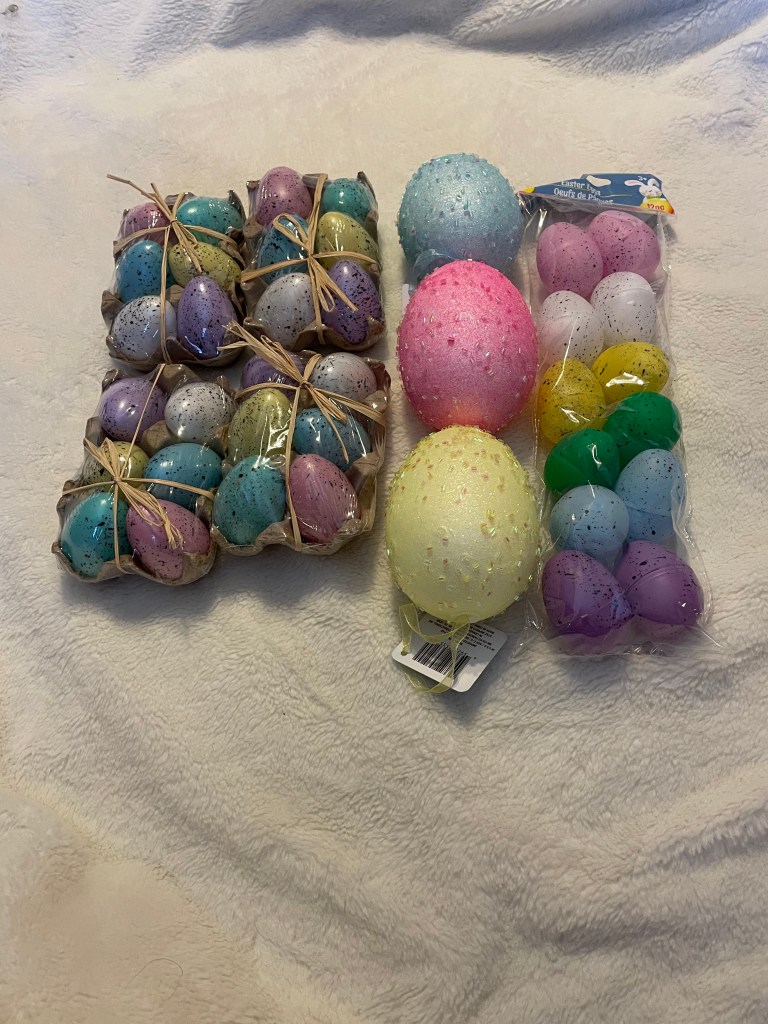
And now there is only one dozen eggs left. There is a possibility that I might try some glitter on them. I guess only time will tell.
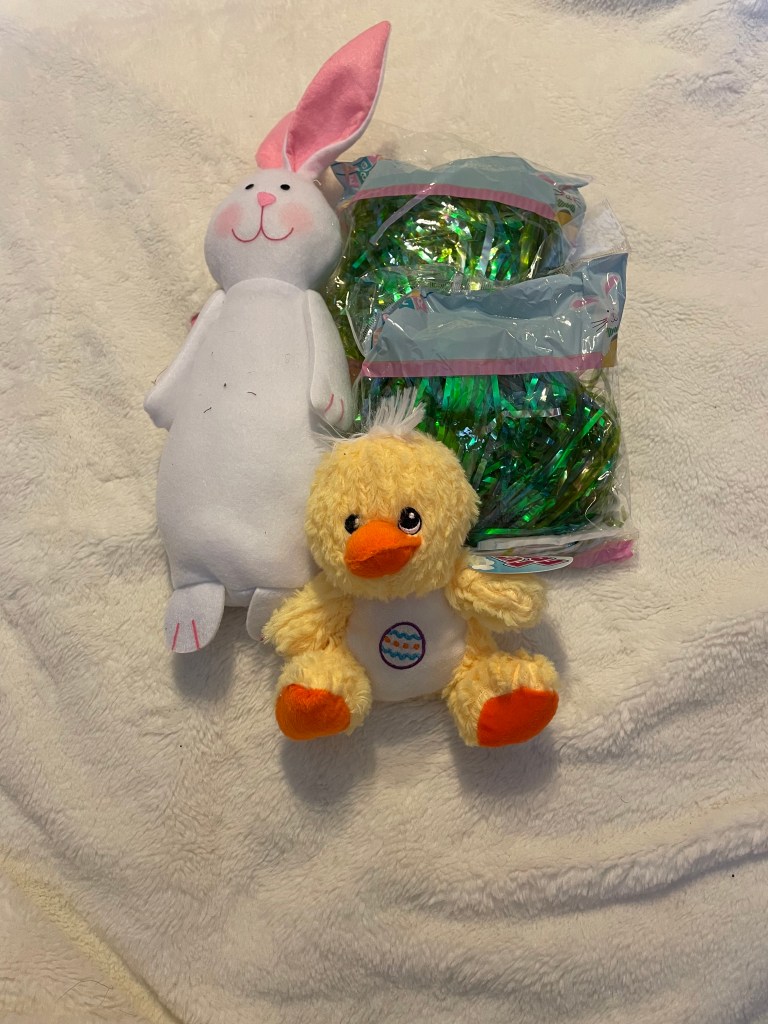
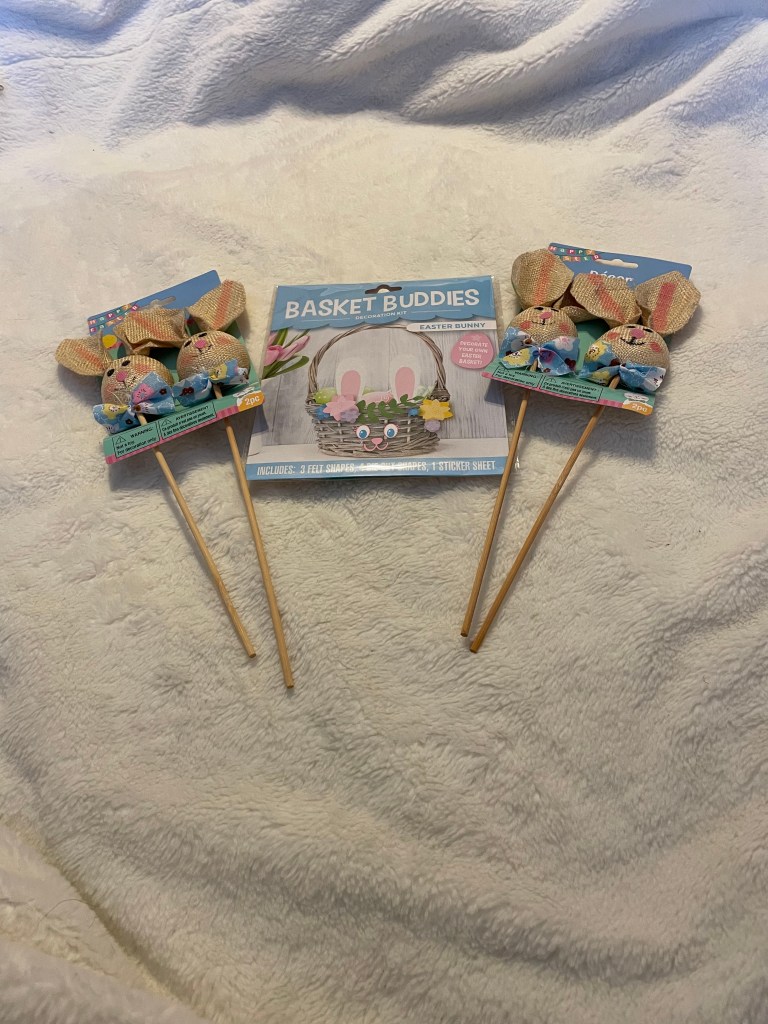
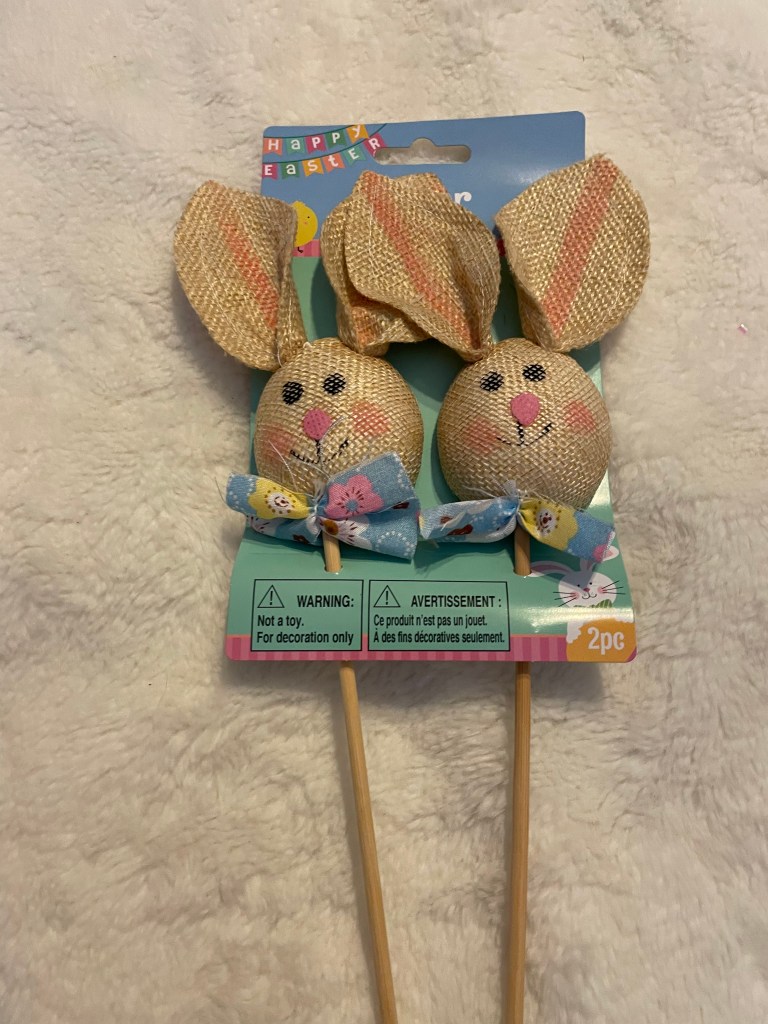
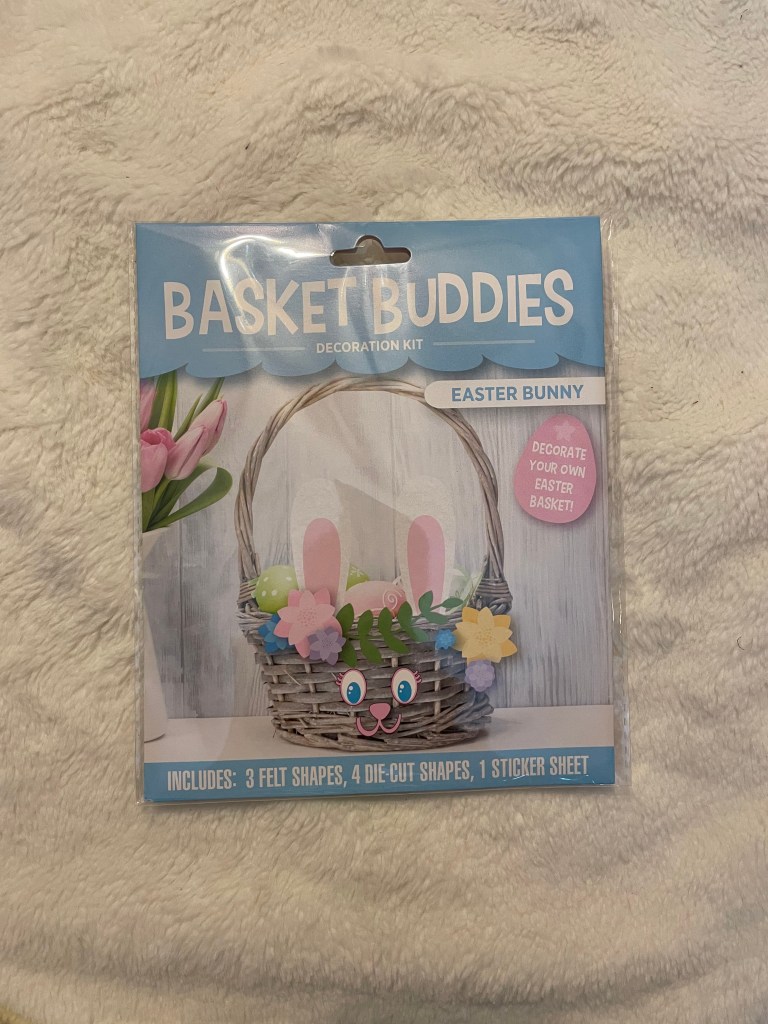
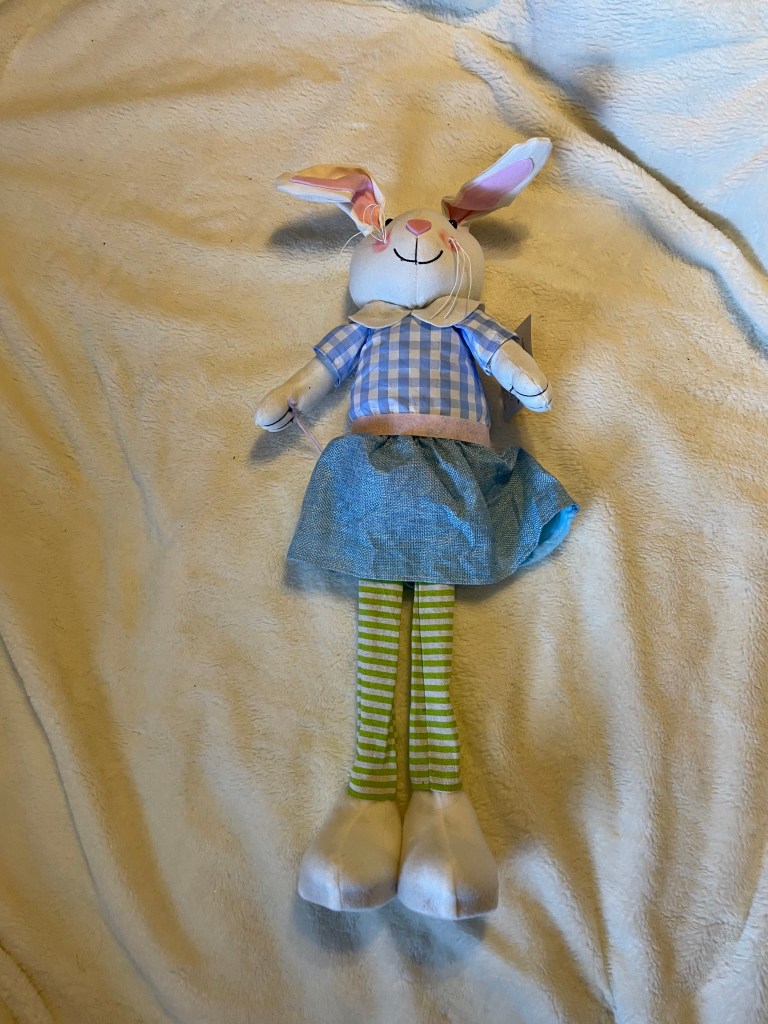
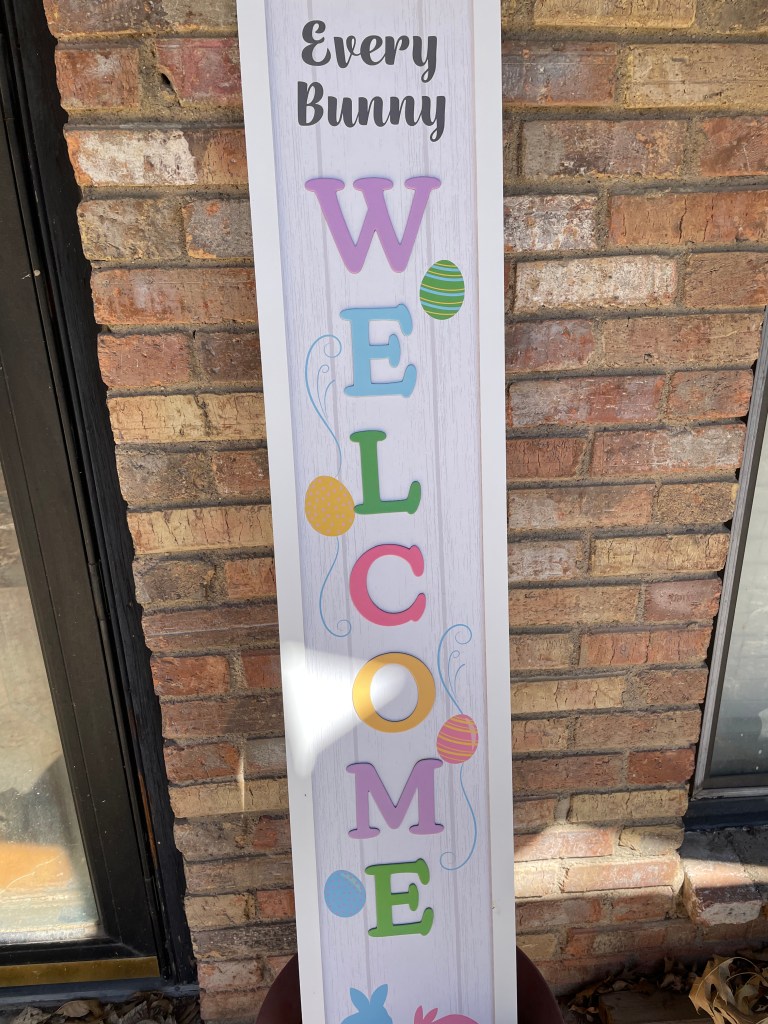
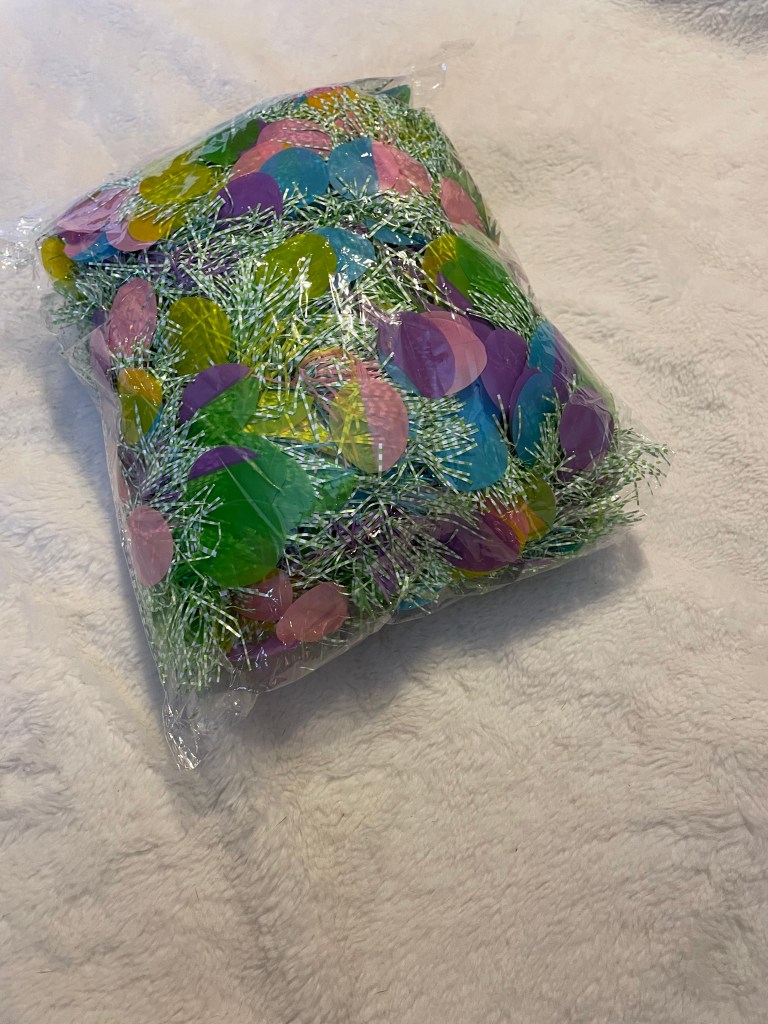
Dollar Tree is always my first stop when I buy decorations for my mom’s tiny apartment. Of course I bought some eggs just in case I do not get all of the eggs I bought painted and decorated. I also bought some stuffed animals, one of which seems heavy/weighted enough to stand up by itself!! I couldn’t forget the grass for any Easter baskets I may or may not make. There were a couple of other things that caught my eye. The bunny picks and basket decorations will make any decoration I decide to make real cute. What’s a door without a welcome sign. I had to get the gnome welcome sign that they had.
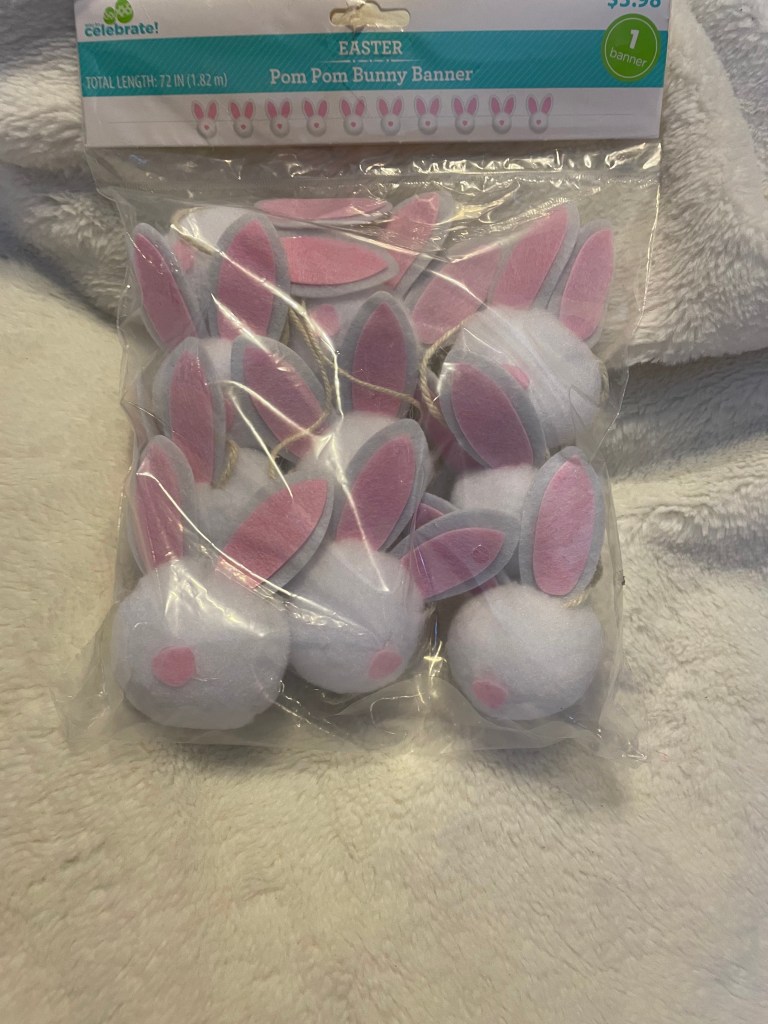
I also browsed the Dollar General section that Dollar Tree has. I decided on three things: a pom pom bunny banner, an Easter sign, and a bunny that stands up. I know exactly where all of these items will go!!!
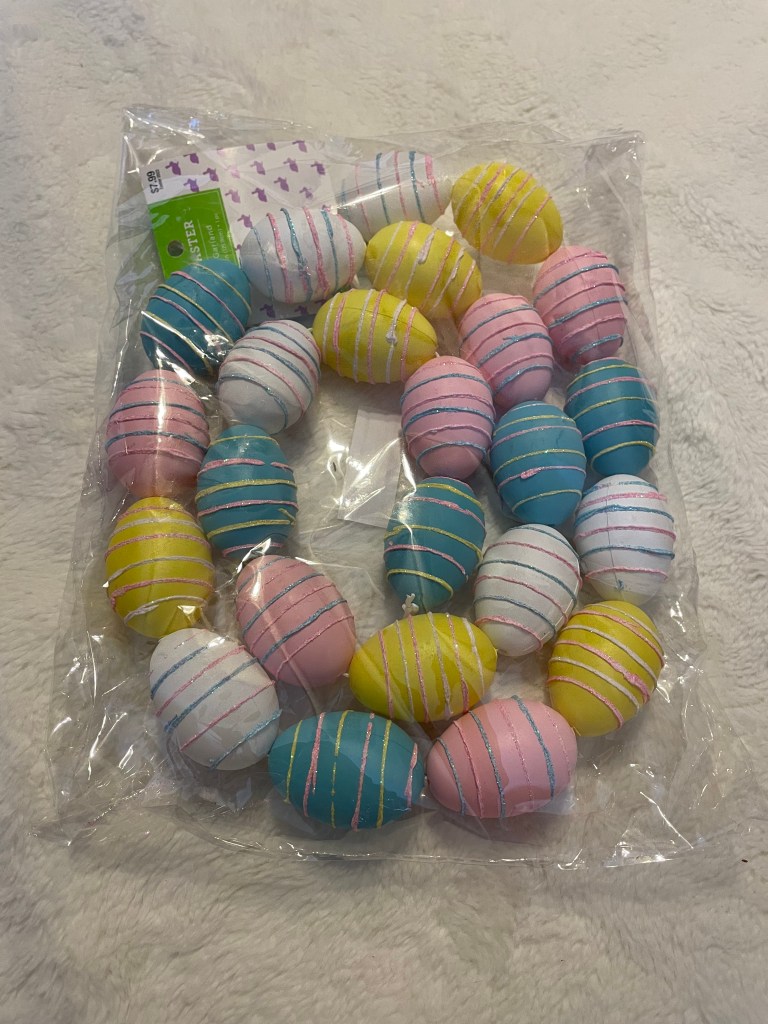
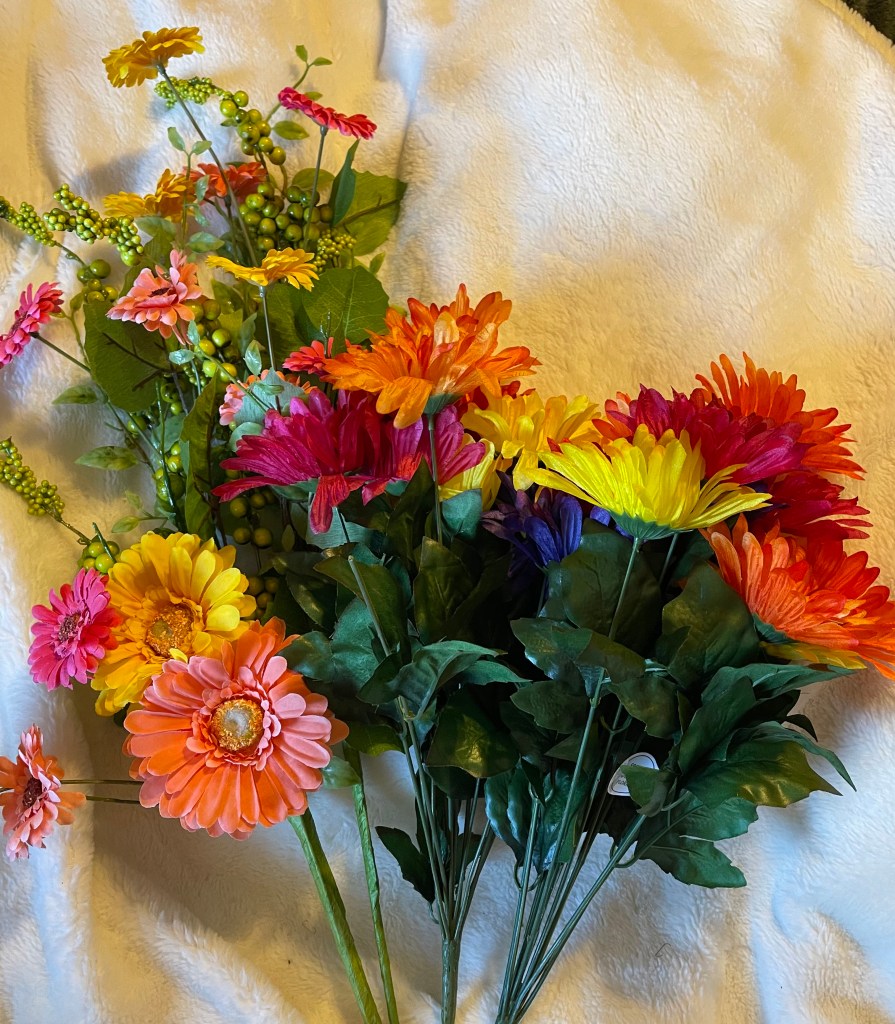
Hobby Lobby always has things I cannot seem to pass up. I purchased some Easter florals from the store while shopping for other things. They are so pretty. I also purchased an Easter egg garland that I plan to use on mom’s walker along with some other items.
I surprised myself by only buying one item from Amazon. That is very unusual for me! The garland I found is so cute and will be easy to add to the yellow rose garland currently around her door.
I just realized that I purchased two welcome signs. I think I will use the gnome in her door area now with the spring decorations I just put up and leave it up for spring. I know that I will definitely be using both signs!!!! Who knows, I might put the gnome sign in her window!!!
For now, it is time to start all the craft projects I need to do!!!!
I love shopping for decorations and things to use for craft projects. And the spring items are no exception.
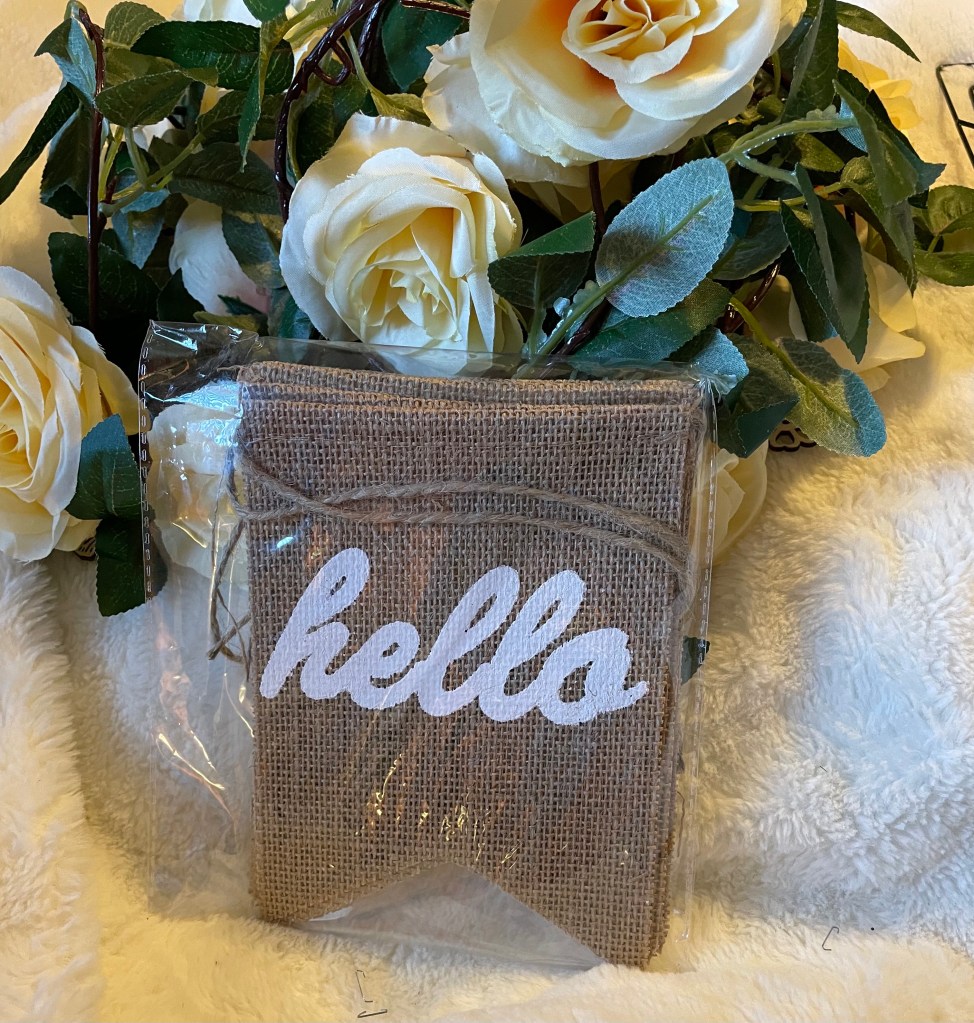
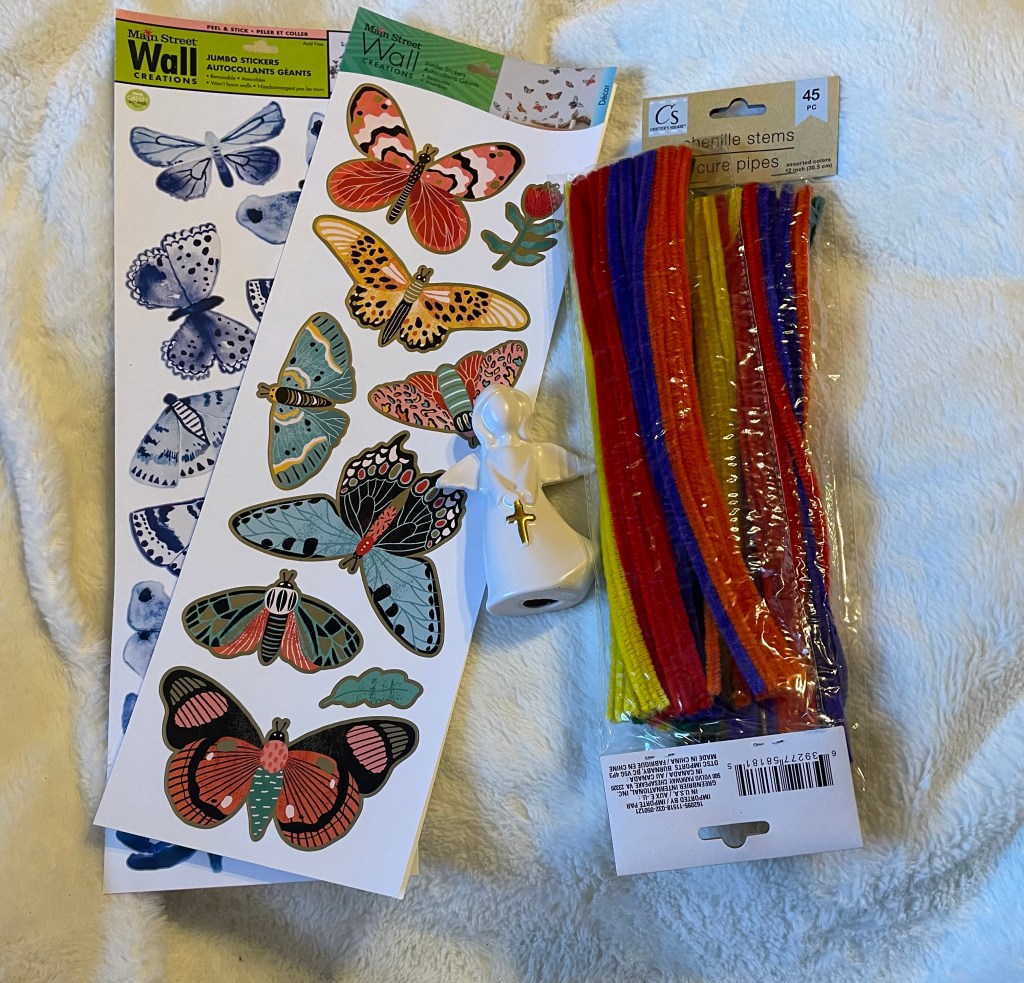
Beginning with Amazon. I actually did not purchase as much as I usually do. I purchased several yellow rose garlands. Obviously more that I would usually purchased, but we will be using most of the garlands to decorate her very large window area. The wood flowers and butterflies will be used on several different projects. Of course I purchased a banner for the door as well.
Dollar Tree purchases was definitely on the small side for the spring season purchases.. From the Dollar General section in Dollar Tree, I purchased some floral garland that will adorn her walker as well as the tree. I also purchased some individual floral stems to use on the tree as well. I purchased some removable wall stickers that I want to try to use on the wall around the front door.
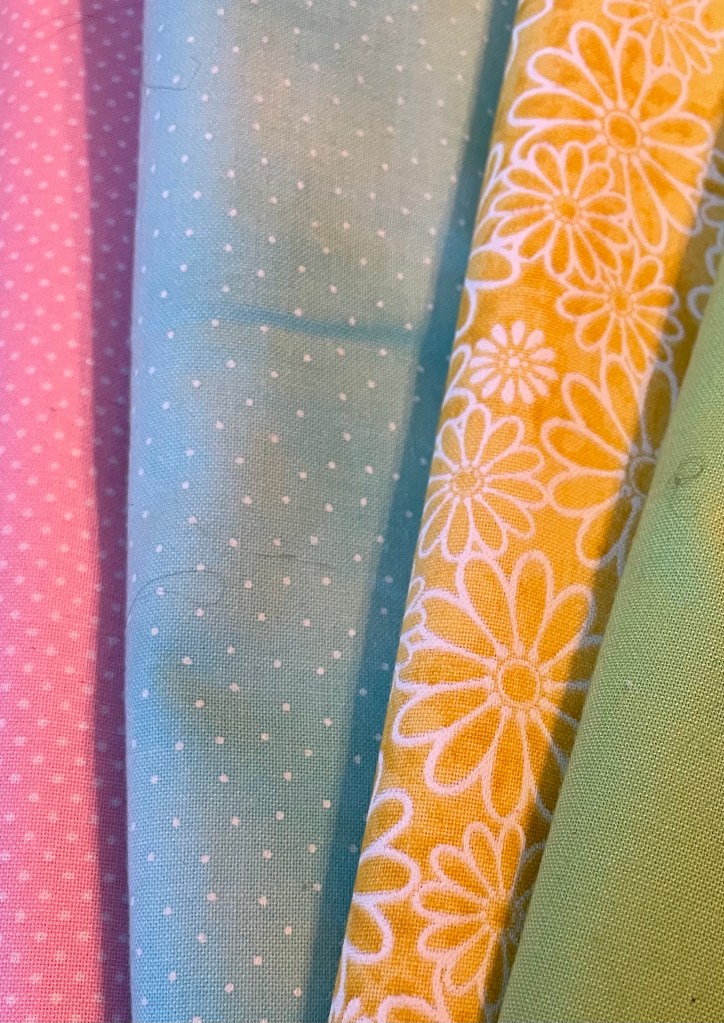
I purchased most of the spring items from Hobby Lobby this time. What can I say, when they have 50% off in their floral department, I do tend to go a little crazy, but not as crazy as I would have wanted to. I purchased wood letters and one word, for two separate projects. Other items included a lot of fabric for wreaths, scrapbook paper that may or may not be used on some letters, a wood frame which I have already started working on, wire ribbon, and pom poms.
I realize this appears that I only purchased one item from Michaels, but that is not the case.
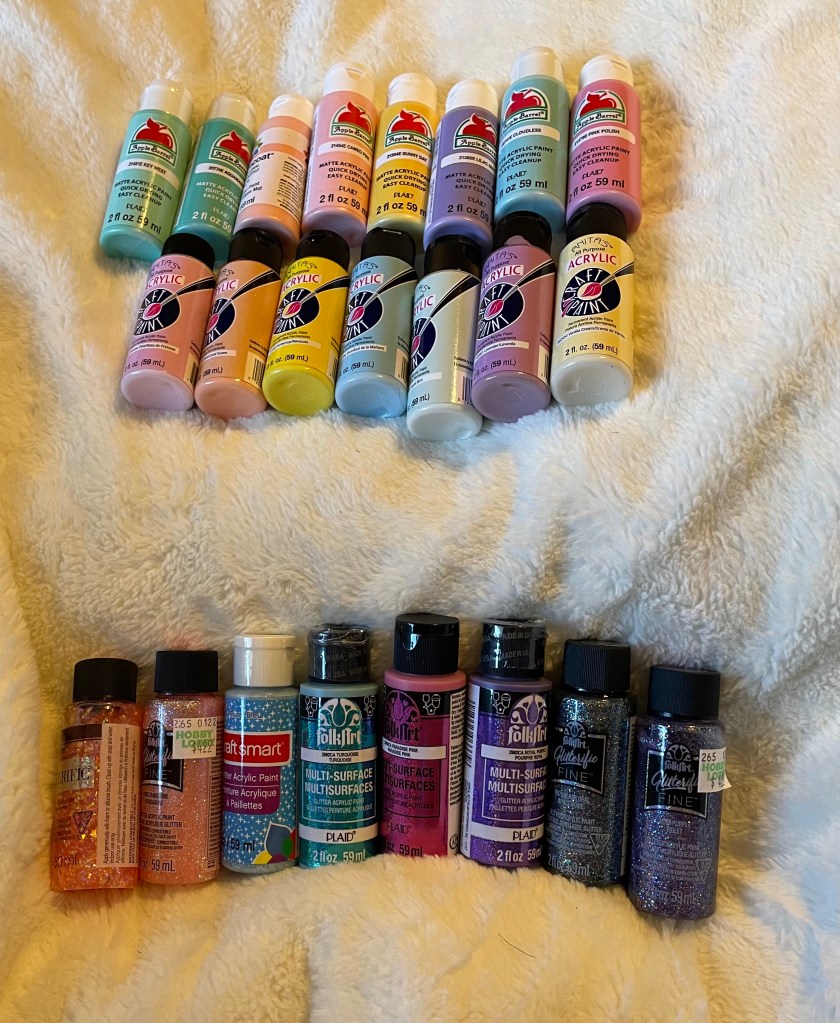
I purchased a lot of acrylic paints for the spring projects. Some came from Hobby Lobby, some from Michaels, and some from Walmart.
I also purchased a lot of items for Easter while purchasing the spring items, but those will be in a different blog.
Thanks for reading my blog. I hope you have enjoyed it. Please return to see the craft project I make with these items and how I use them when decorating mom’s door, walker, and room.
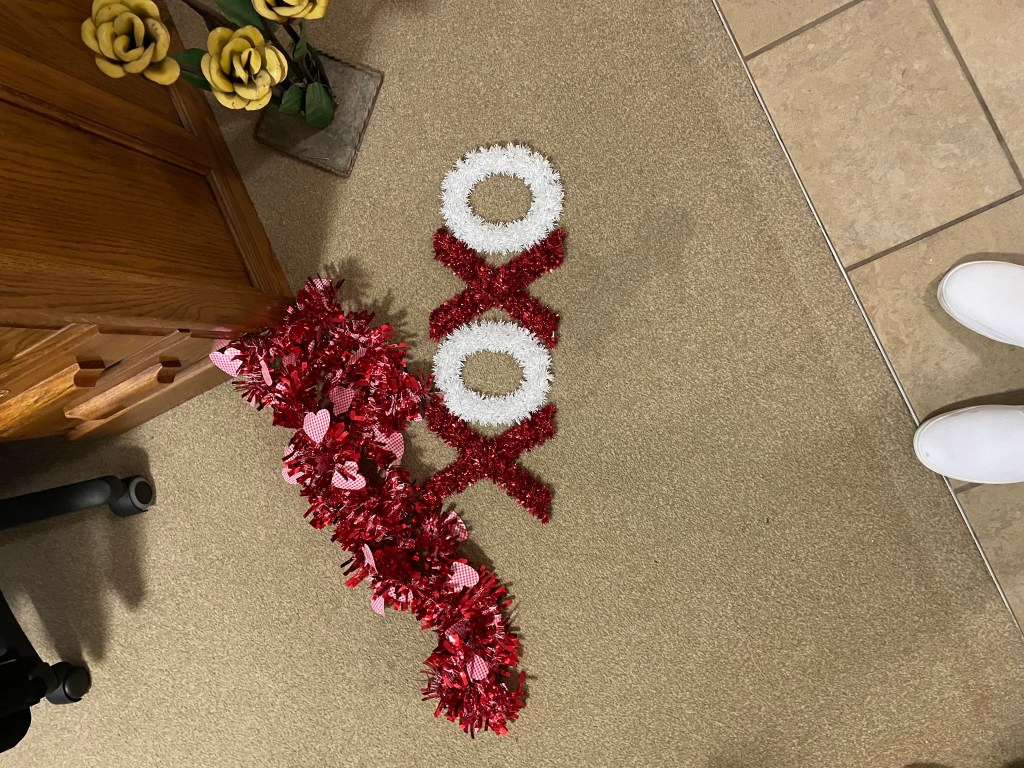
I must admit, this wreath took a lot longer than I expected. But that was only because I changed my mind on a couple of things along the way.
With the inner and outer rings complete, I decided that I did not like the way I had originally done the stem. So, I removed what was there and took some time to think on it while I finished the middle ring.
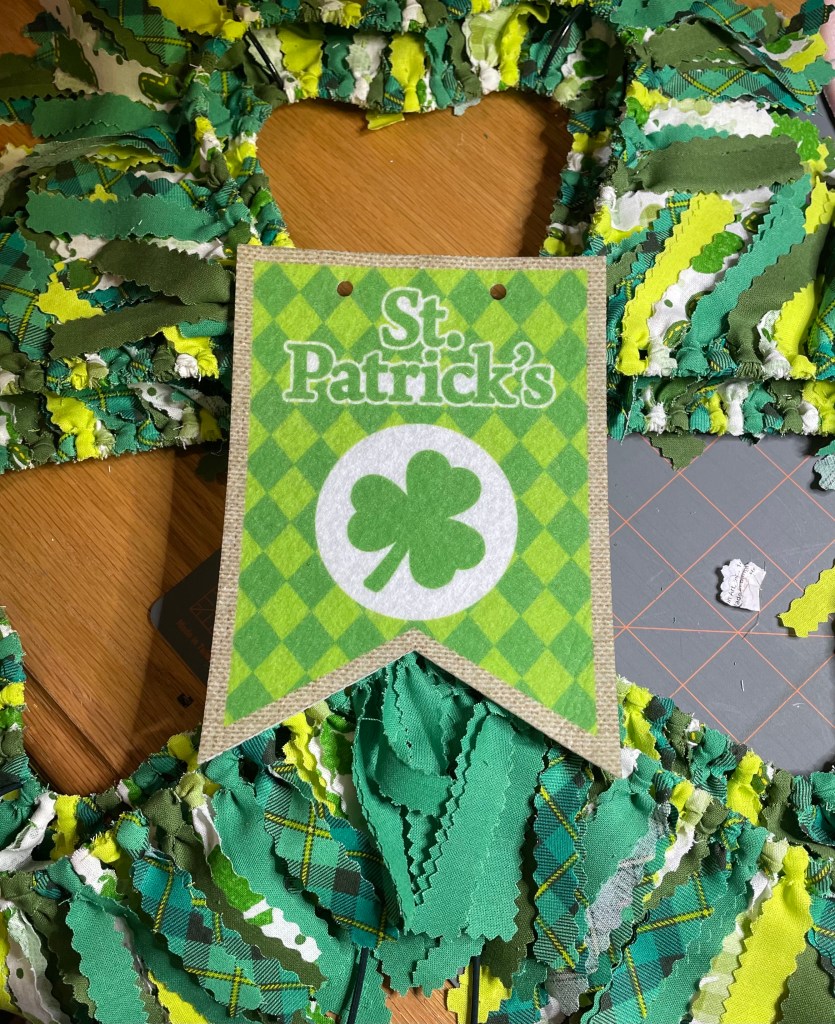
Once the middle ring was completed, I realized that the center of the wreath looked bare. I had purchased a sign at Joann’s on one of my trips there so I thought it might work. But, to me, it looked like it would be too green for the wreath.
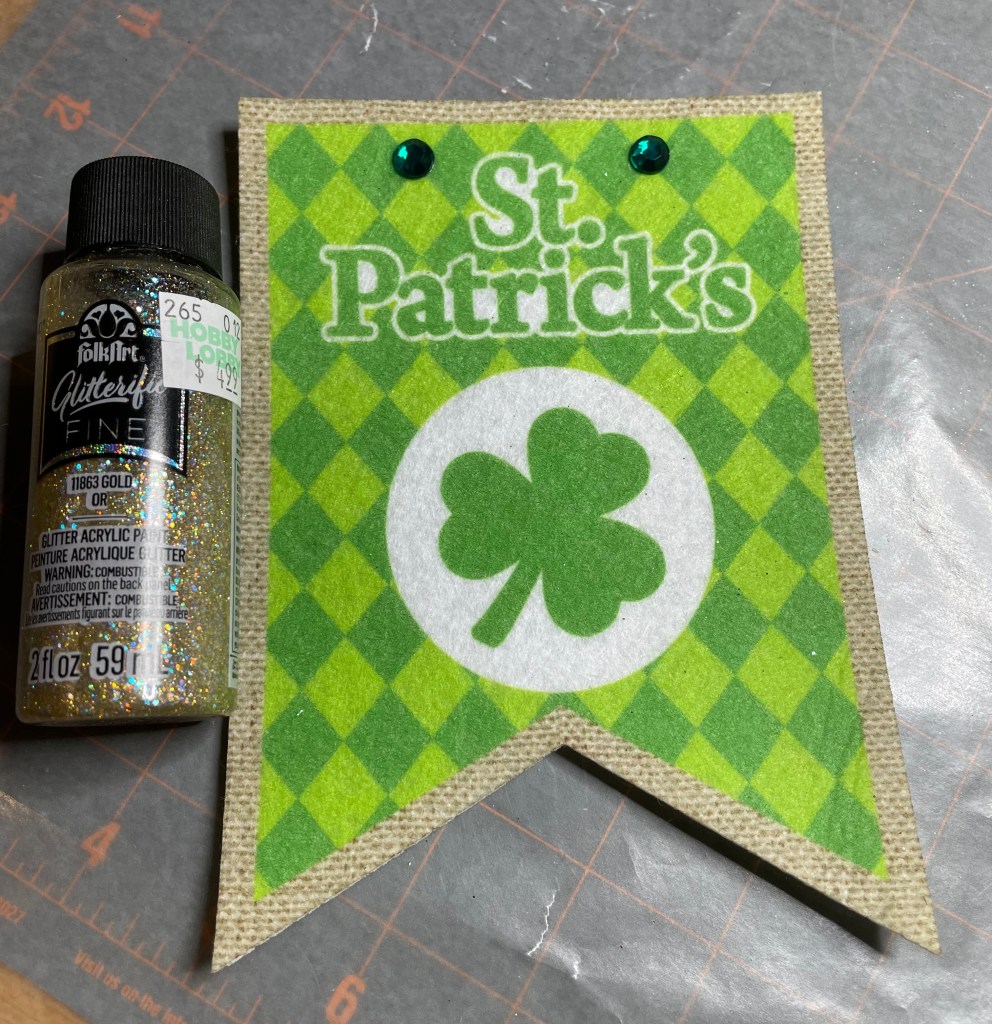
I also had a flag that I removed from the banner I will be using on my mom’s walker that I was also considering. The flag doesn’t have the sparkle that my mom would like, but that is something I can fix easily.
I did what any normal person would do and asked some people that know my mom well what they think would work.
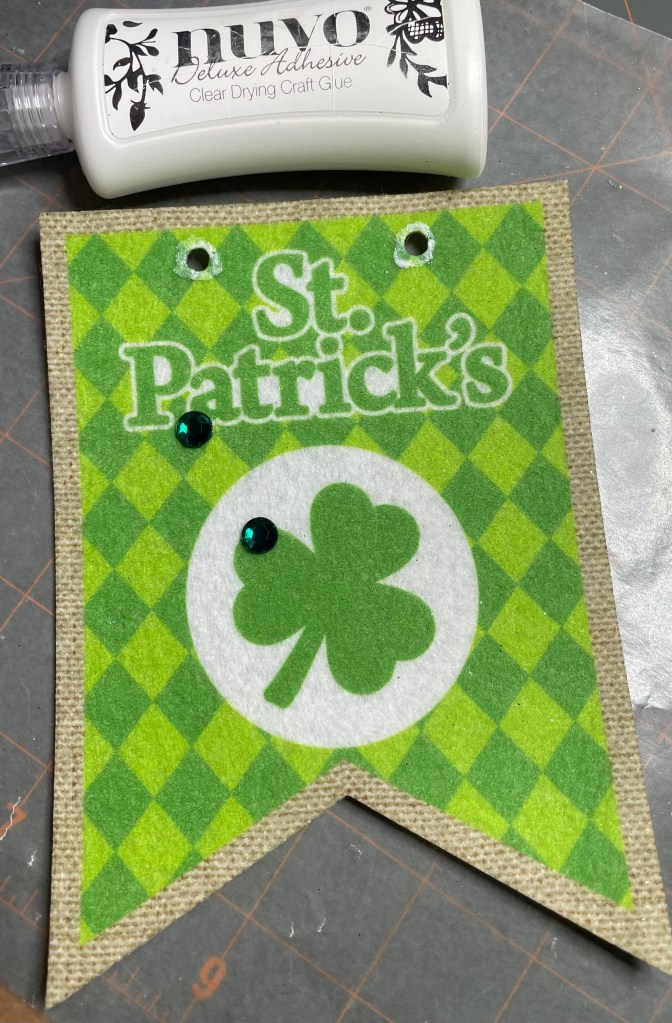
They said they liked the flag best so it was time to make the flag sparkle. I grabbed by container of rhinestones, NUVO Deluxe Adhesive, No-Sew fabric adhesive. Time to make another decision. What color of rhinestones to use.
Obviously, green would be the perfect choice. So I covered the holes at the top with the green rhinestones and attached it with the NUVO Deluxe Adhesive.
Since I have some FolkArt Glitterific FINE glitter paint, I decided to use the paint to cover the burlap area.
The flag definitely sparkles for my mom.
To complete the wreath, I used some twine to wrap around the stem which definitely came out much better than the fabric I had originally used. To give the stem a little something extra, I attached some gold coins.
And now the wreath is complete.
Next time I make a clover shaped wreath, I will try something different. Like wrapping the entire wreath in twine!!!! But that will be another day, another time!
Thanks for taking the time to read my blog. All that is left to do is to decorate my mom’s door and walker!
My mother is loving that her door gets decorated regularly for the different holidays. I will also be expanding to season decorating inside her apartment which she is thrilled about!!!! But now it is time to prepare for St. Patrick’s Day which means I will need to do some shopping!
First stop, Dollar Tree! Of course, I will need to go to Joann’s, Hobby Lobby, and Michaels. So let’s see what I purchased and how I plan on using them.
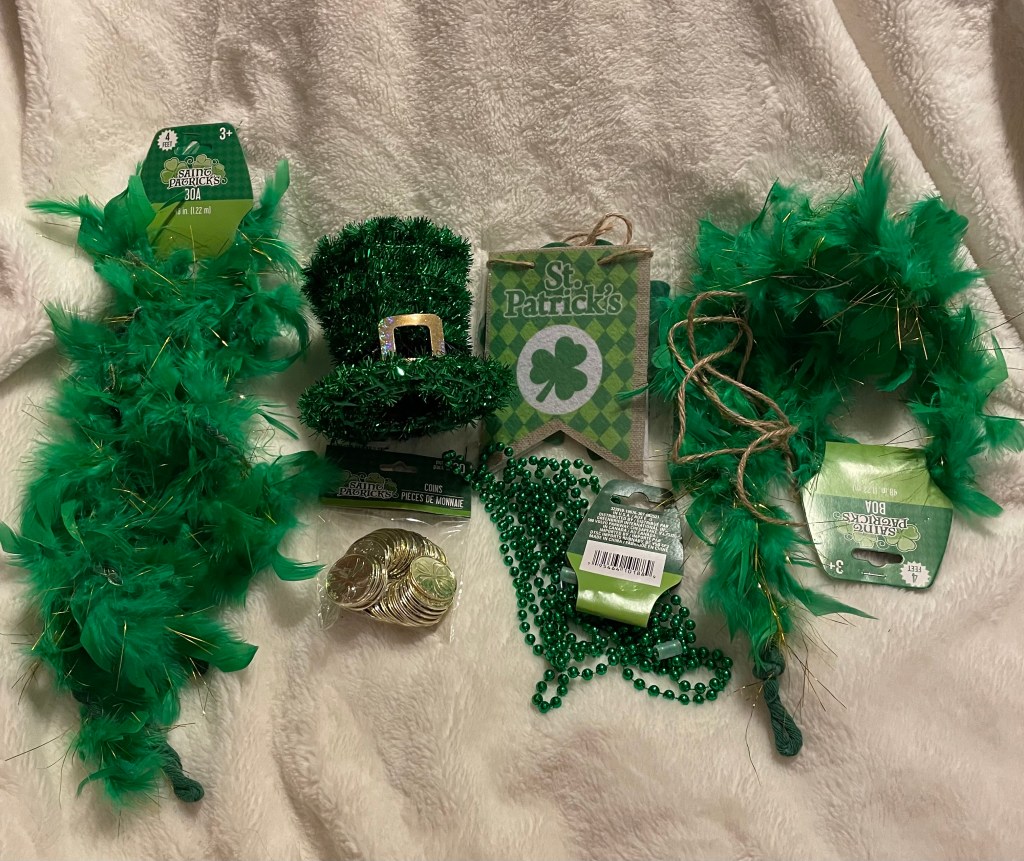
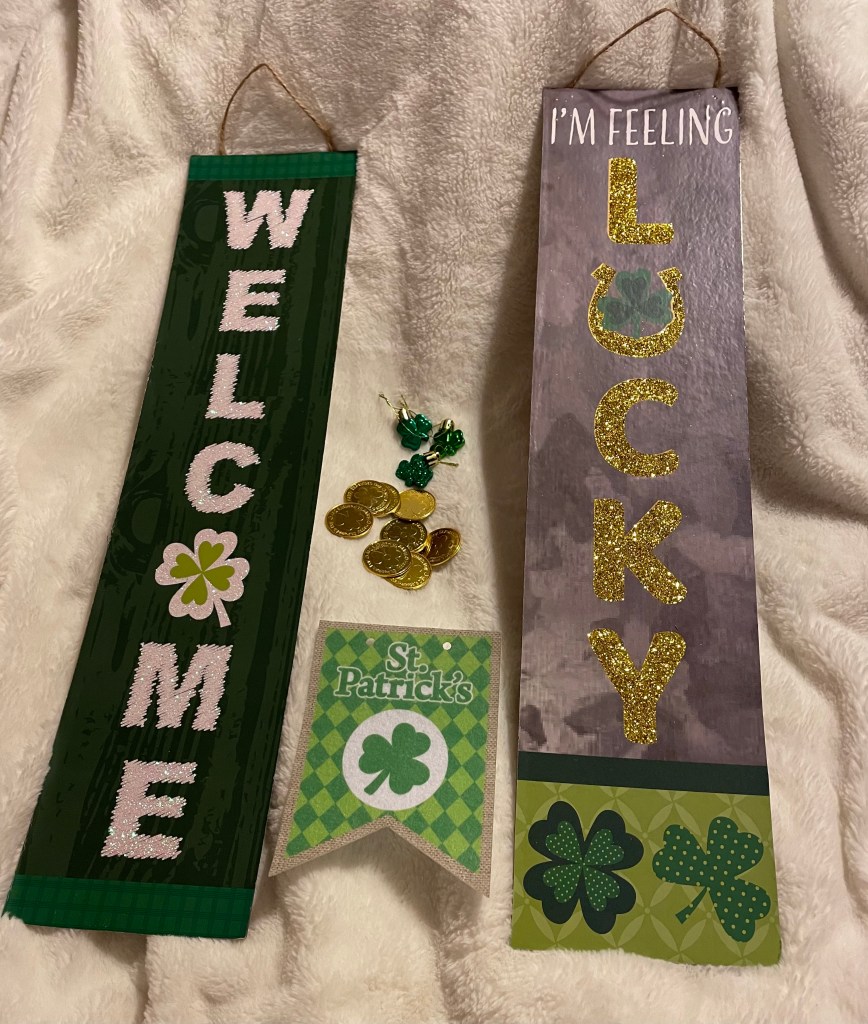
Dollar Tree always has a variety of items to use for decorating any holiday. This time, I purchased 2 feather boas, some green beads, gold coins, a small hat, and a banner. The boas will be used on the frog outside her door, the hat will be one top of the tree, and the beads will be used as garland on the tree. The banner will be modified to use on the front of her walker.
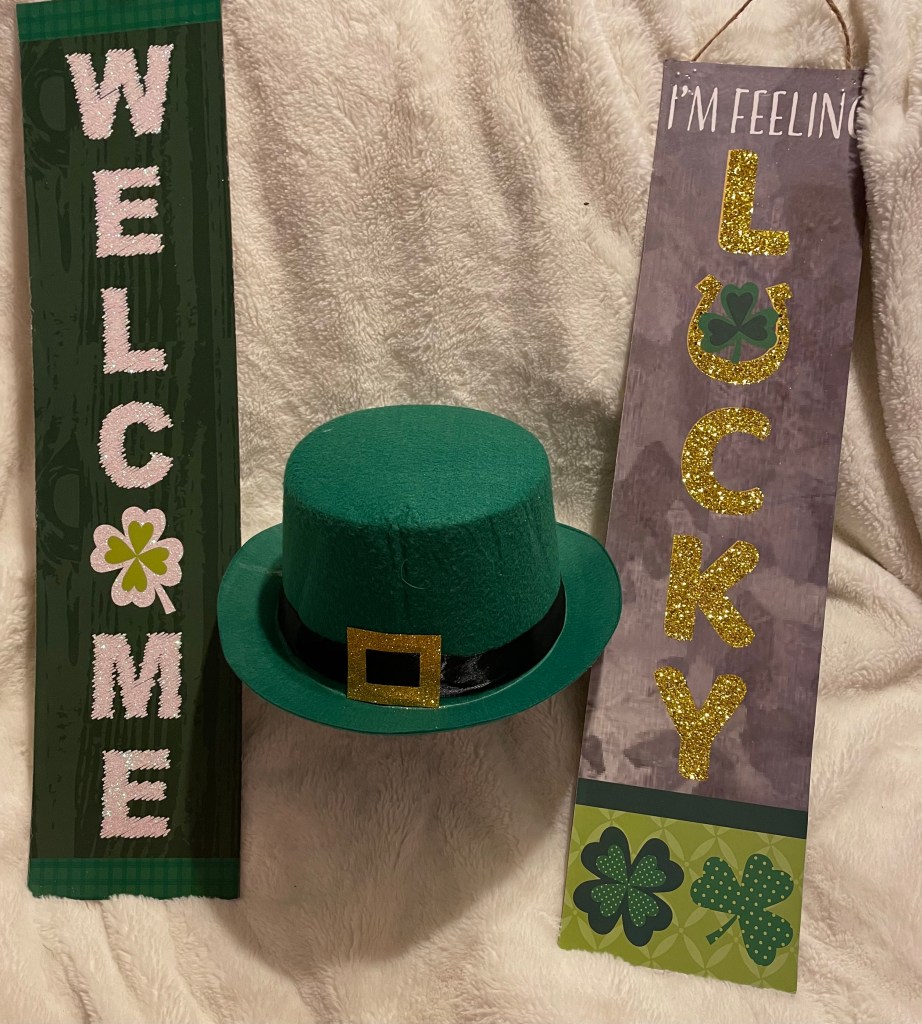
The signs will be placed around her door area and the hat will be placed on the frog.
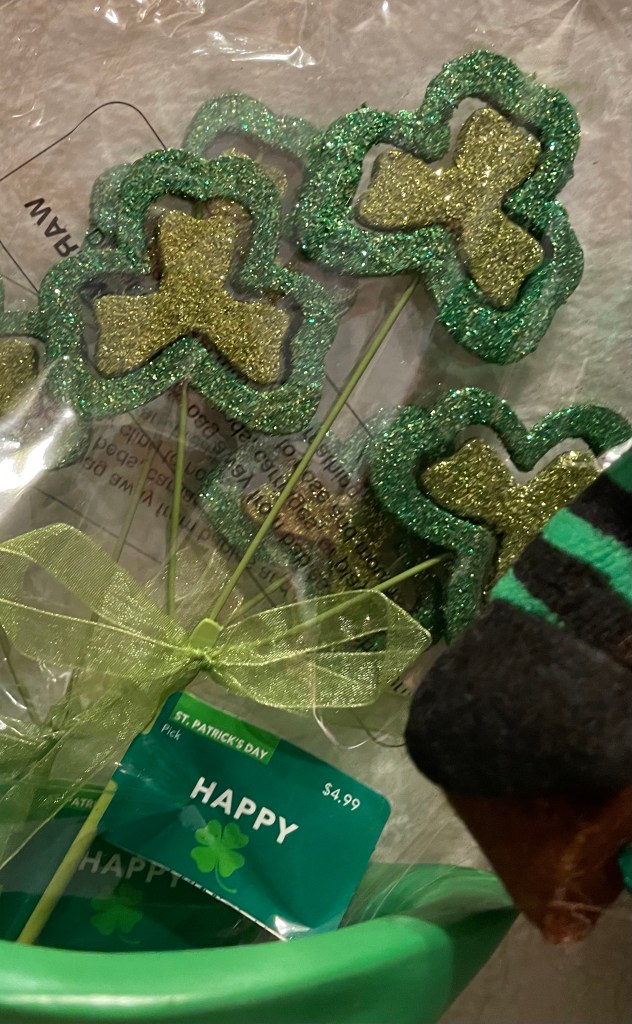
From Joann’s I purchased a stuffed Gnome, and green boot, some clover picks, and some green and gold beads. The Gnome will be on the table area outside her door as will the boot. The beads will be placed on the frog. I have not decided exactly what I will be doing with the picks. I might make a flower arrangement to use them in. But, then again, I might use them on the tree.
From Michaels I purchased this sign that I thought I would use on the wreath I’m currently making. I have not made a final decision on that. If it is not used on the wreath, it will be on the table by her door.
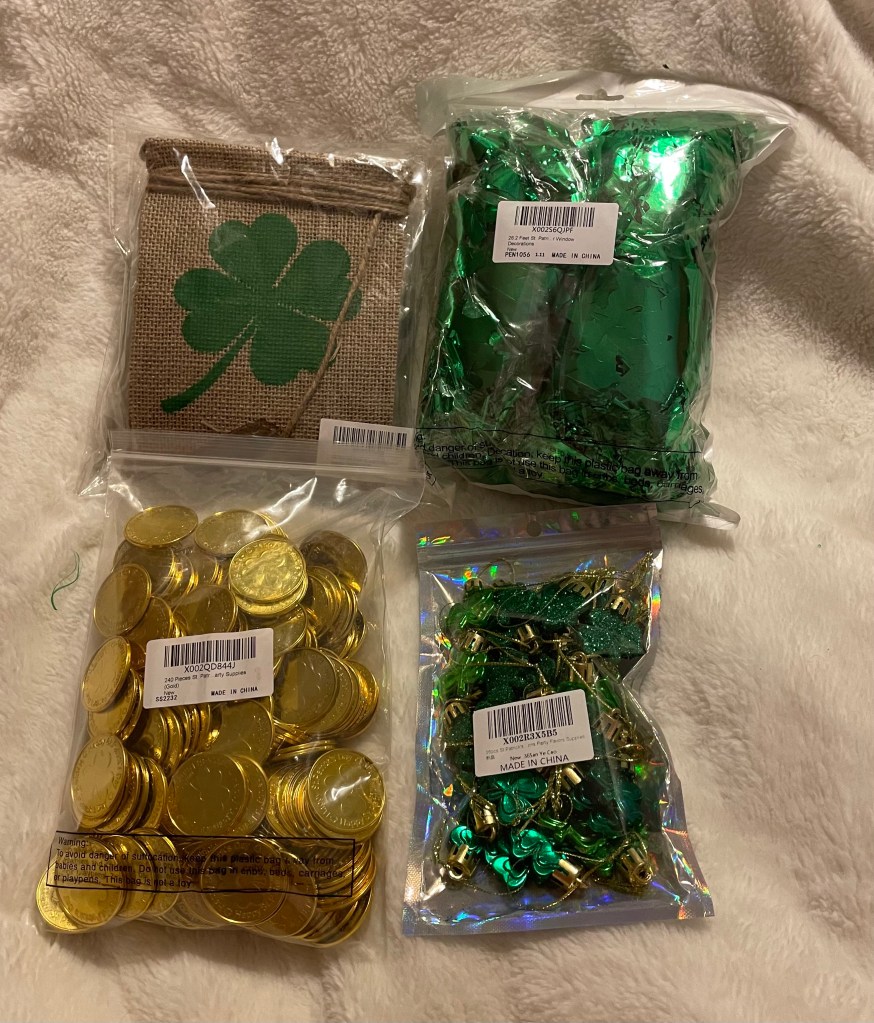
Amazon always has what I need to really make her door stand out! This time, I purchased a St. Patrick’s Day themed banner, some clover shaped garland, gold coins, and clover shaped ornaments. The banner and garland will go around her front door, the clover ornaments will be placed on the tree, and some of the gold ornaments will be used for a craft project or two and the remaining will be put around the frog and in the green boot.
I will need to do a few modifications to some of the items I purchased and make some decorations with some as well. But those will be shown and discussed in a separate blog.
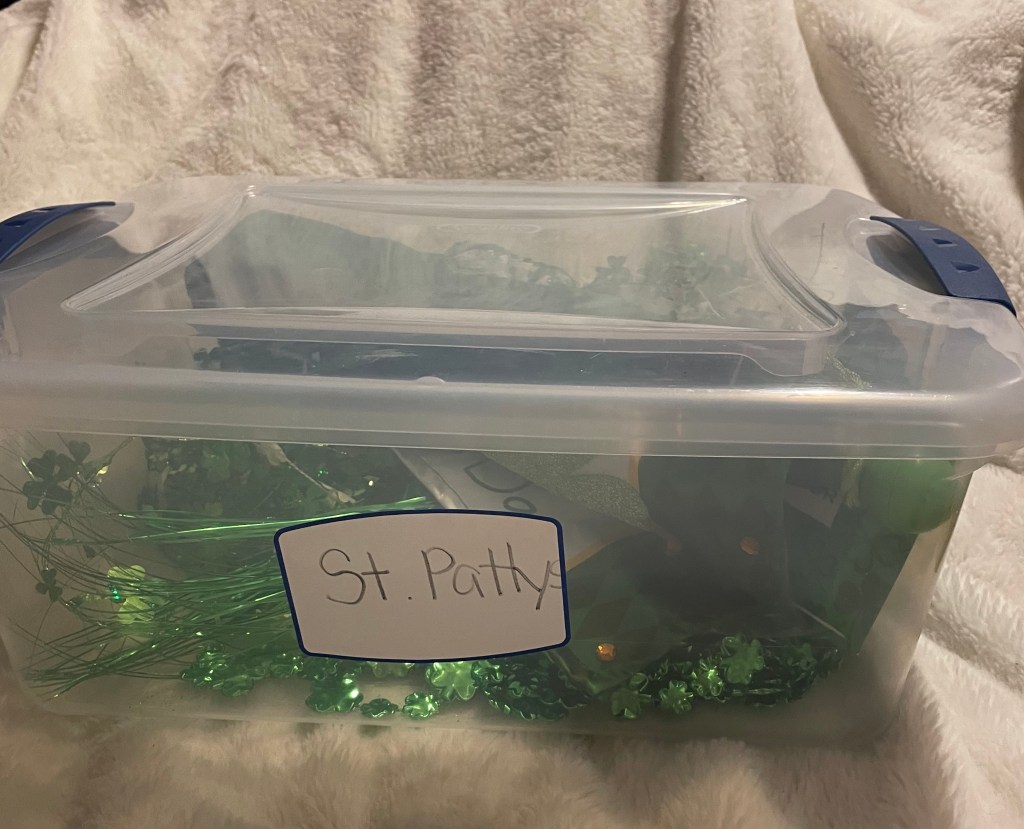
My mom had a small container in her closet that I brought home with me. I will be using these items inside her apartment.
Decorating will begin on Sunday so please stay come back on Monday to see how her door looks after we have finished decorating.
We are down to the final 4 masks!!!! To make this easy, I have decided that the will show what I originally had planned for the mask. Any changes will be noted on the first photo along with where each product is used. On with the masks!!!
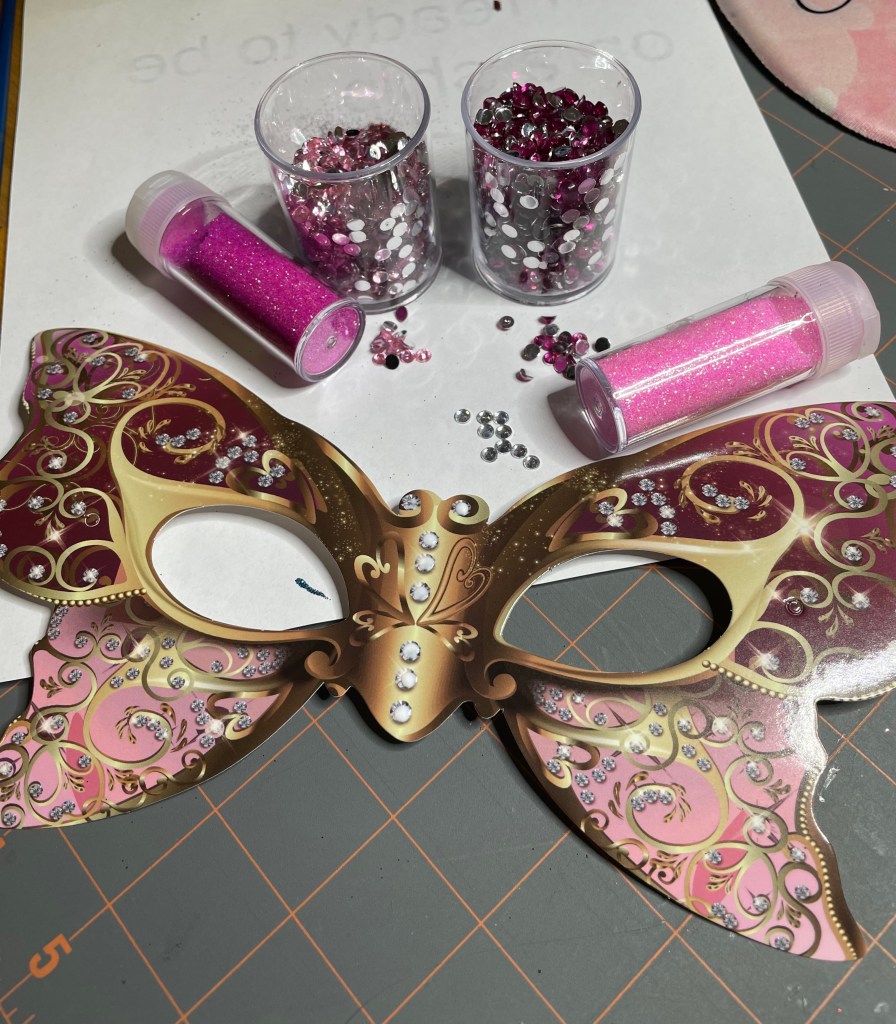
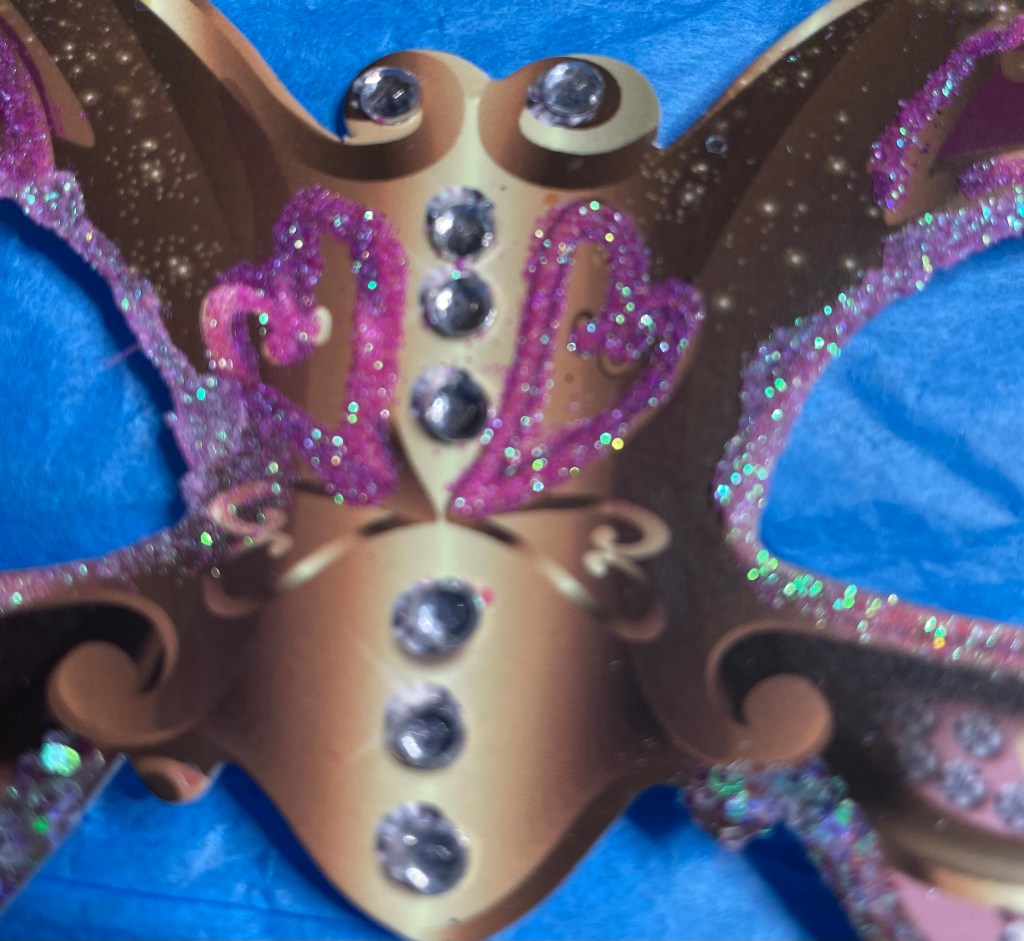
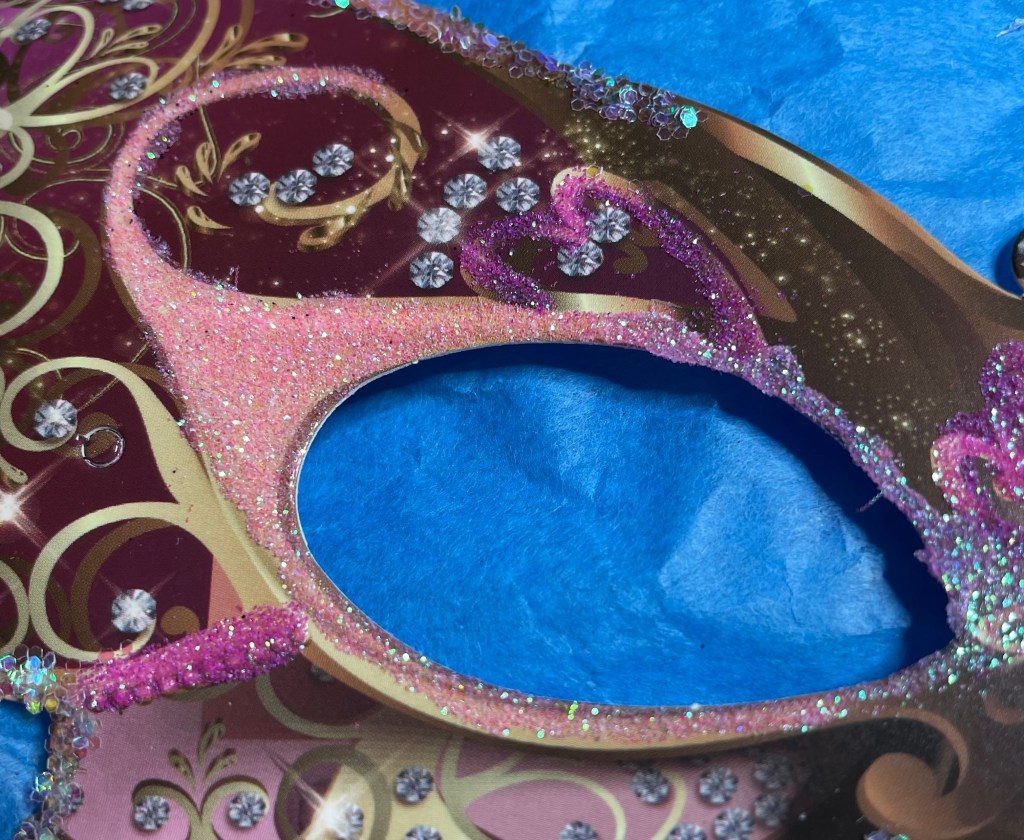
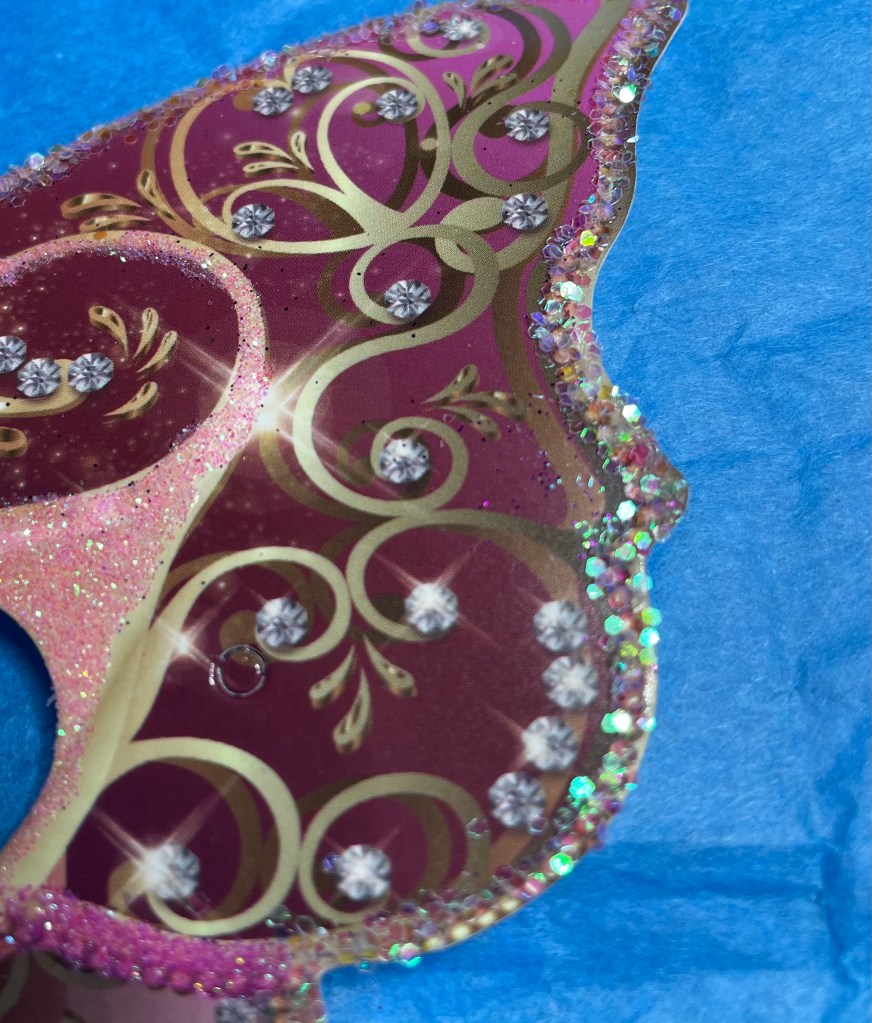
Mask #9 is the butterfly mask. It feels like there is so much going on with this mask that I decided to accent the eyes, of course and the hearts I saw on the mask. I used a soft pink glitter around most the outer edge to accent the wings. I did add some silver rhinestones to the center of the mask but that was the only area.
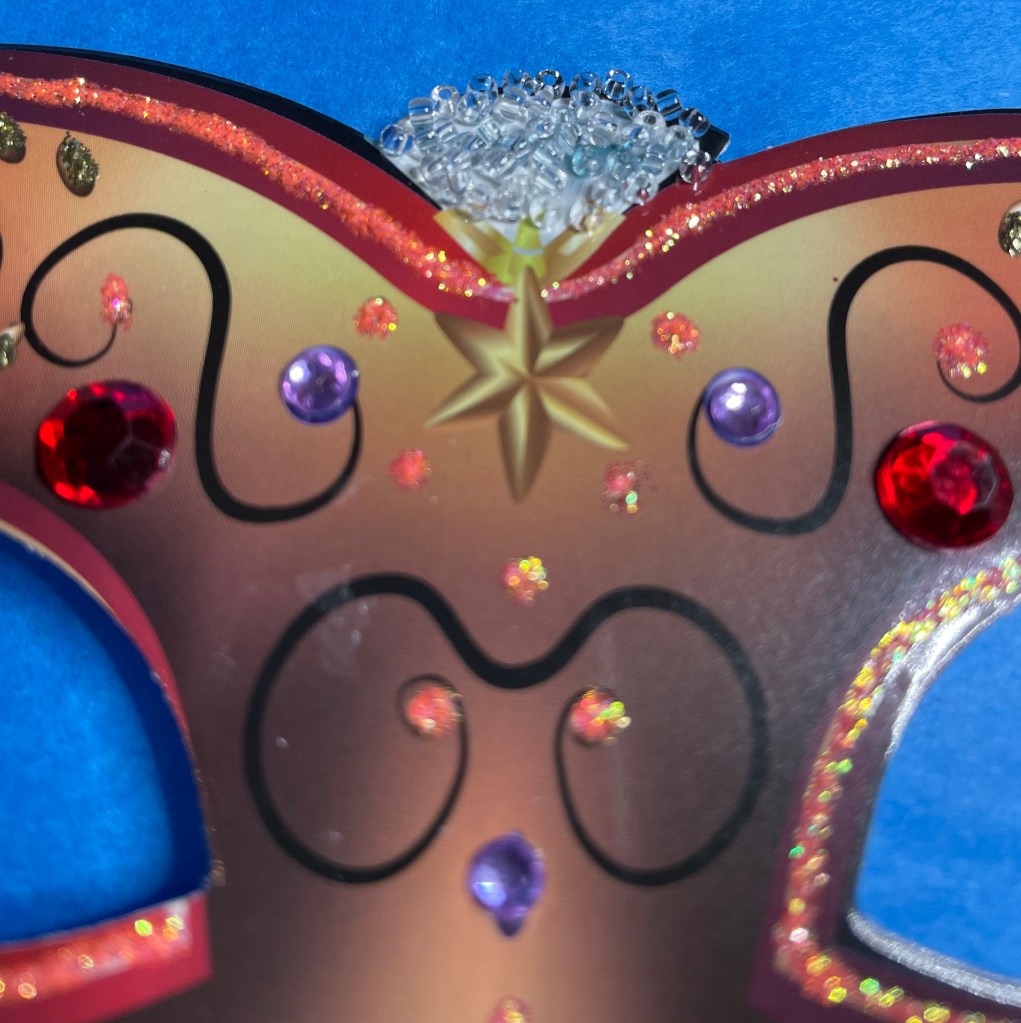
Mask #10 was an interesting challenge. I’m not sure why because it really did not need to be one but I took me some time to figure out exactly what I wanted to do with it. I ended up using rhinestones, Stickles in gold, mermaid tail, and tangerine. I also used some white Czech seed beads, size 10, to add some sparkle to the “diamond” in the top center.
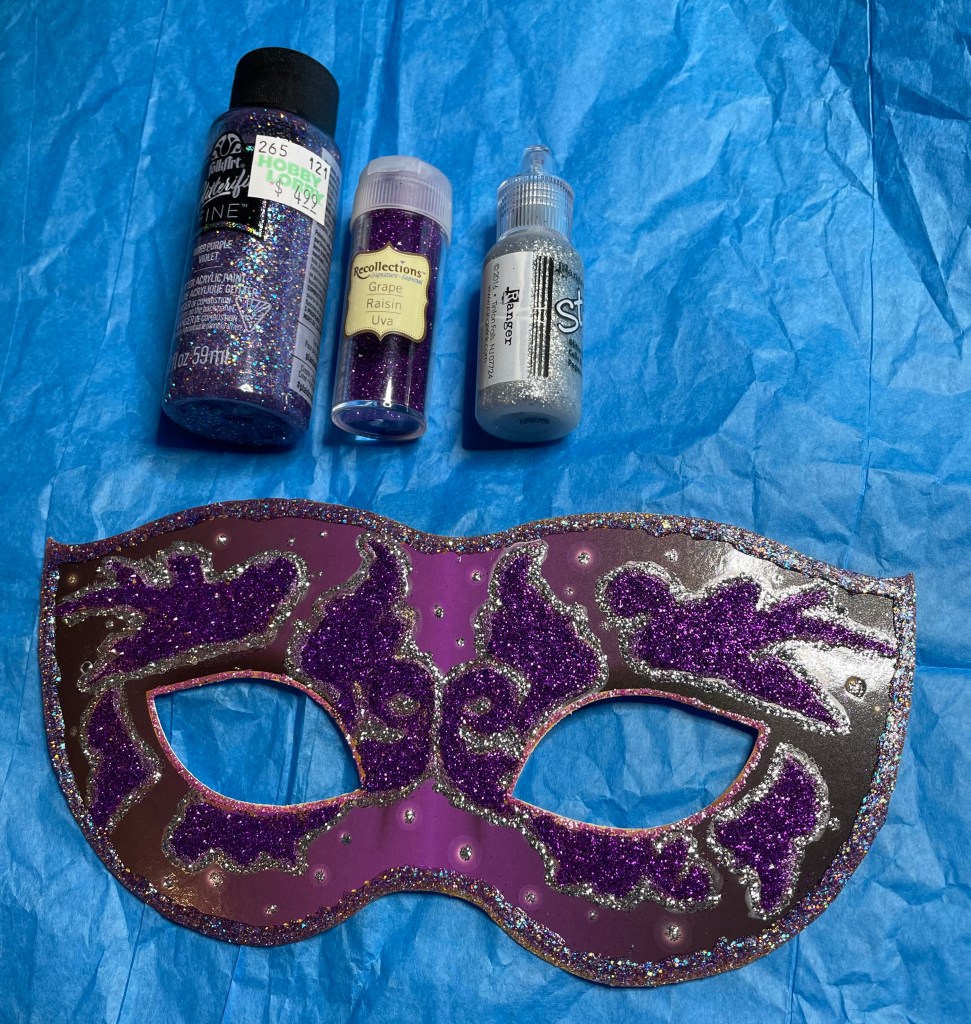
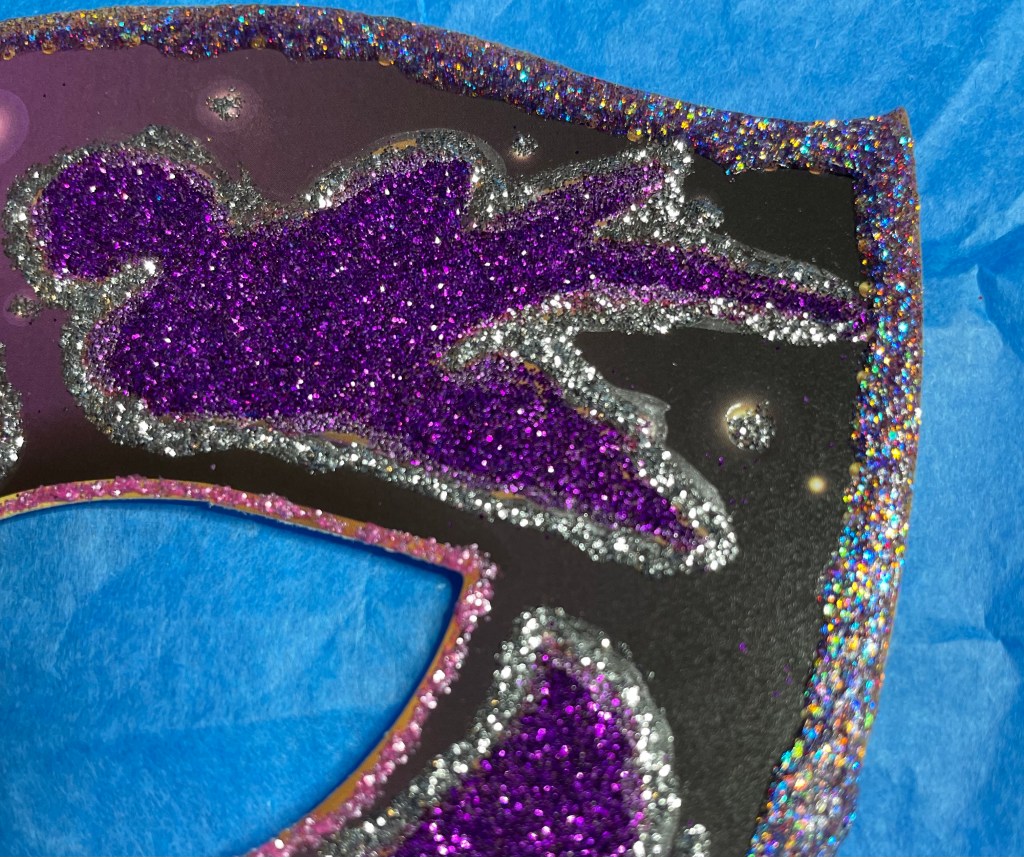
Mask #11 gave me a lot of trouble. There were a lot of things I thought would work but it just didn’t. I’m not sure I am even going to use this when I decorate my mom’s door. I guess I could put it on back of the tree where no one can see it. That might work. The used fine glitter in the color grape, silver Stickles, and purple Glitterific paint around the out edge. This one was tough but the last mask was the real challenge.
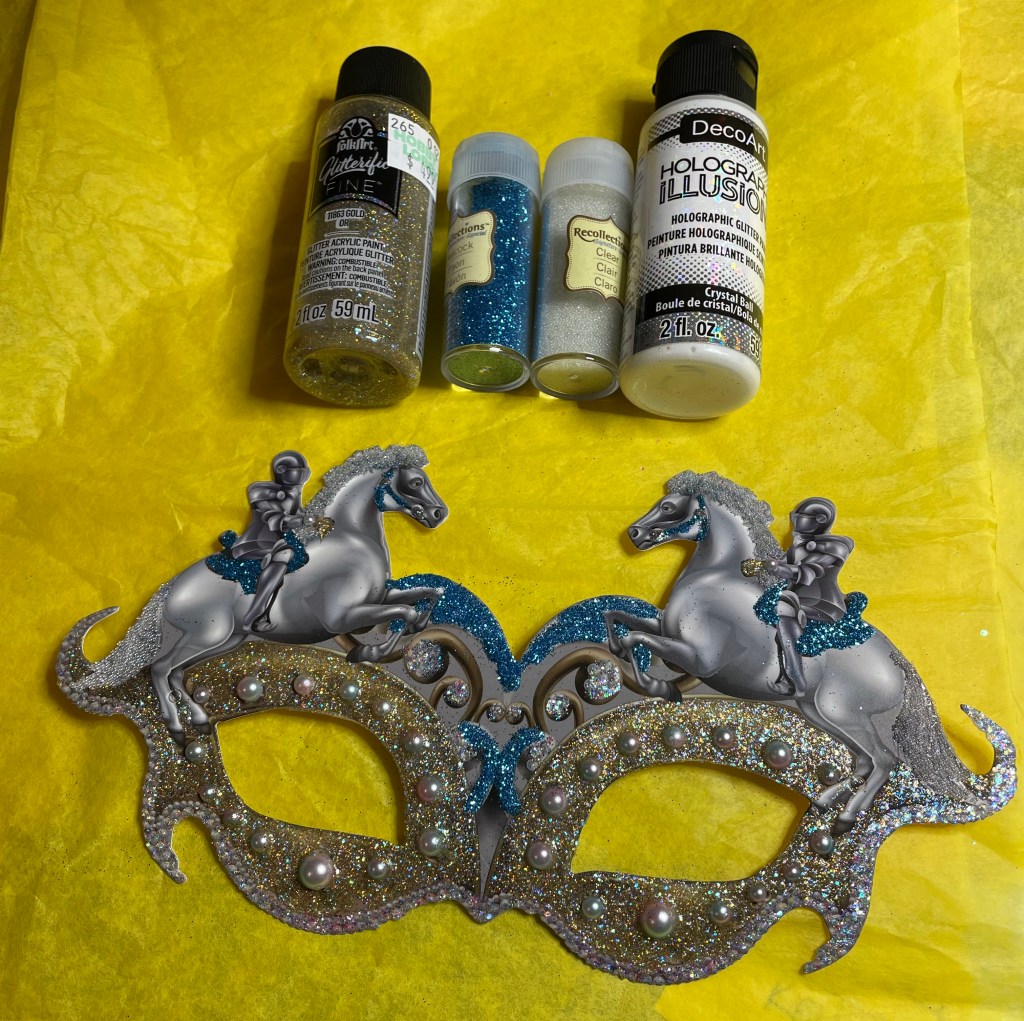
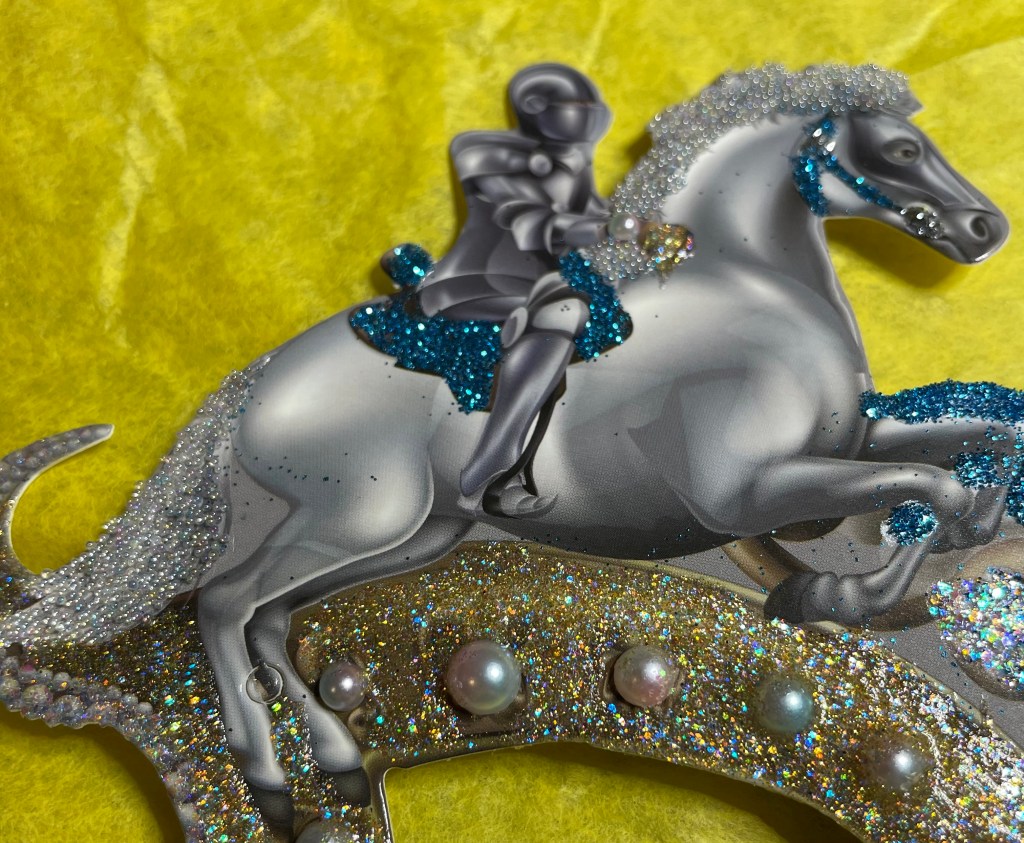
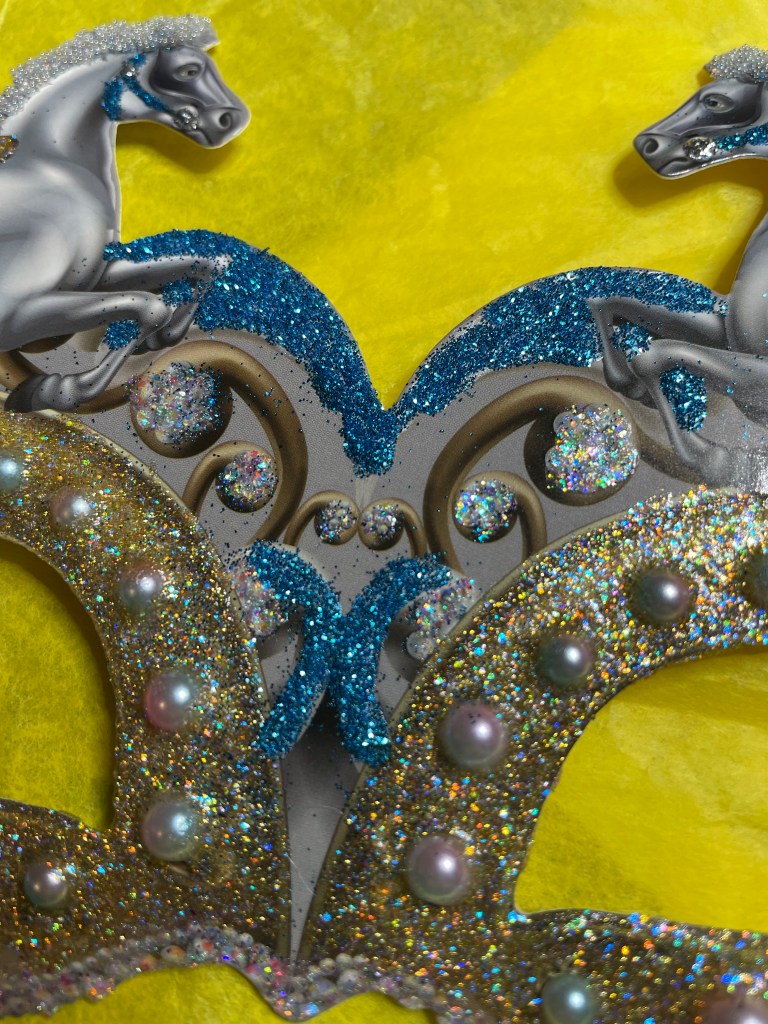
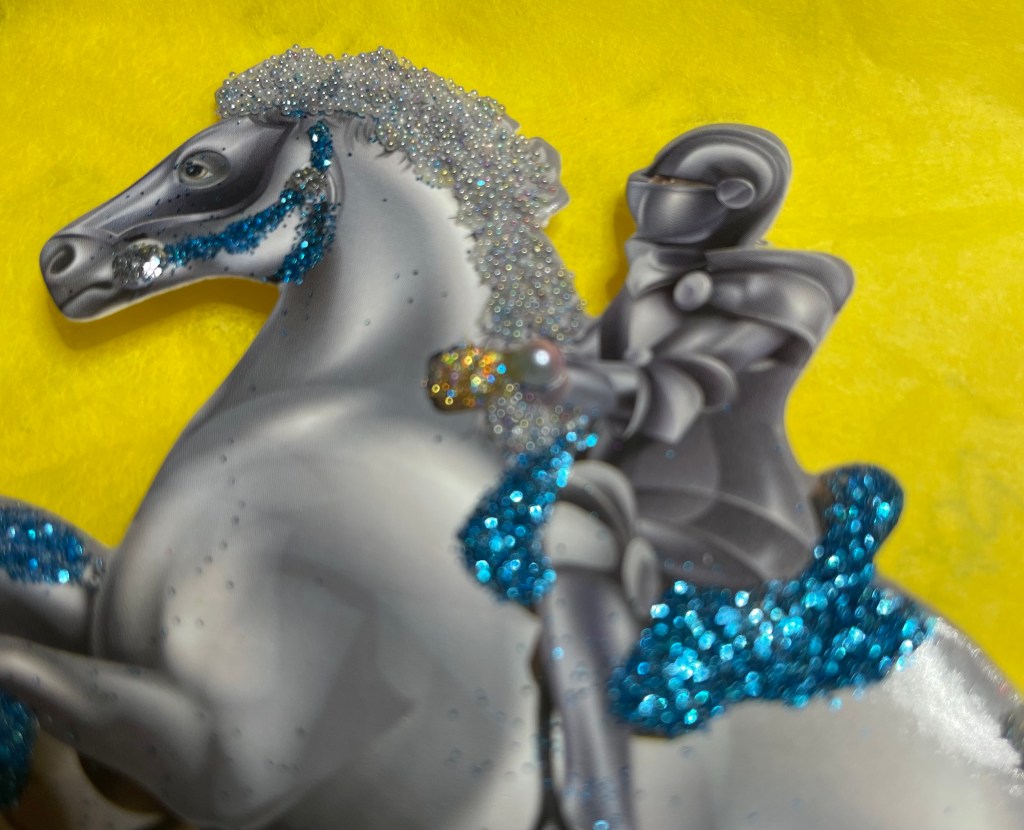
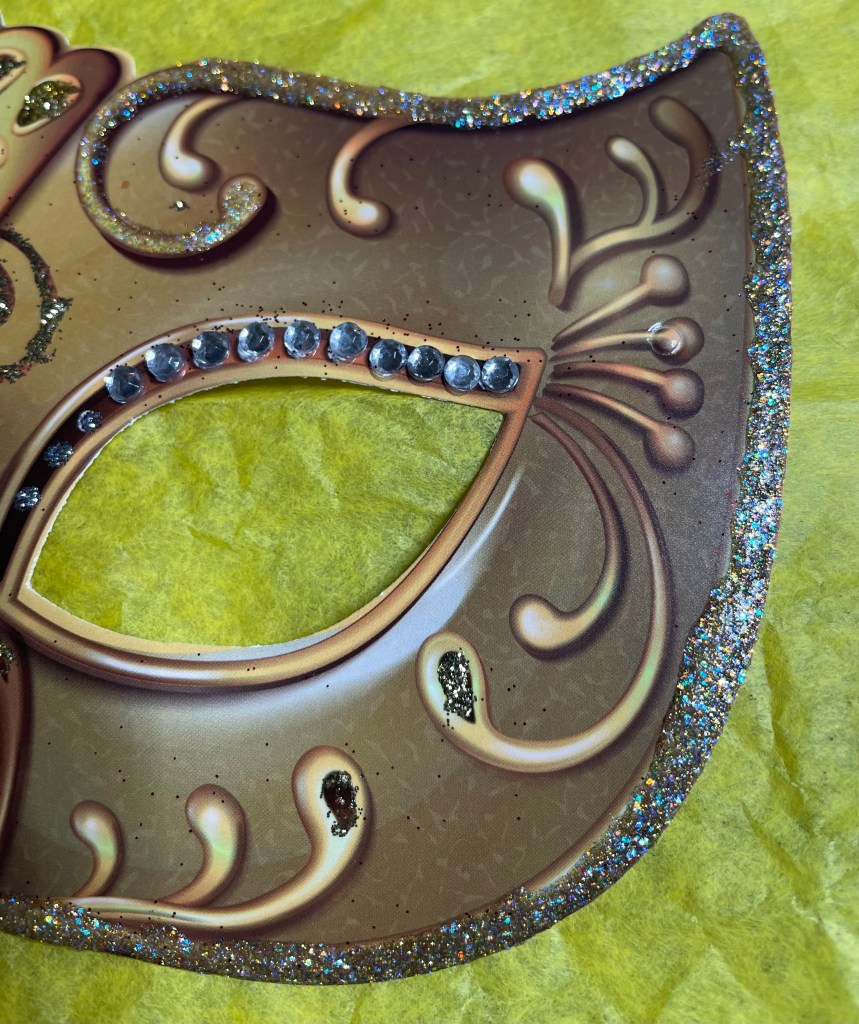
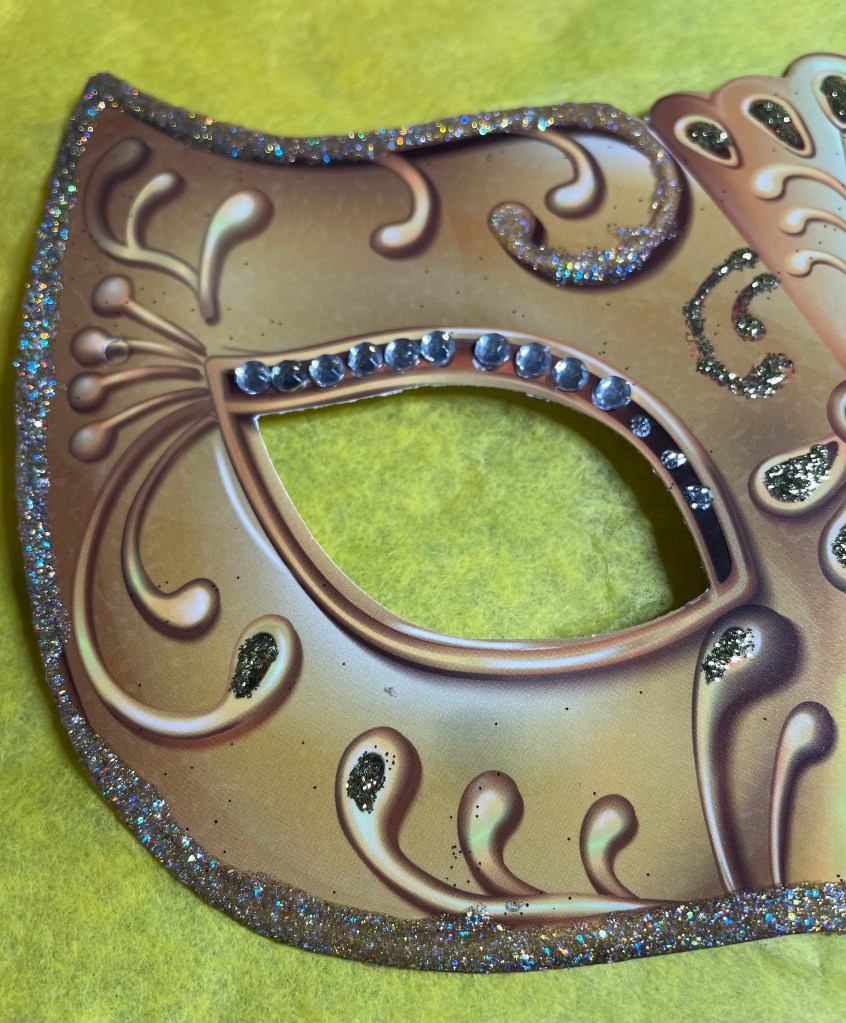
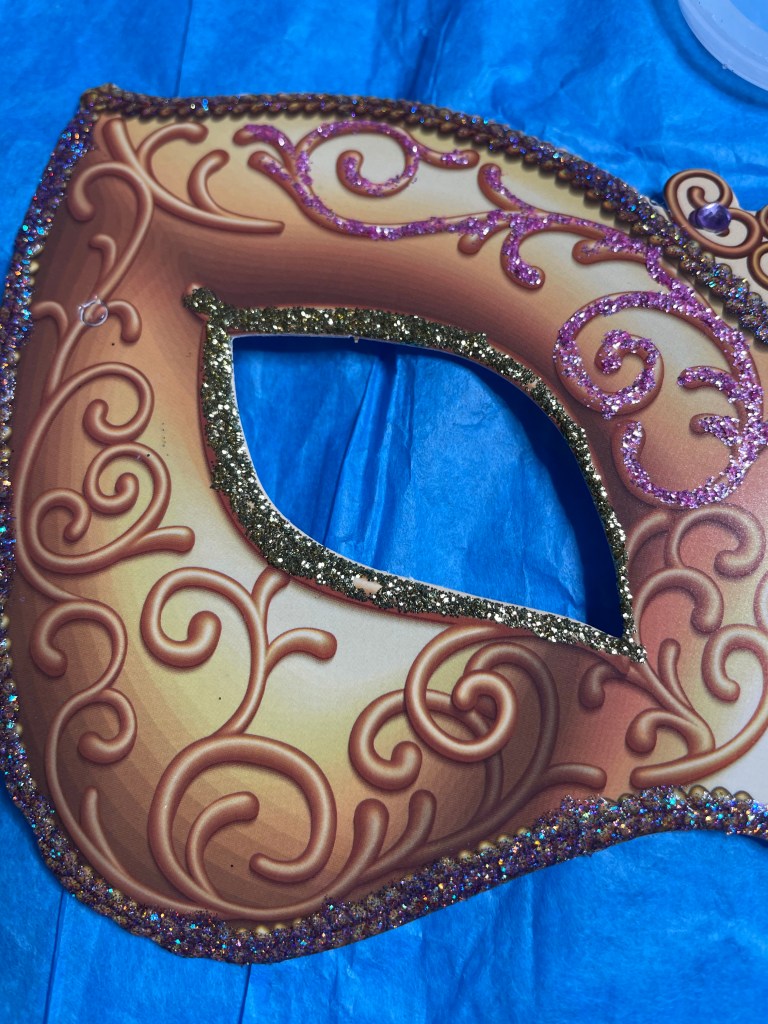
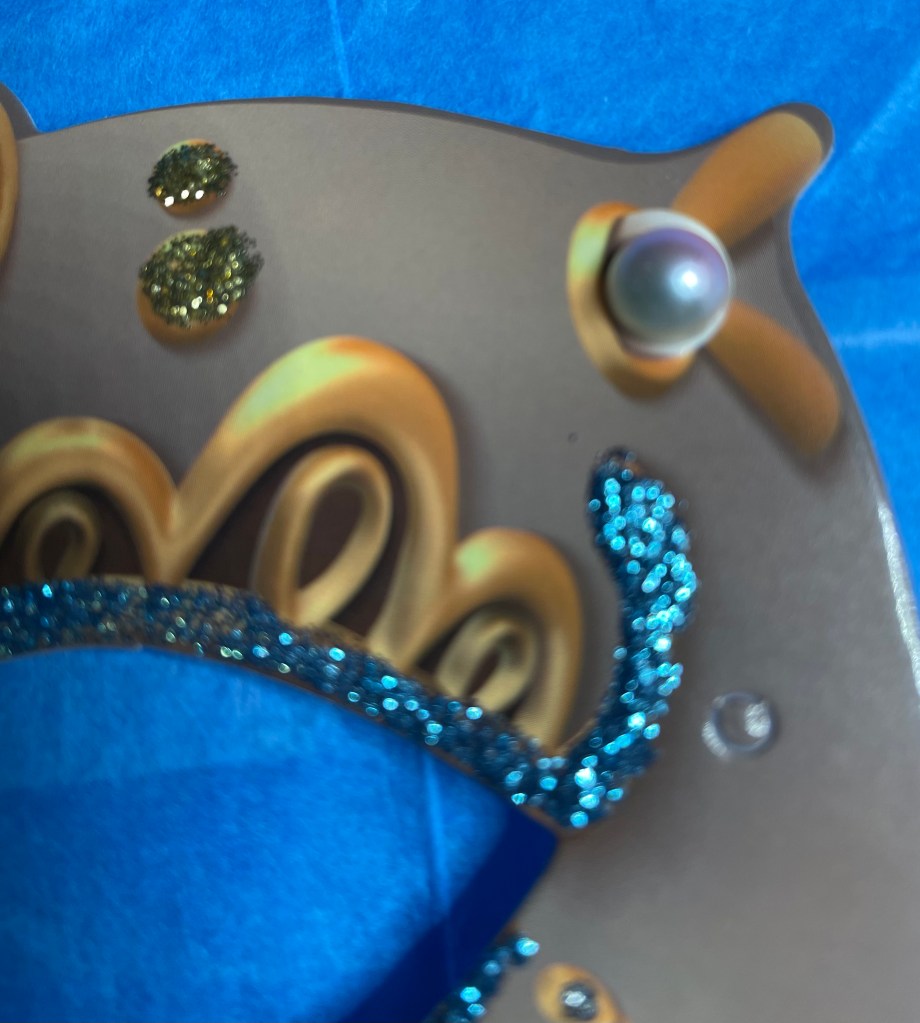
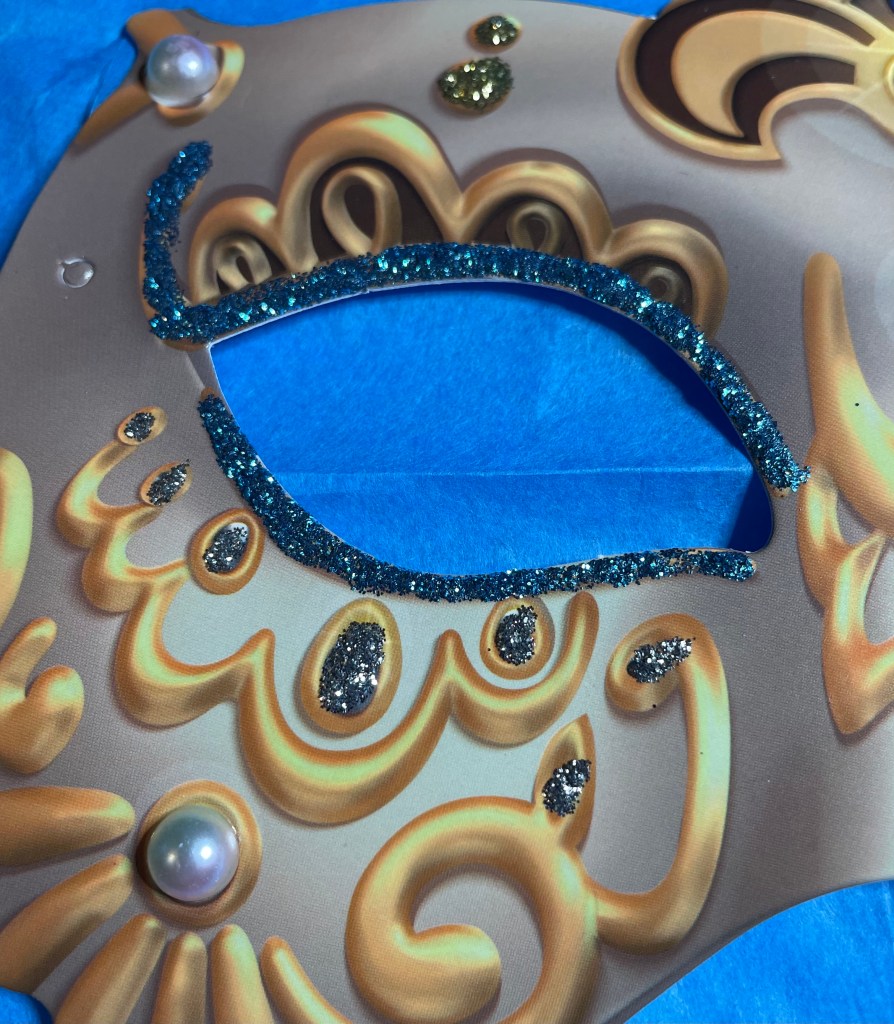
Mask #12 gave me nightmares and was always on my mind as to how I could possible make this mask really stick out above all the rest. In the beginning, I thought I would be able to use some faux pearls and some micro beads to make it pop. To test out my idea using the micro beads, I decided to try it on the mane and tail of each horse. They stuck thanks to Nuvo Deluxe Adhesive. But working with the beads was a real challenge. I decided that the hair would be the only area the beads would be used. Now I had to figure something else out. I decided the pearls would not give me the outcome I was wanting for the bottom edge of the mask so that mean I would have to go shopping. I quick stop at Michaels and Hobby Lobby in search of something but not sure what. I knew I wanted a paint product. I do not remember which store I purchased which product at but I came home with DecoArt Metallic paint in White Pearl from Michaels and DecoArt Holographic Illusions in the color Crystal Ball from Hobby Lobby. Once home, I quickly discovered the metallic pain would not work. So I have put it aside to use for another project down the line. The holographic illusions paid worked perfectly along the bottom edge of the mask. I decided to use the faux pearls in the eye area then use gold Glitterific for the remainder of the eye area. Holographic illusions was also used in the top area where there are what looks like pearl clusters. To really make things pop, I decided to use fine glitter in the color peacock for the saddle. I’m happy with how this mask turned out. It definitely took a long time to get this mask finished.
I just realized I did not include a list of the times used on the masks in part three. So, here is a complete list of all items used for this project.
From Amazon: all rhinestones and the Nuvo Deluxe Adhesive
From Dollar Tree: the flatback faux pearls.
From Hobby Lobby: Extra fine glitter in the colors Crimson and Light Blue, Tree House Studio glitter in soft pink, FolkArt Glitterific FINE glitter acrylic paint in the colors gold and purple and DecoArt Holographic Illusions glitter paint in the color Crystal Ball.
From Michaels: Czech seed beads in size 10/0 in the color white, DecoArt Dazzling Metallics metallic acrylic paint in the color White Pearl, Stickles in two different shades of blue and also in gold, mermaid tail, silver, and tangerine, and Recollections micro beads in the color clear, and Recollections find glitter in the colors Blush, Bubblegum, Grape, and Peacock.
Please keep in mind that a lot of these products may no longer be available. The only things I specifically purchased for this project were the Glitterific paints, the Holographic paint, and the Czech seed beads. Everything else I had on hand from other projects.
Well this has been a lot of fun and a challenge as well. I feel like this type of project is something I would like to do again in the future.
4 more masks completed. To make this easy, I have decided that the will show what I originally had planned for the mask. Any changes will be noted on the first photo along with where each product is used. On with the masks!!!
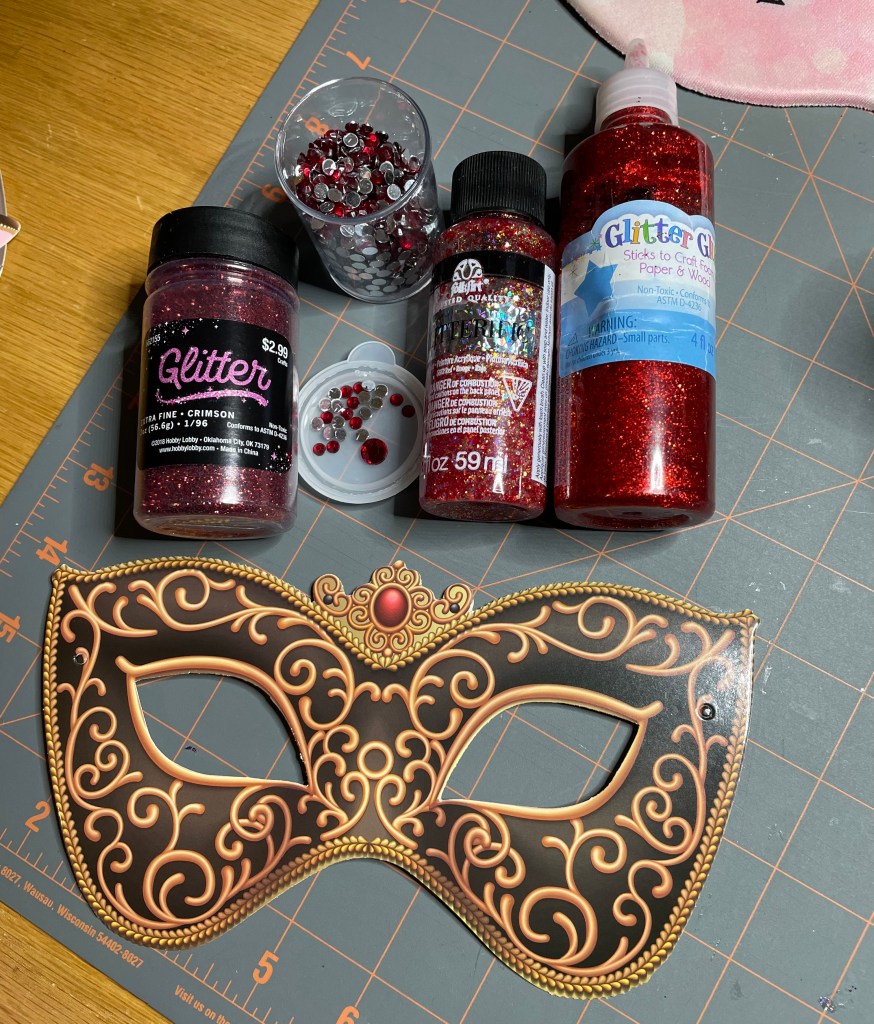
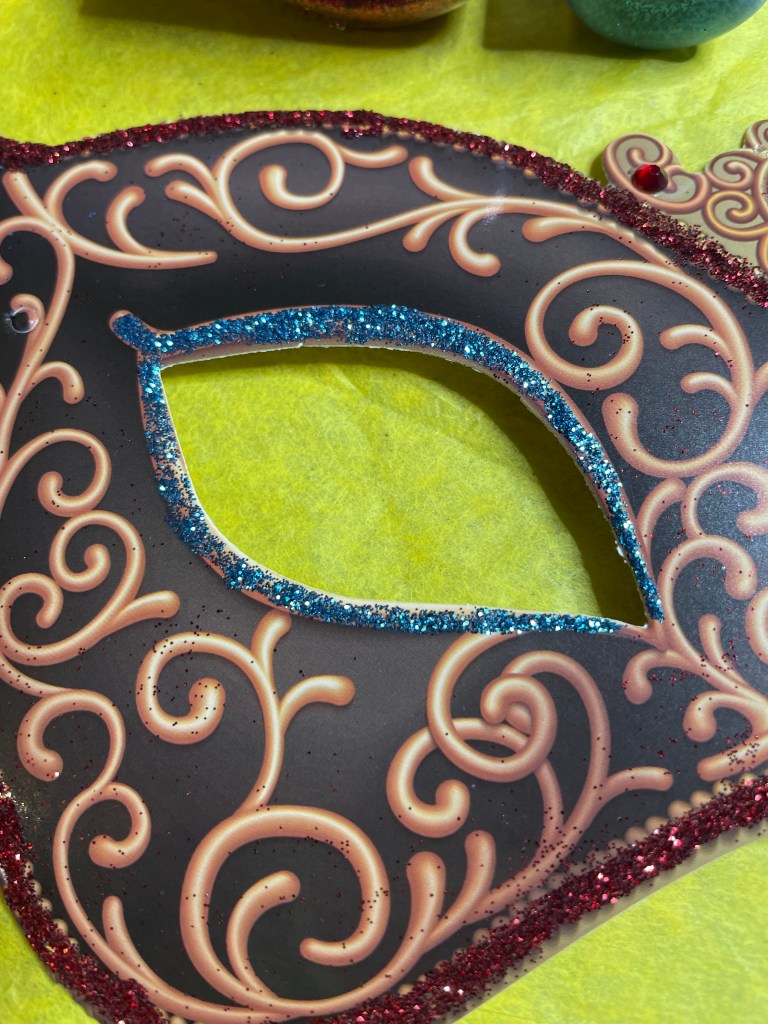
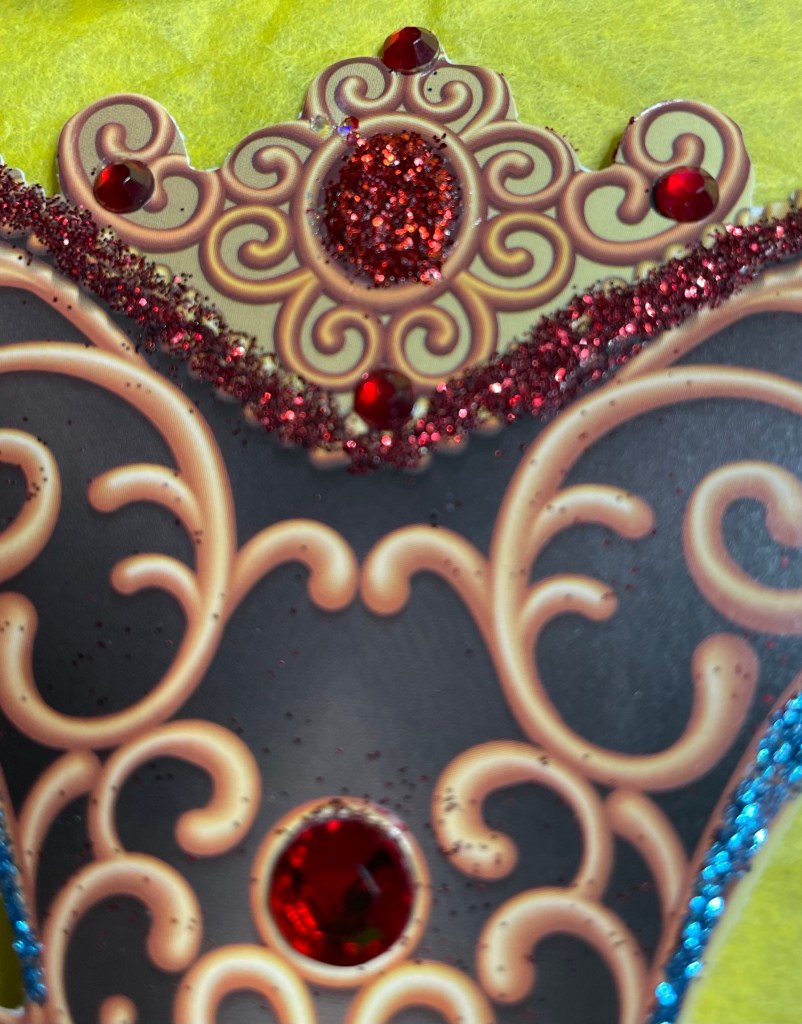
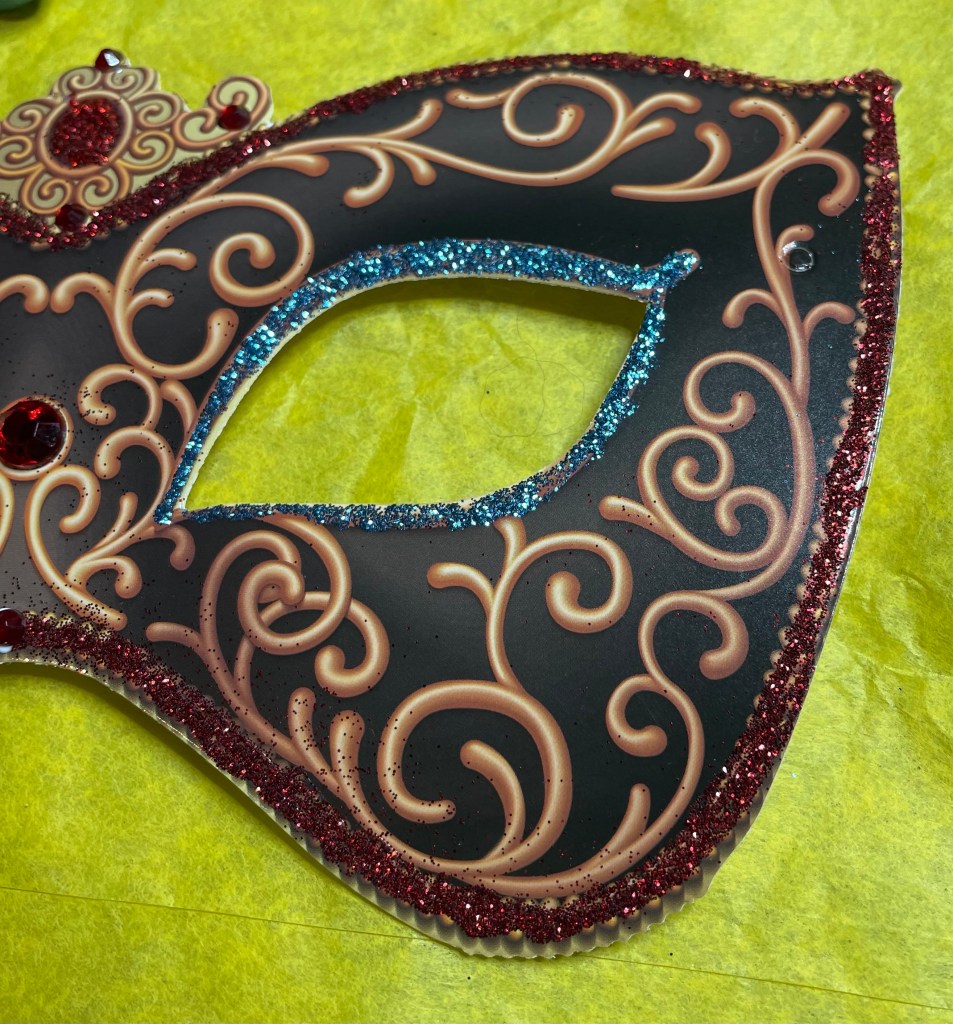
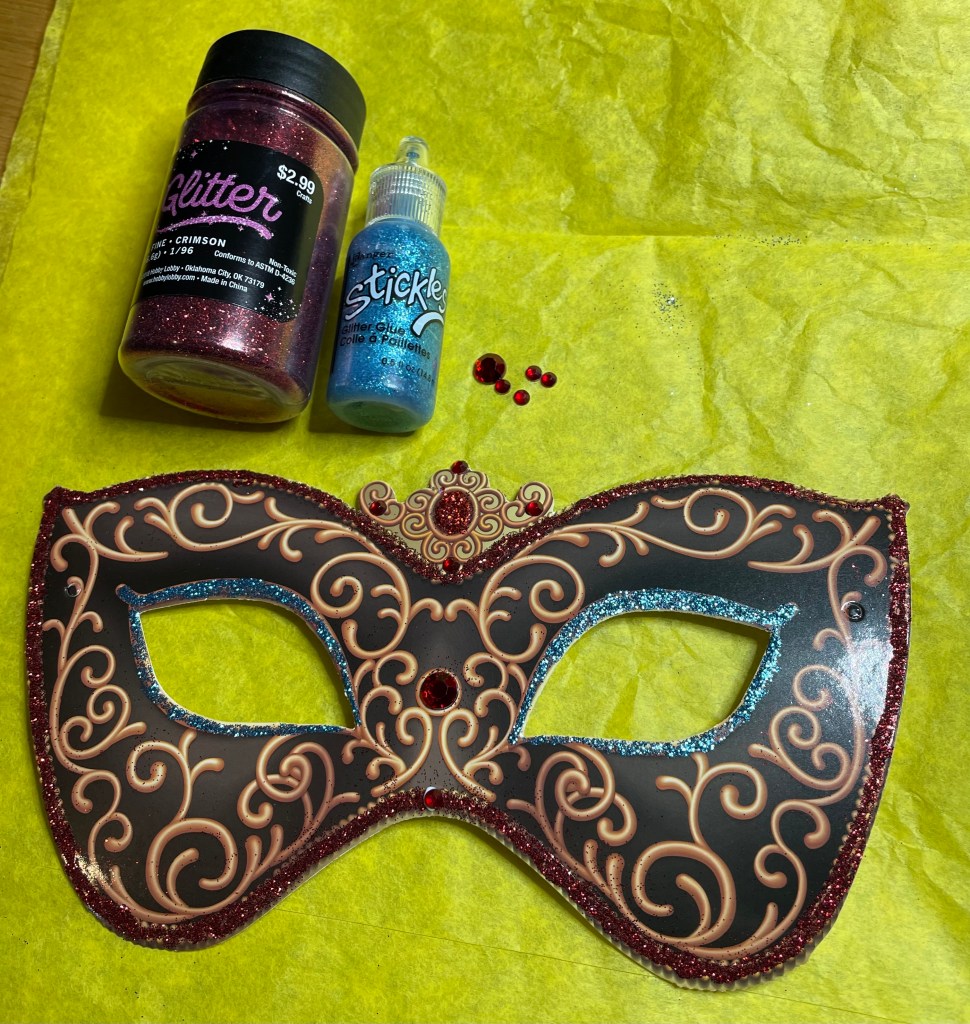
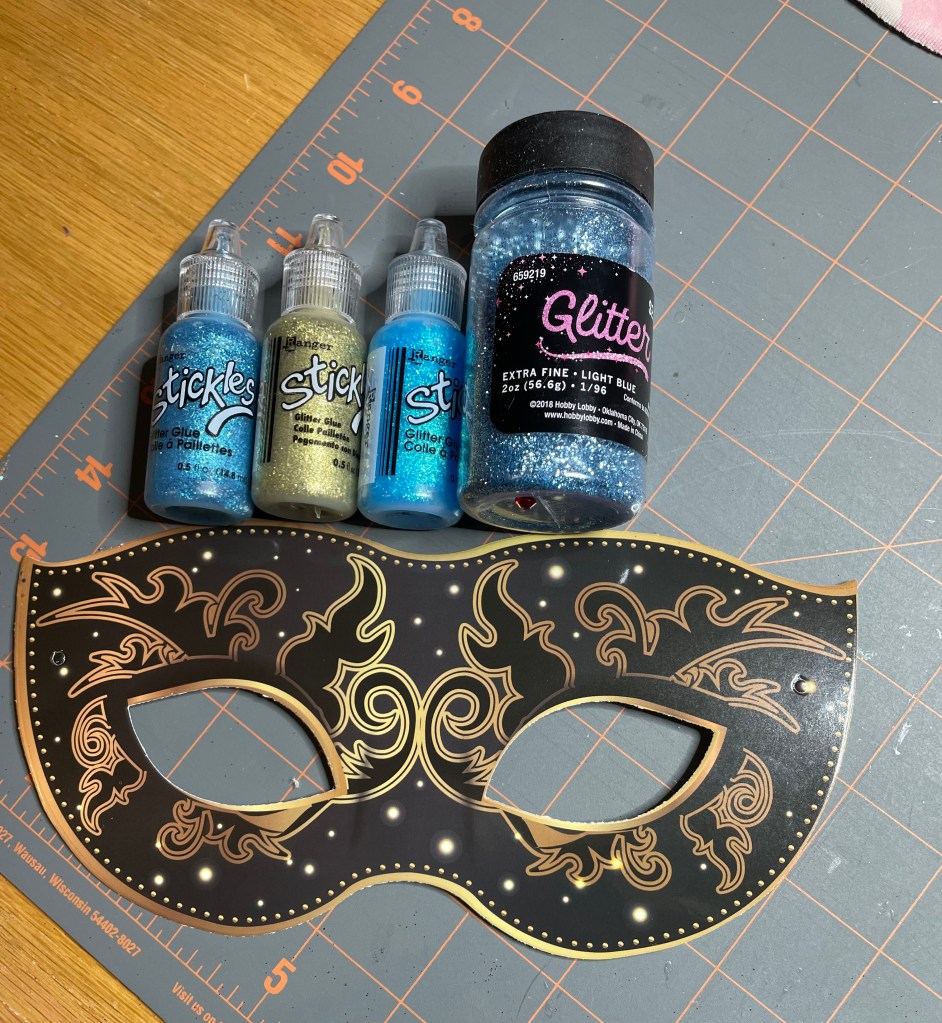
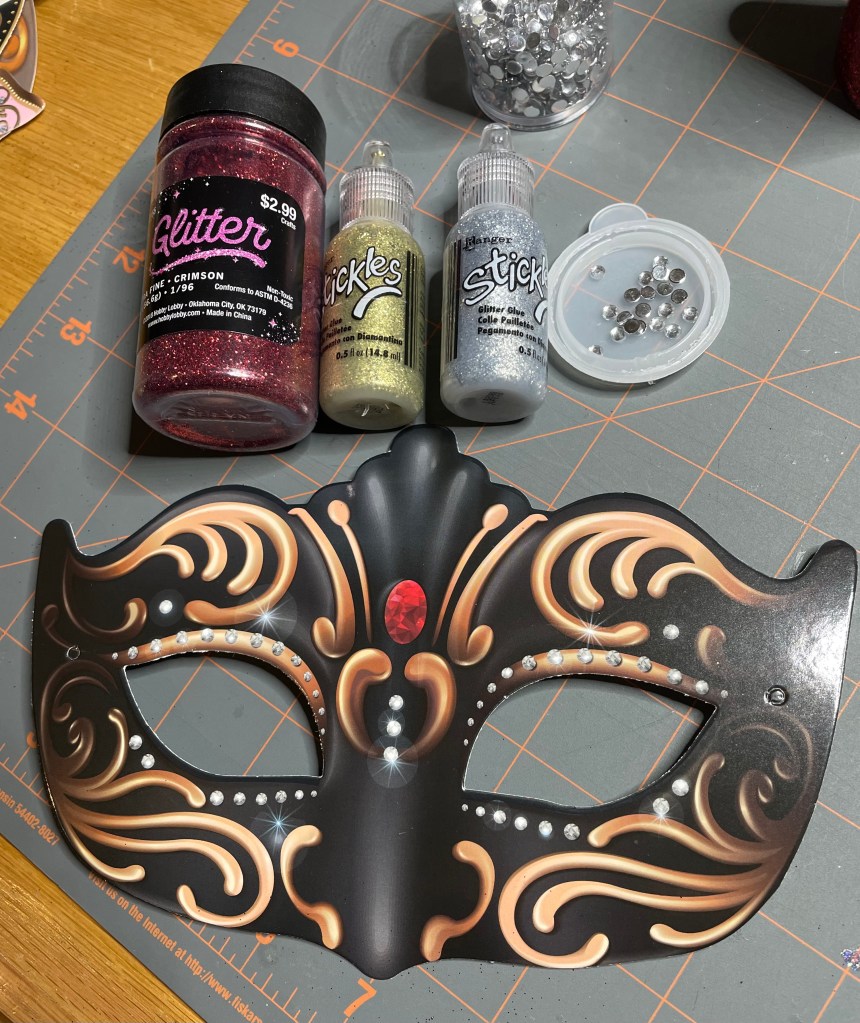
Mask #5. Continuing with the less is more theory, the following masks definitely fall under this category. One think I learned on this mask is that the Glitter Glue and the thicker Glitterific glitter paint were NOT a good idea for this project. I need to make a not to myself to remember to dispose of those products. One large(ish) red rhinestone and 4 small red rhinestones were used to accent the center top of the mask. Blue Stickles around the eyes. This is becoming one of my favorite parts of the mask to accent. and ultra fine glitter in the color Crimson was used on the outer edge of the mask.
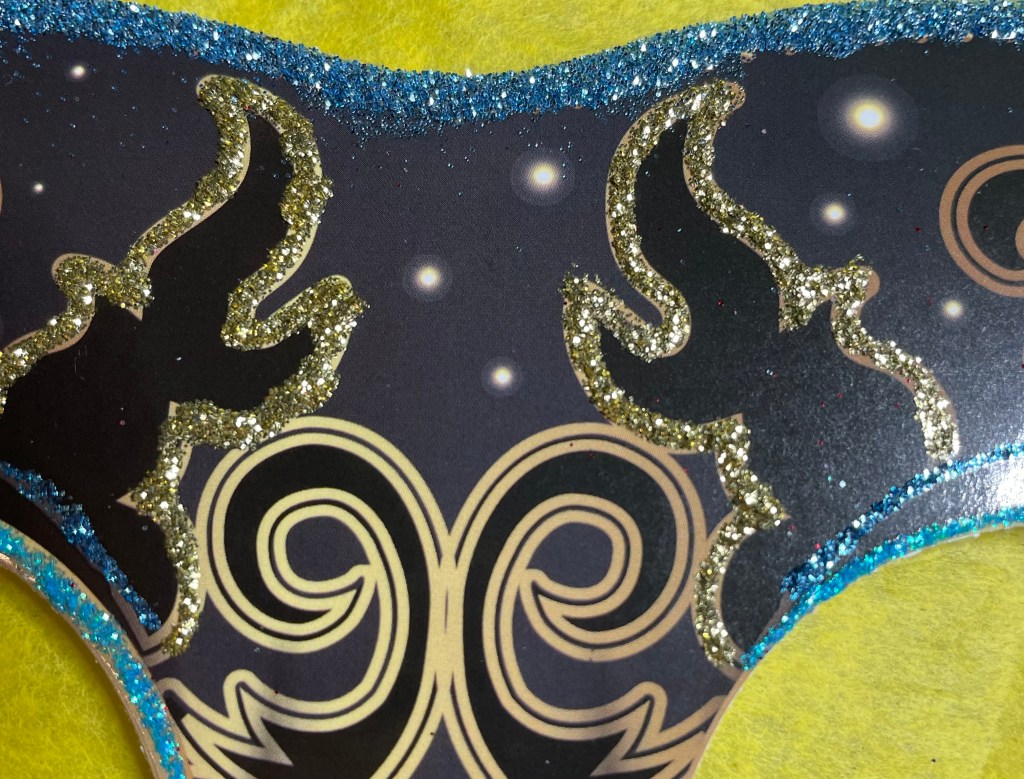
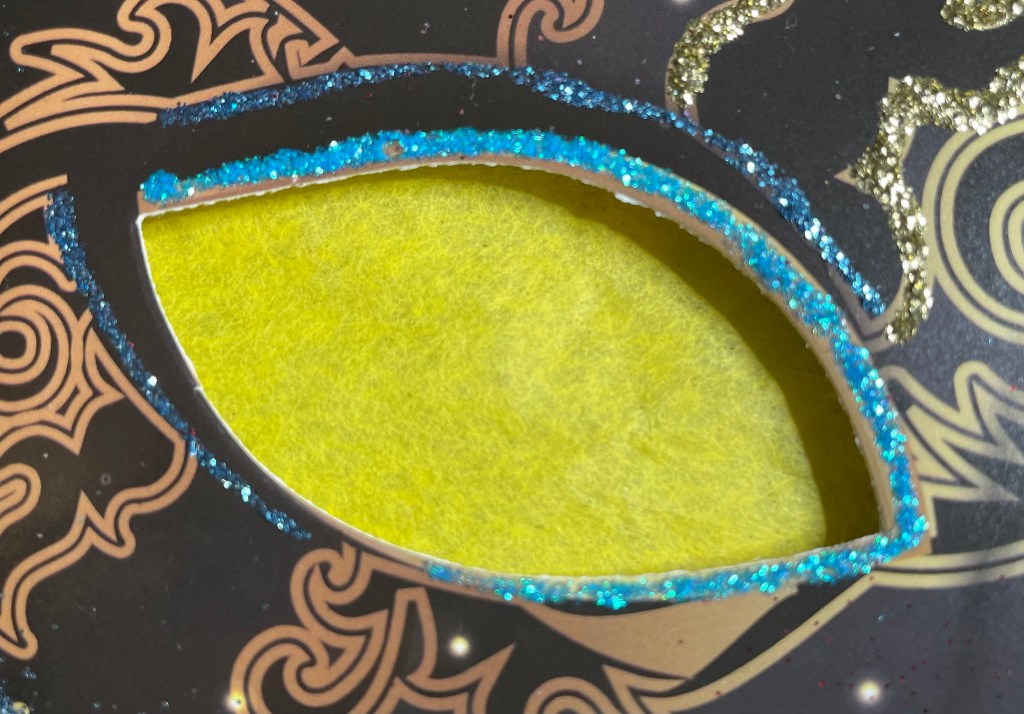
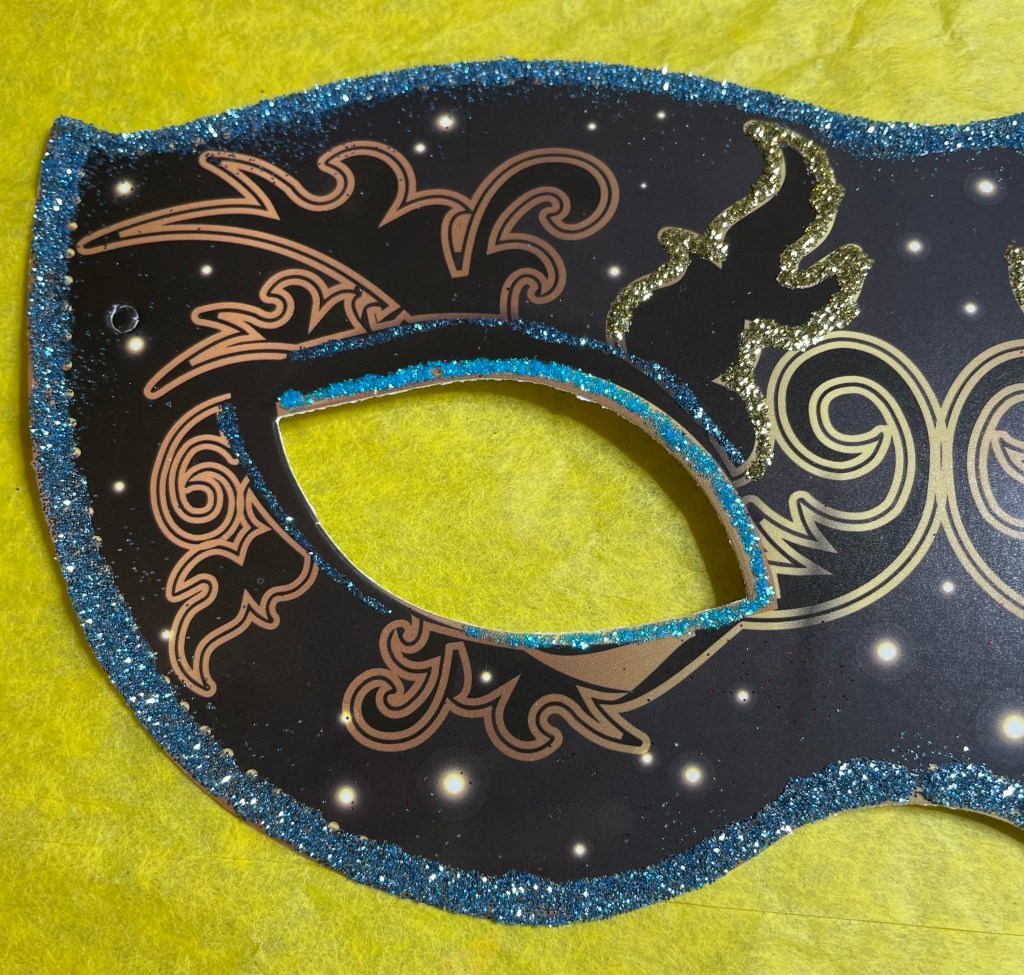
Mask #6 had me scratching my head as to what to do with it. I decided to use Gold Stickles to accent the upper middle design, blue Stickles for the eyes, and extra fine glitter in light blue was used on the outer edge of the mask. I must say, Nuvo Deluxe Adhesive is amazing! I wonder if it can be purchased by the gallon or maybe a quart!!!!
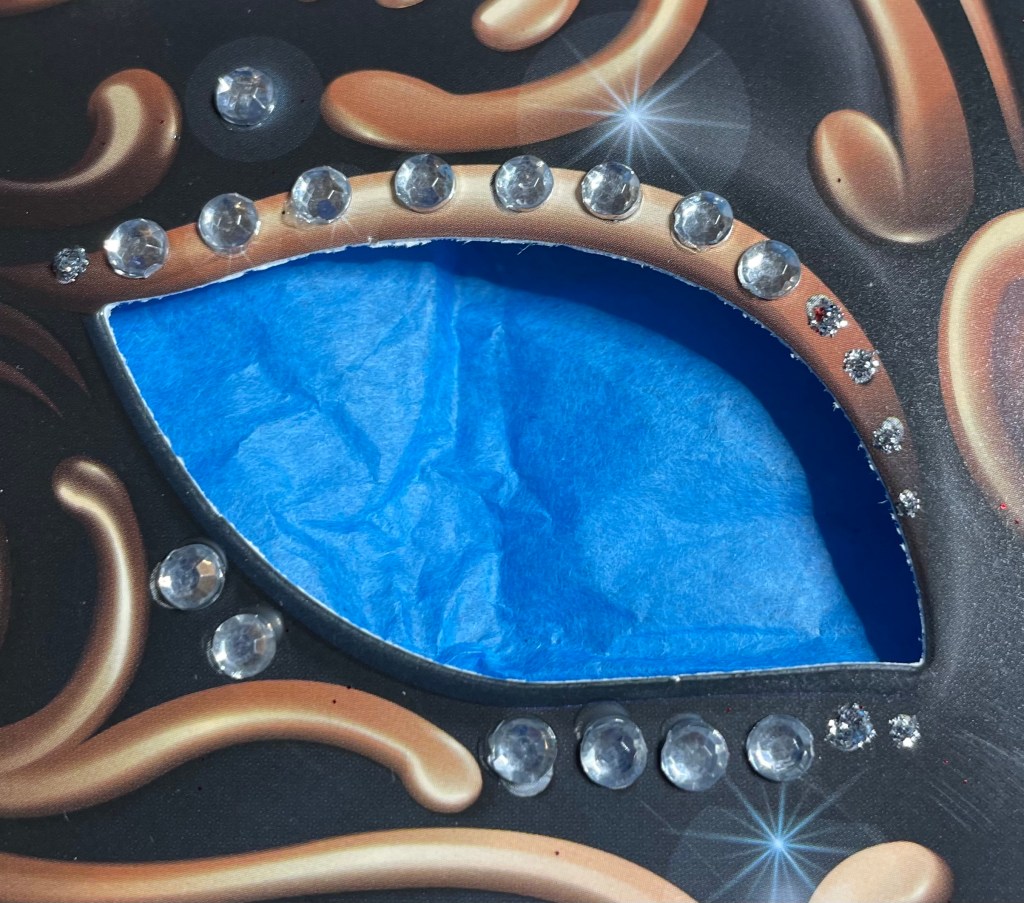
Mask #7 is one that really did not need a lot to be done to it. I used ultra fine glitter in the color Crimson for the red oval and silver rhinestones to accent the eyes and center of the mask, ans silver Stickles for the small dots around the eyes.
Mask #8 did not have a before picture, but the outcome is fantastic, at least in my opinion. One large(ish) and one small rhinestone in a deep pink color was used as accents in middle area of the mask. Silver rhinestones were placed around the eyes. Gold and silver stickles were used to accent a few areas, gold in the center top area and silver below the eyes. Gold Glitterific was used around most of the outer edge of the mask.
I realize there is glitter dust on the masks and I will work to get them off the masks before I decorate my mom’s door. Does anyone have any ideas on how to remove it???
The first 4 completed masks. To make this easy, I have decided that the first photo will be what I intended to use on the mask. If I decide on something different, the second photo will show the products I actually use. Each mask will have4 a list of items I used and where they were purchased from.
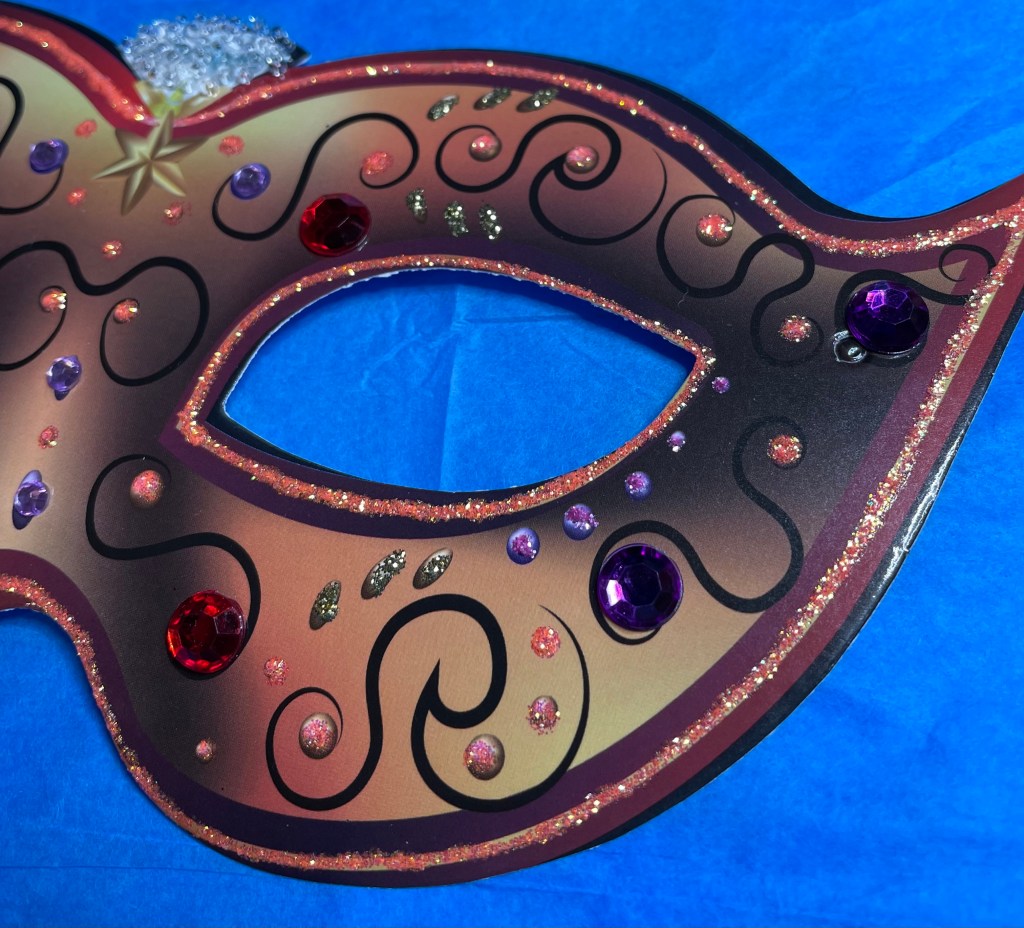
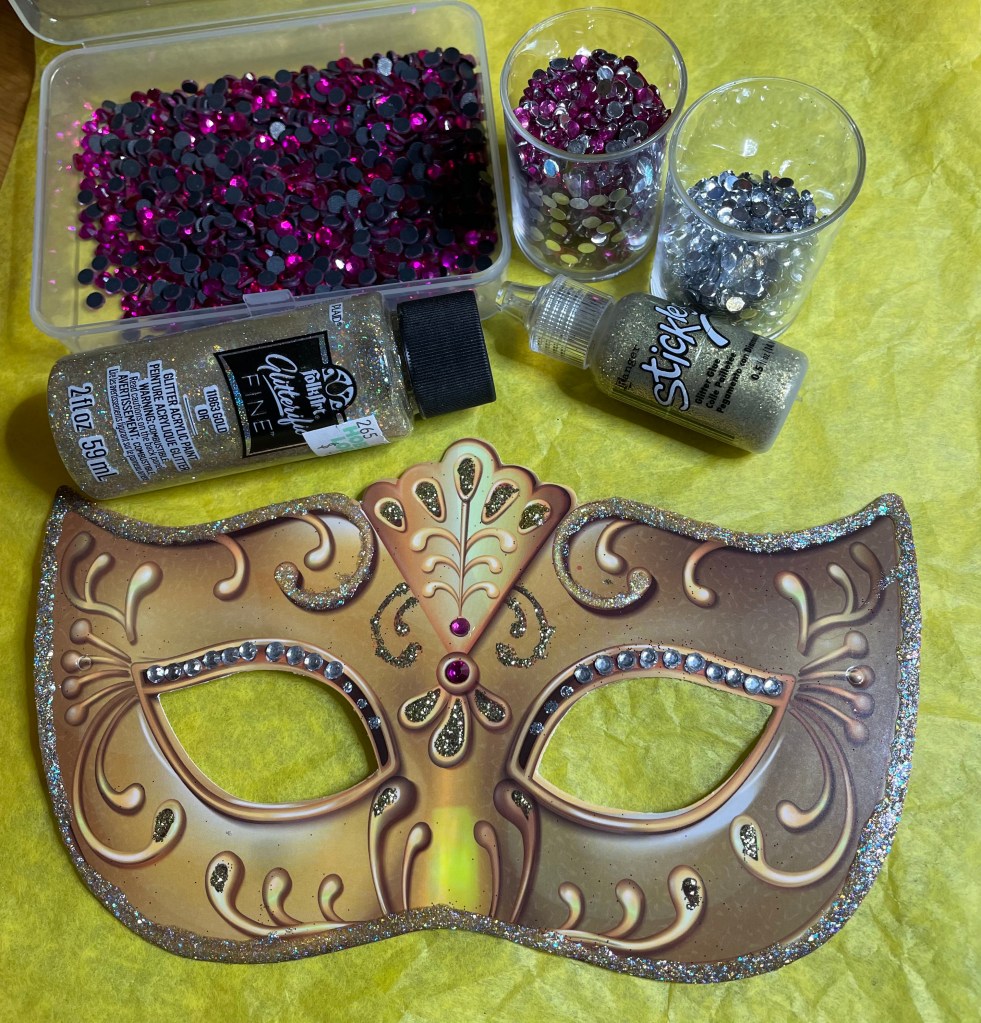
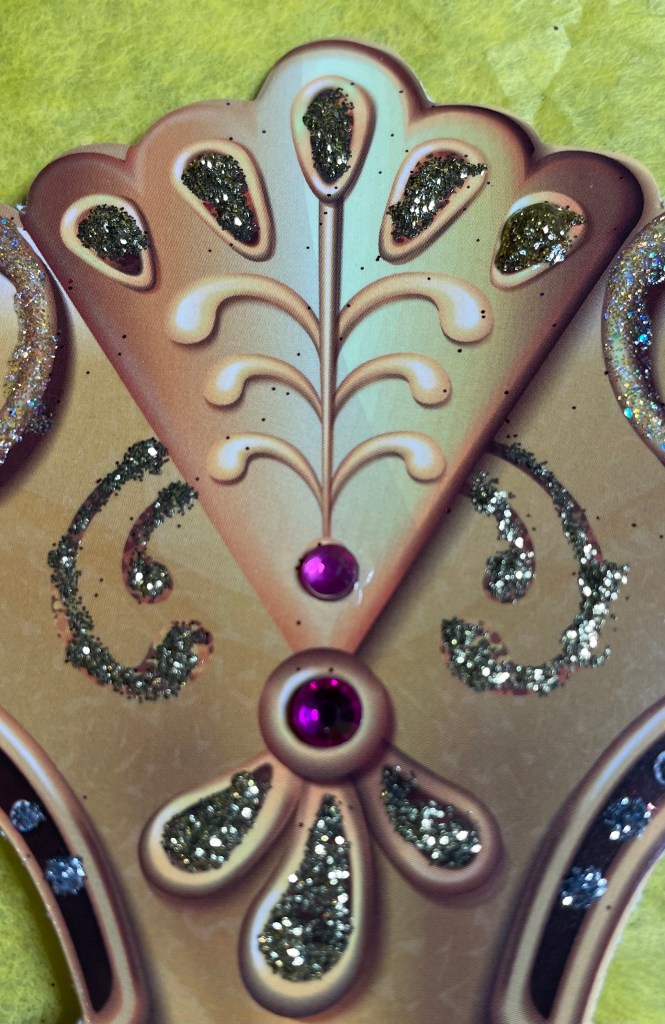
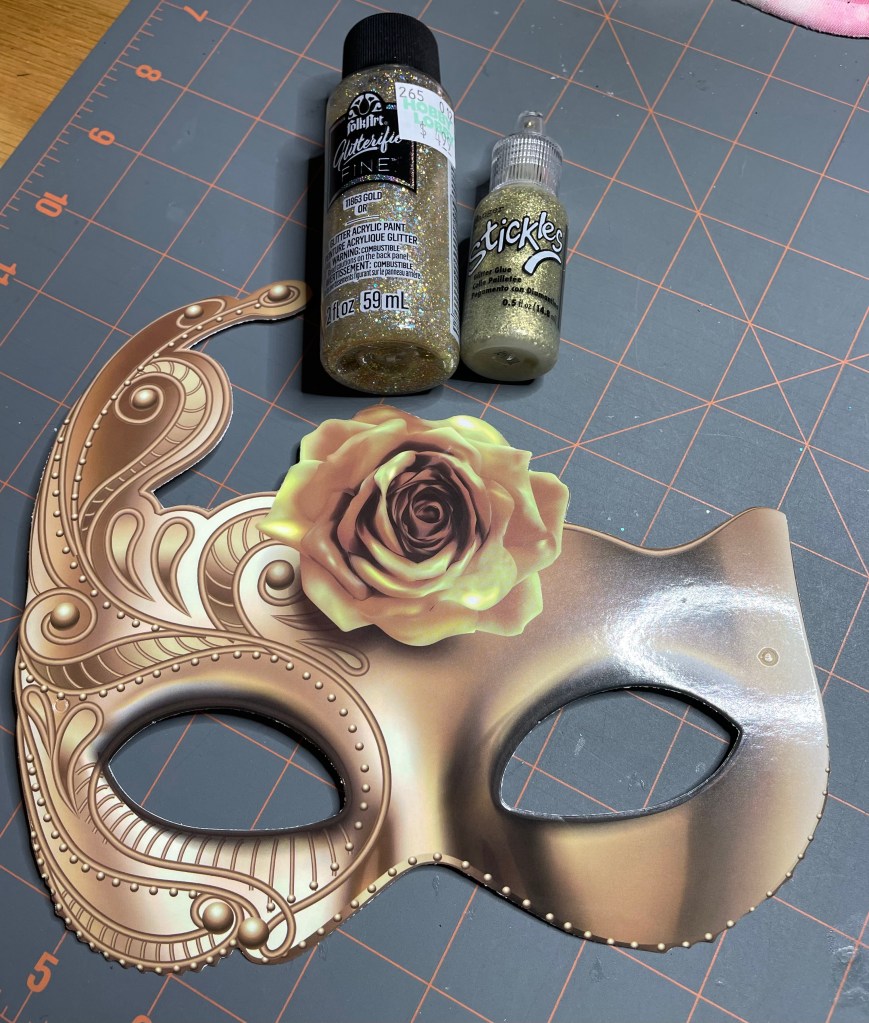
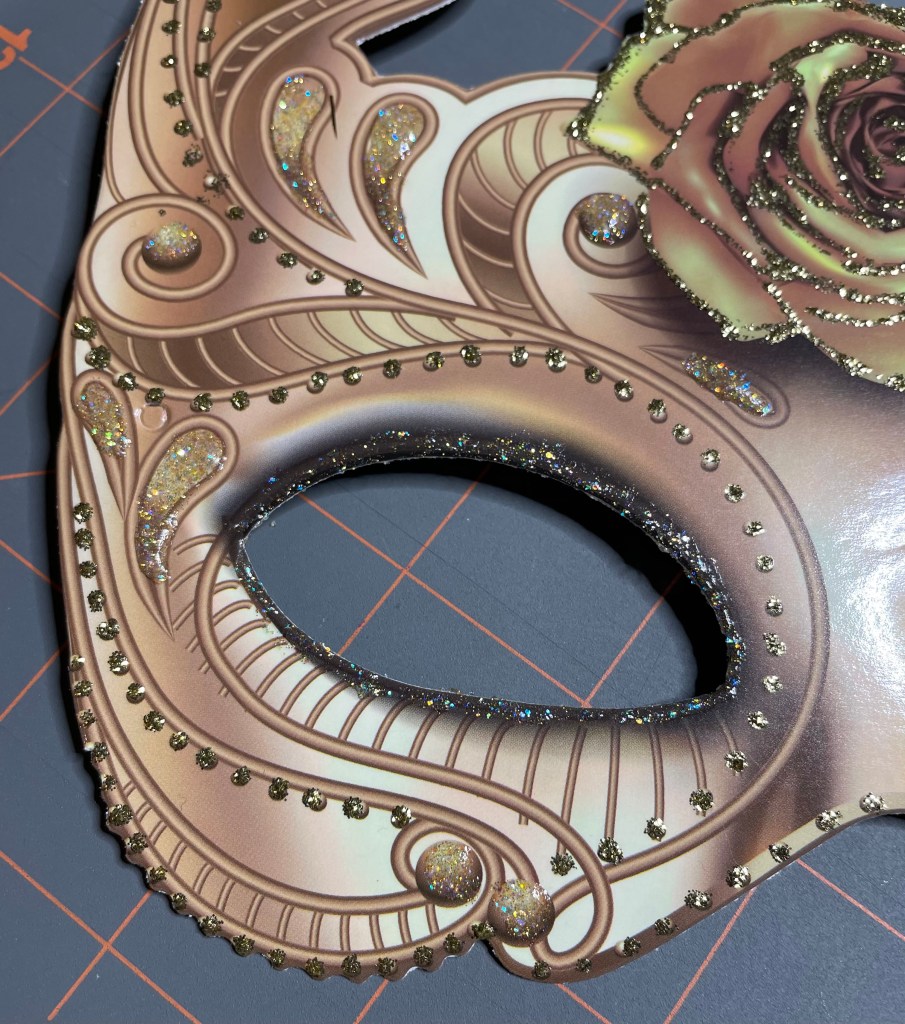
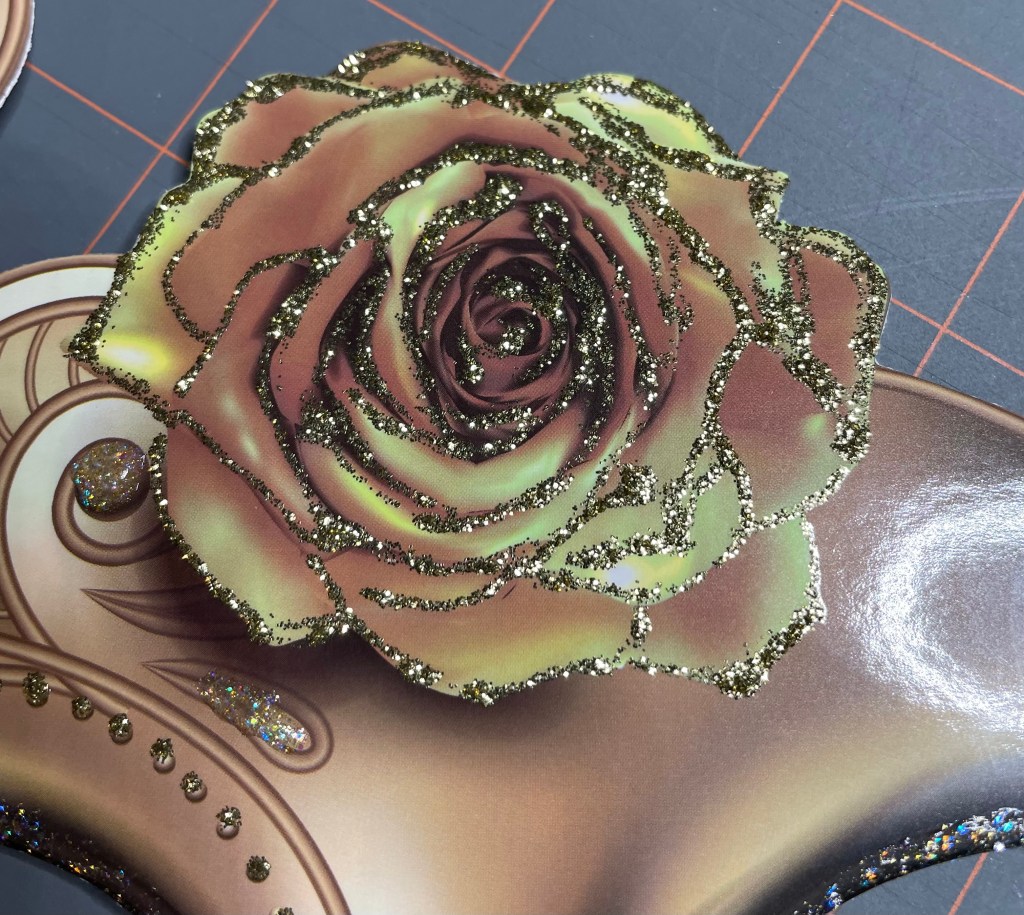
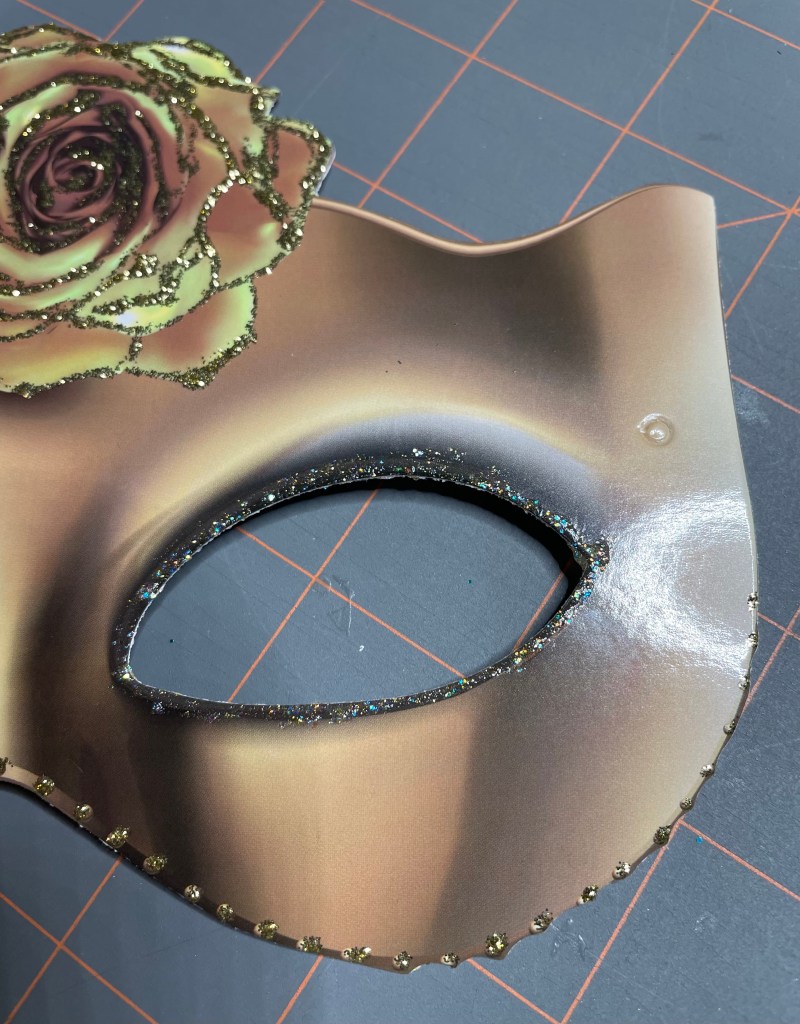
The first mask I worked on is the one with a yellow rose. My mom loves yellow roses so it just seem appropriate to use it. I used Folkart Glitterific in the color gold, purchased at Hobby Lobby and gold Stickles purchased at Michaels a long time ago.
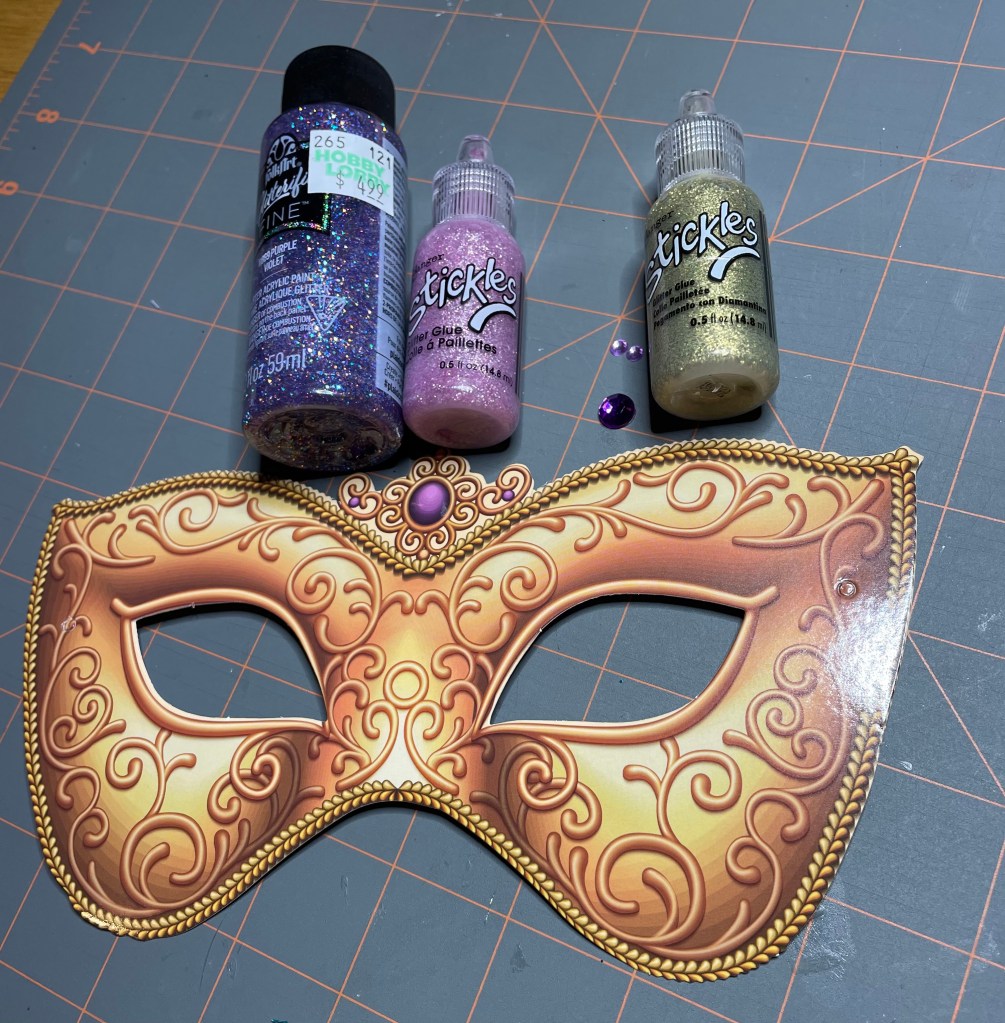
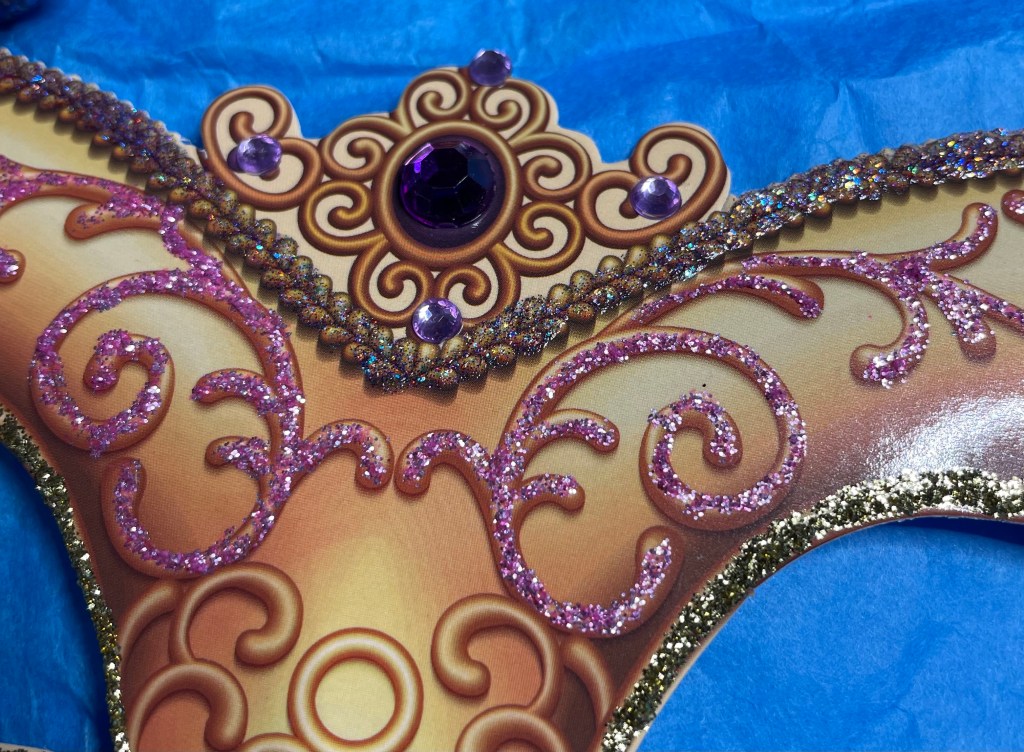
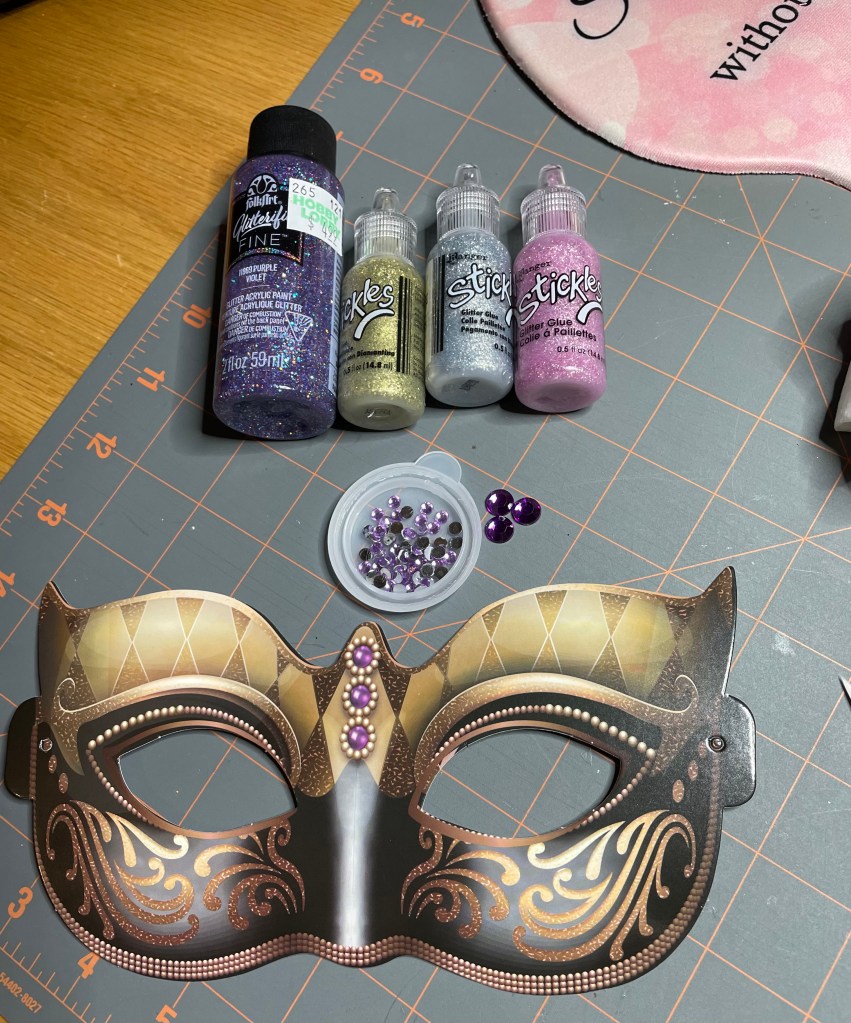
Mask #2. Not changes to the selections of item I pulled for this mask. Purple Glitterific was used along the outer edge of the mask, the gold Stickles was used around the eyes, and the other Stickles was used to accent the filigree above the eyes only. Rhinestones were glued in place at the top of the mask using Nuvo Deluxe Adhesive.
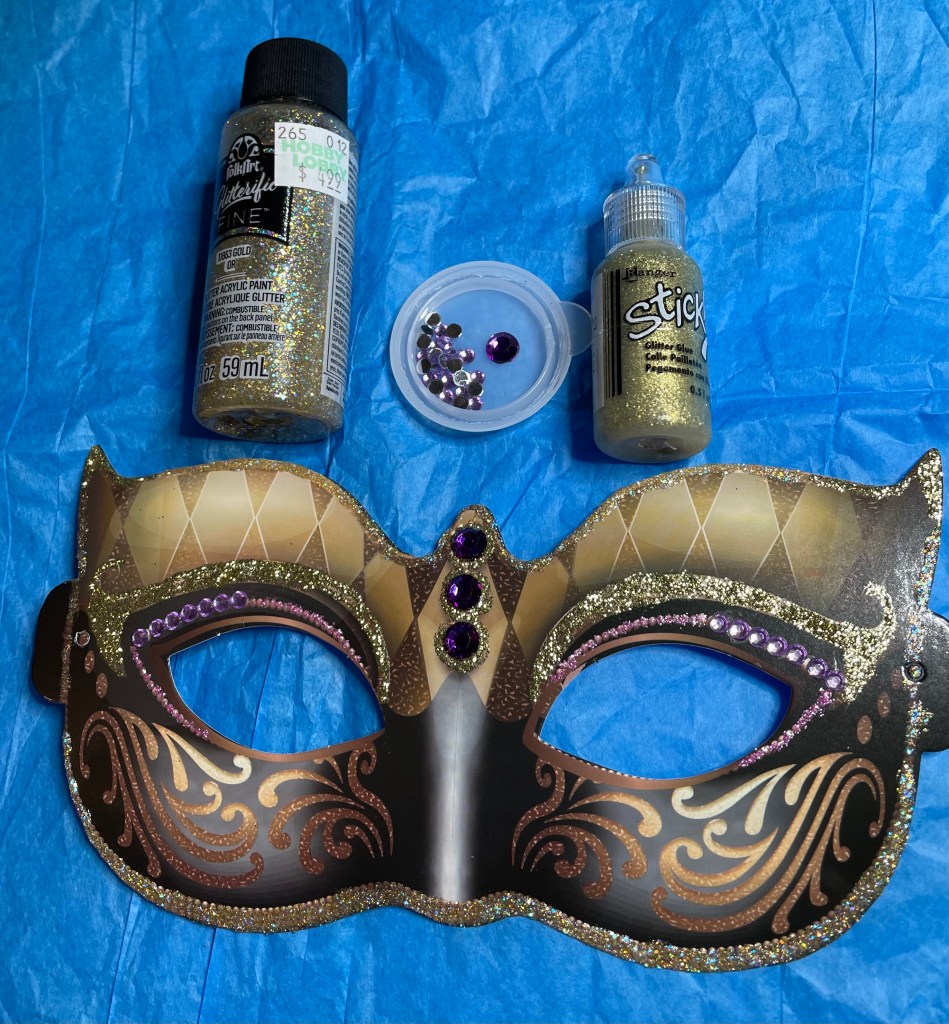
Mask #3. The only change I made on this mask was switching the purple Glitterific with the gold Glitterific and I did not use the silver Stickles at all. The gold Glitterific was used on the outer edge of the mask, gold Stickles for the eyebrows, Stickles in the color Mermaid Tail and small light purple rhinestones were used around the eyes. Larger purple rhinestones were used with gold Stickles surrounding the rhinestones.
By the time I got to mask #4, I decided it was time to do something more simple. Along the lines of less is more. Blue rhinestones and faux pearls made great accents as did the gold and silver Stickles. But I think my favorite part is the blue Stickles around the eyes. Yes, that is definitely my favorite part of this mask.
Here is a list of the items used on these masks and where I purchased them from.
Folkart Glitterific FINE gold paint and Folkart Glitterific FINE purple paint purchased at Hobby Lobby
Stickles in Gold, Mermaid Tail, Blue, and Silver purchased at Michaels.
Rhinestones in all colors and sizes along with the Nuvo Deluxe Adhesive were purchased on Amazon.
Faux pearls were purchased at Dollar Tree.
Part 3 coming up with 4 more masks completed. Who knew this could put such a strain on my old eyes!!!!
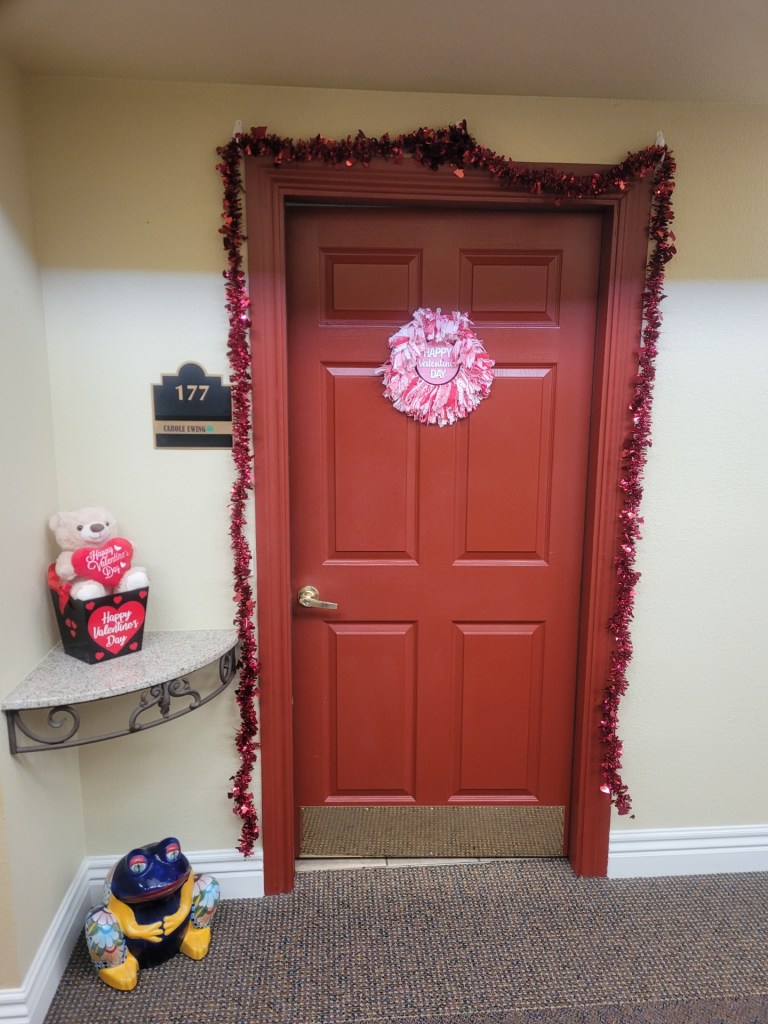
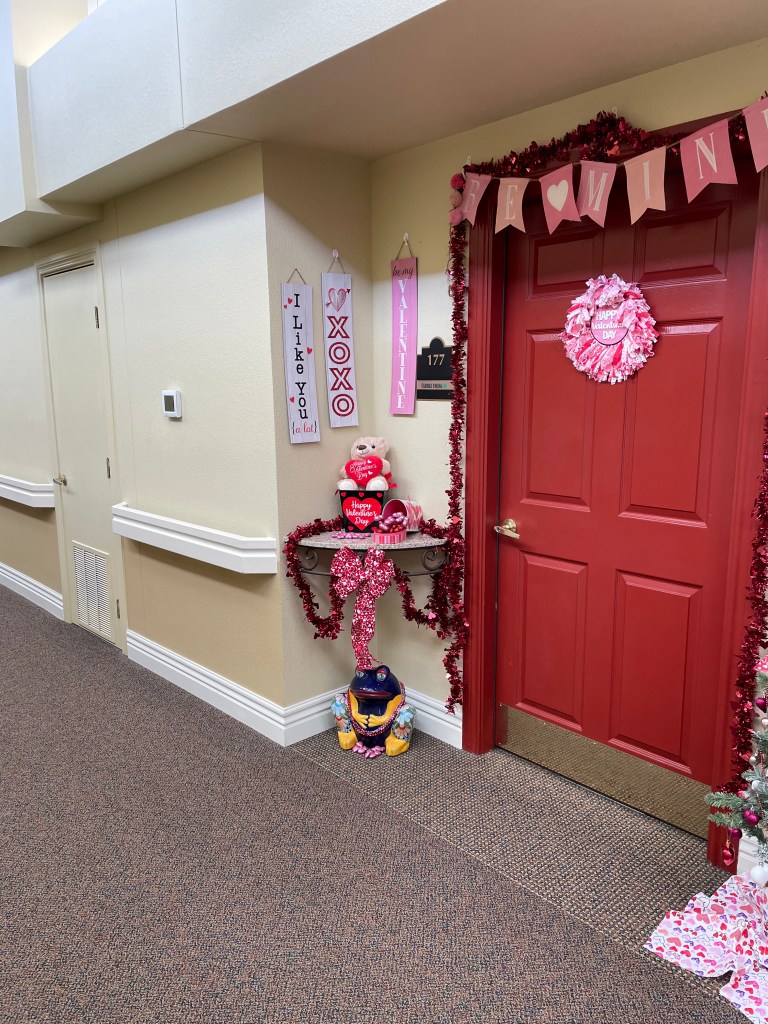
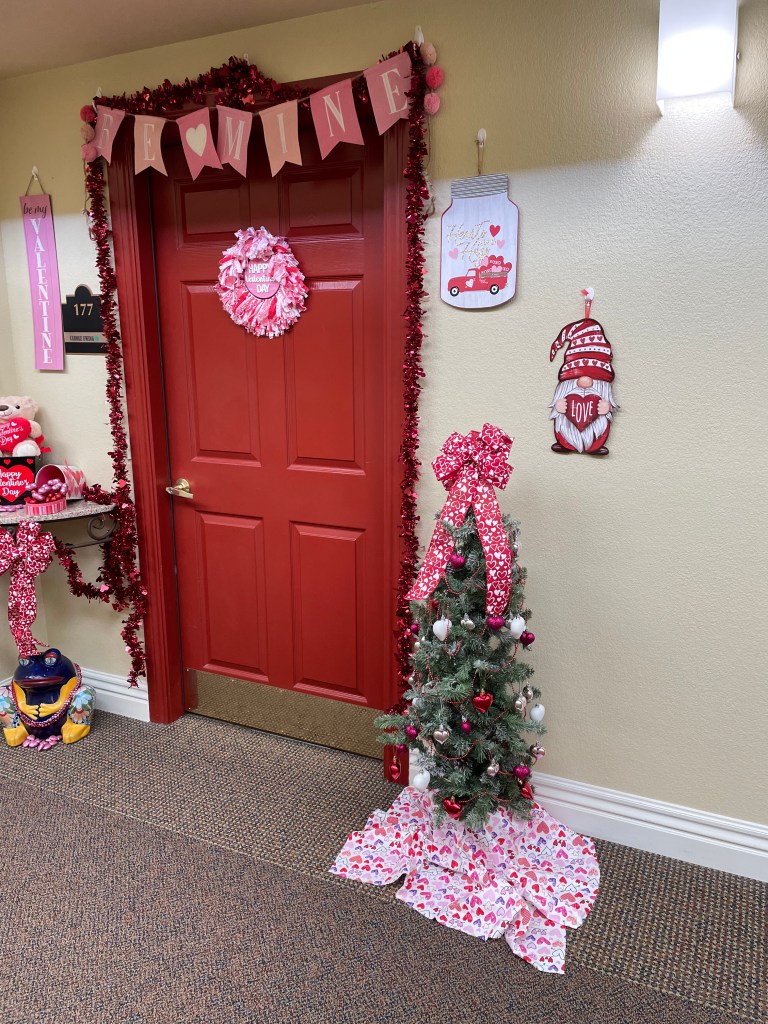
Jim and I used our time wisely on Sunday by decorating my mom’s door and her walker. She is so happy. She says that Valentine’s is her favorite day.
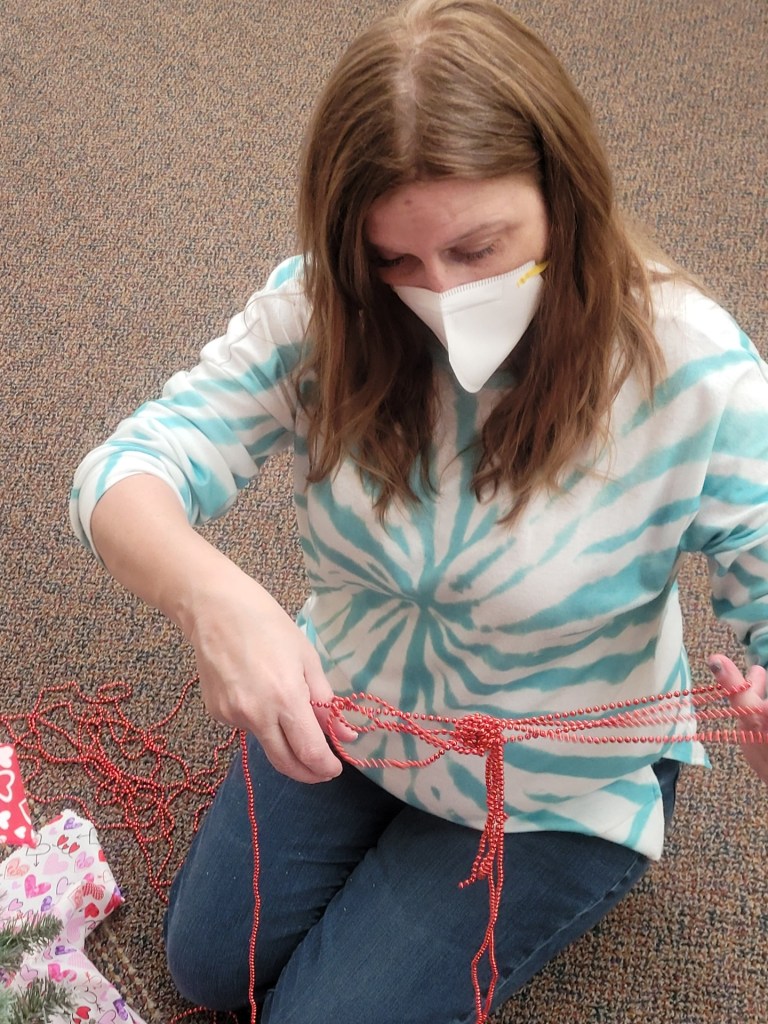
While I worked on the door…
Jim decorated her walker. He did a good job considering what he had to work with.
The best part happened when mom walked out her door to see the decorations. She is so happy!
She is happy with the results and is looking forward to how I decorate things for Mardi Gras, St. Patrick’s Day, Easter and everything else. I plan on surprising her with a special Cindo de Mayo decoration as well!!!!
Items used for this project were purchased at Dollar Tree, Wal Mart, Joann’s, Hobby Lobby, and Amazon. It truly takes a village to complete a project like the ones I do for my mom’s door!
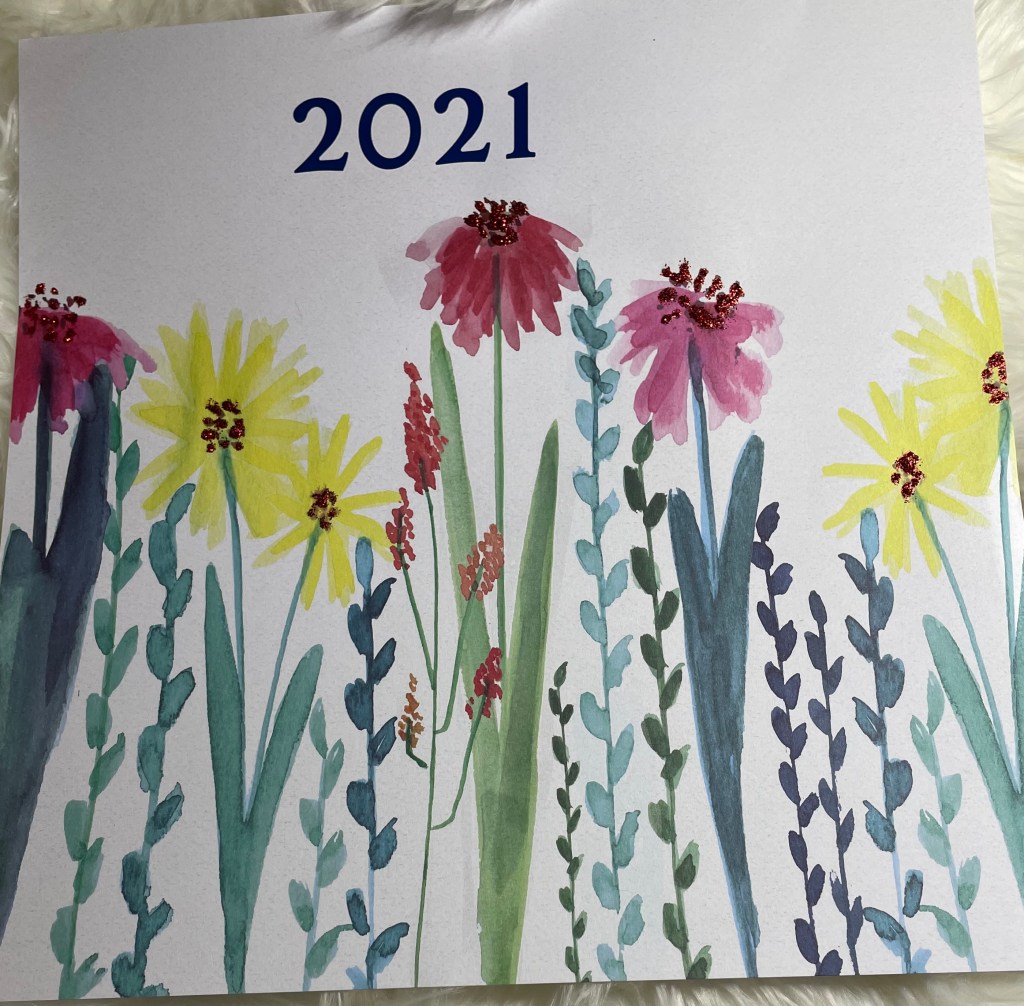
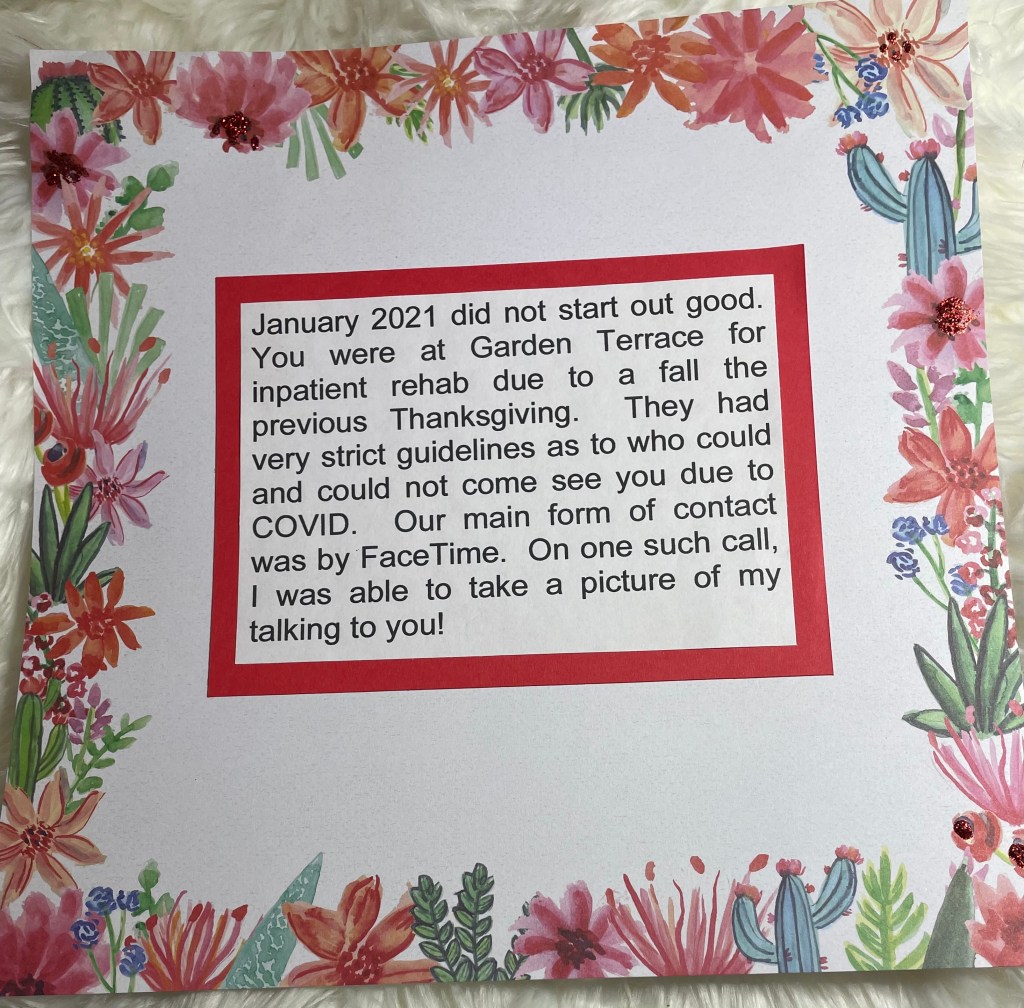
Let me begin by saying all of the 12 x 12 papers are from a paper pack purchased at Michaels. The paper pack is by Craft Smith and is named Santa Fe Garden. I purchased this paper pack years ago and I do not believe it is available. The mats for the photos were made from solid color scrapbook paper I have on hand.
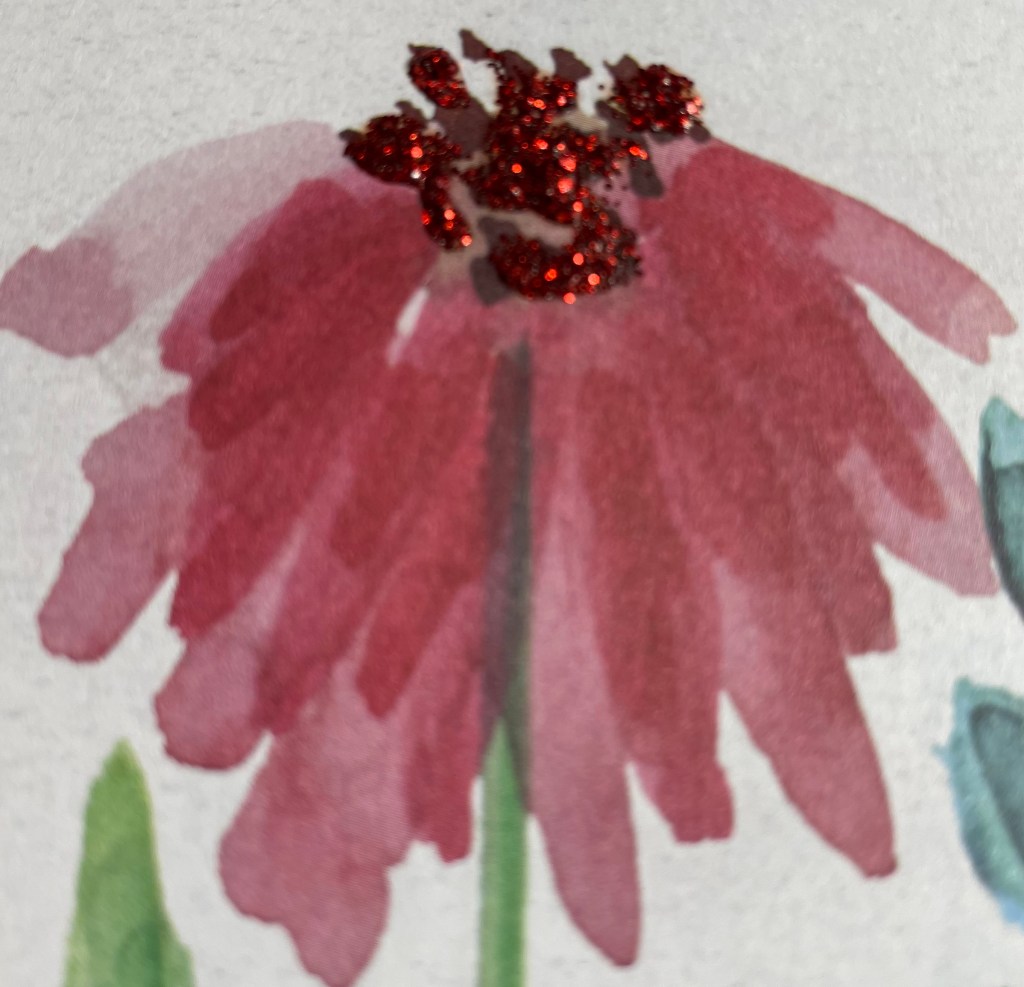
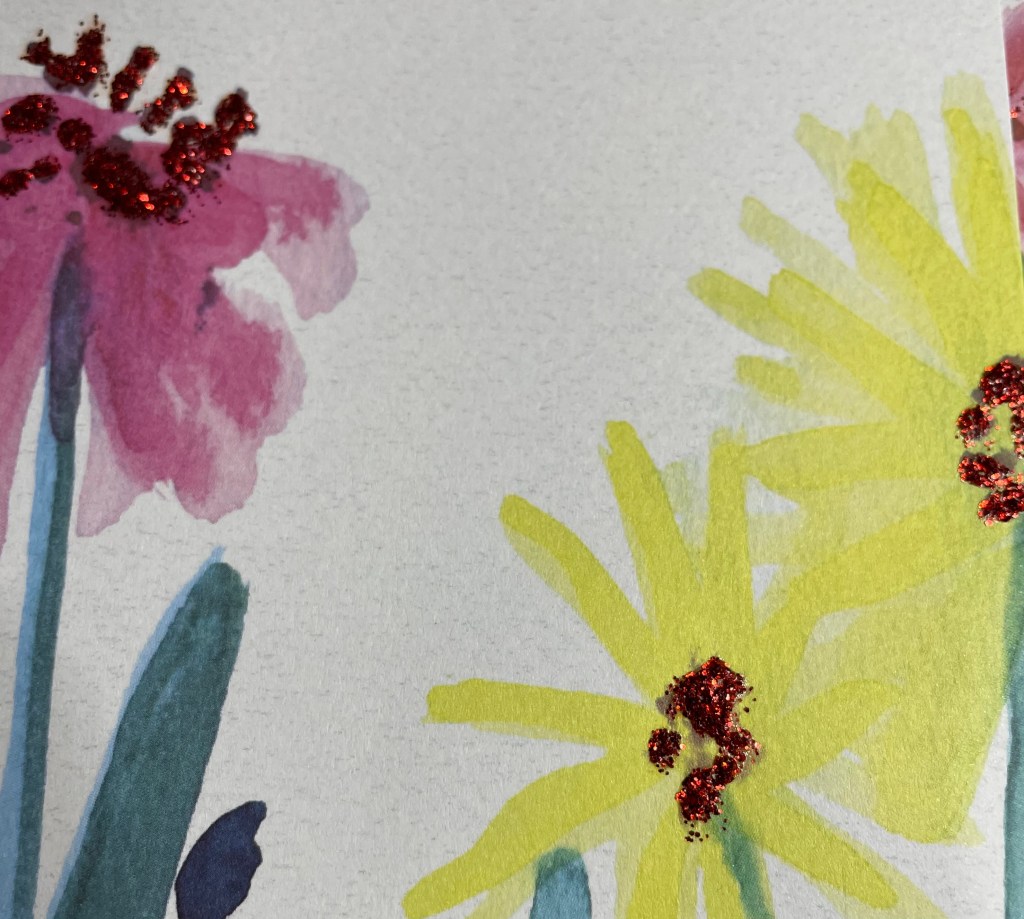
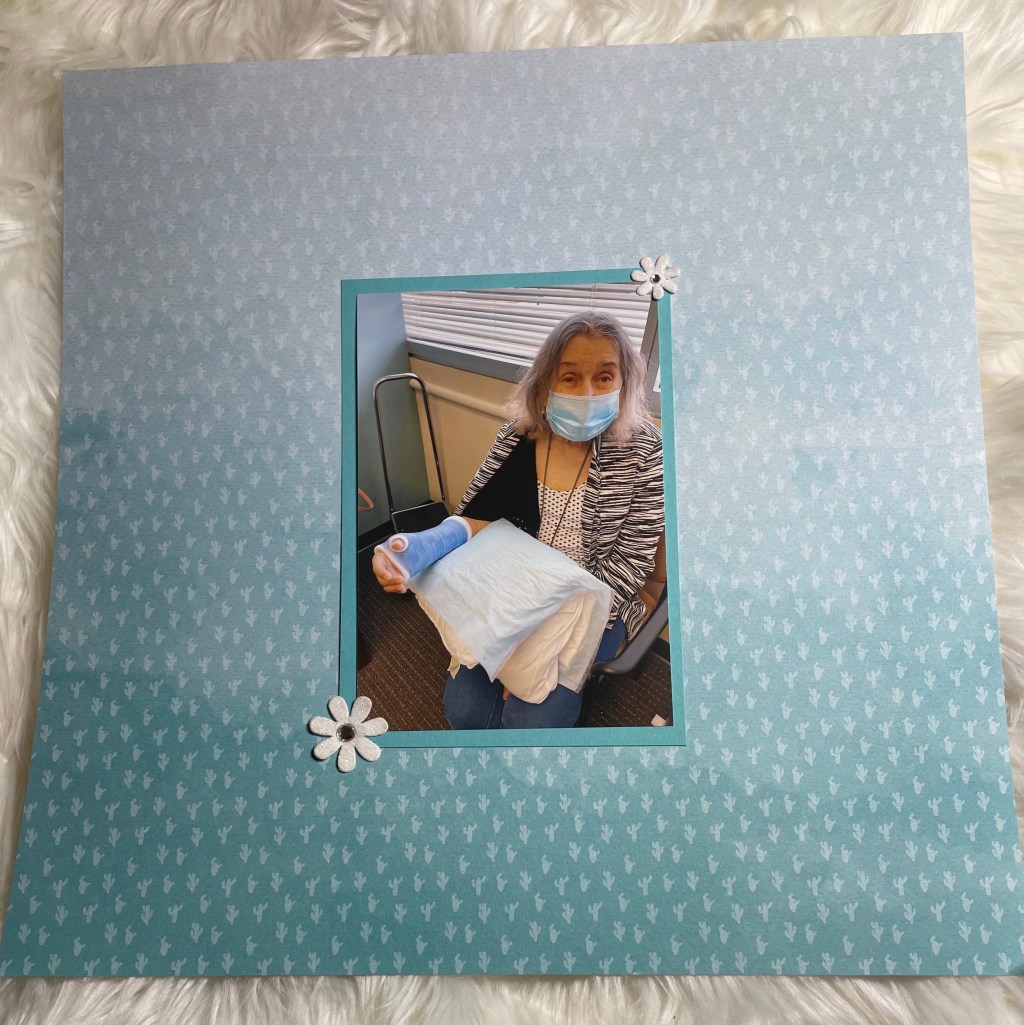
Cover page. Since I am creating these pages for my mother who has vascular dementia. I will be making the pages as simple as possible so she will be concentrating on the photos and the story behind them. The only embellishing I did on the cover page was I added glitter glue to the center of some of the flowers to give them a little dimension.
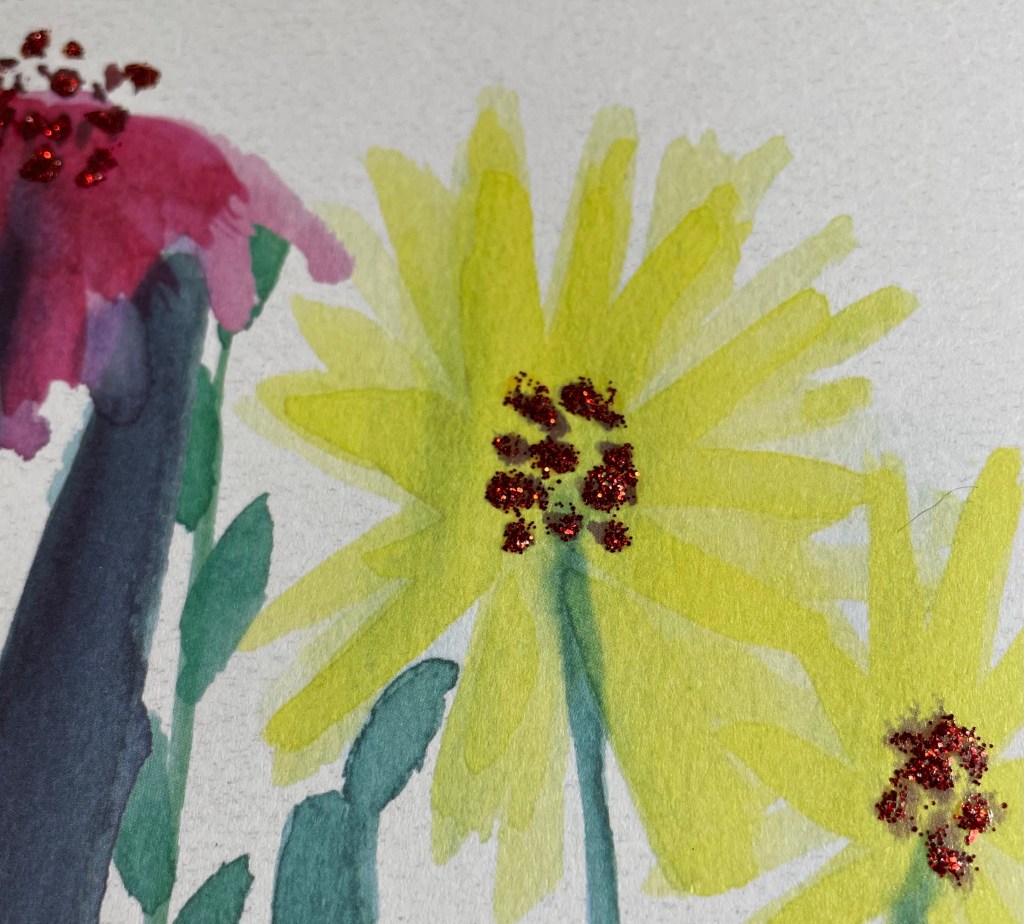
January. I added some glitter glue to some selected flowers.
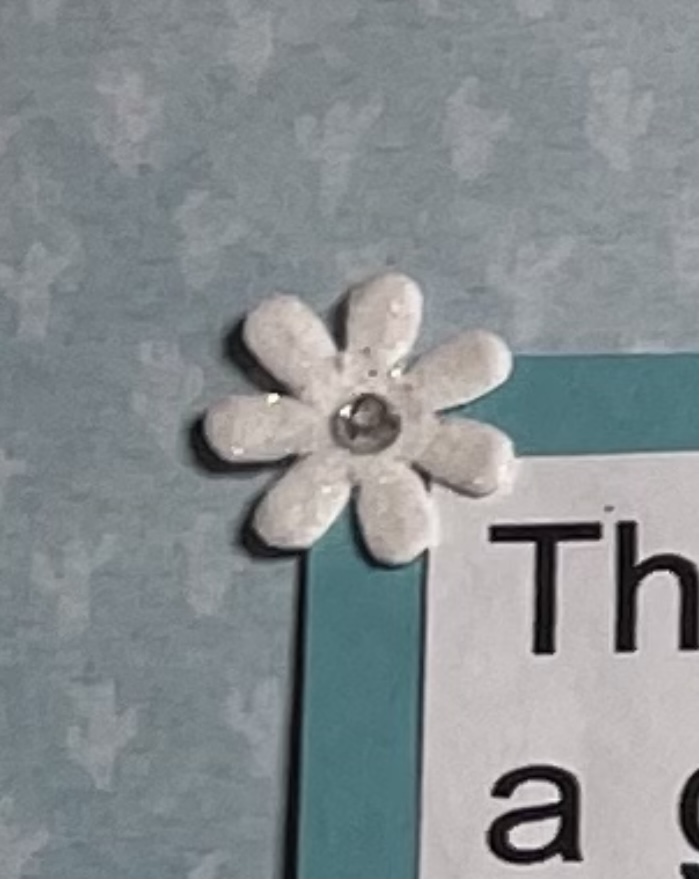
February. For these pages, I decided to use some felt flowers with rhinestone centers. I believ I purchased the flowers from Hobby Lobby many years ago. Very simple but decorative.
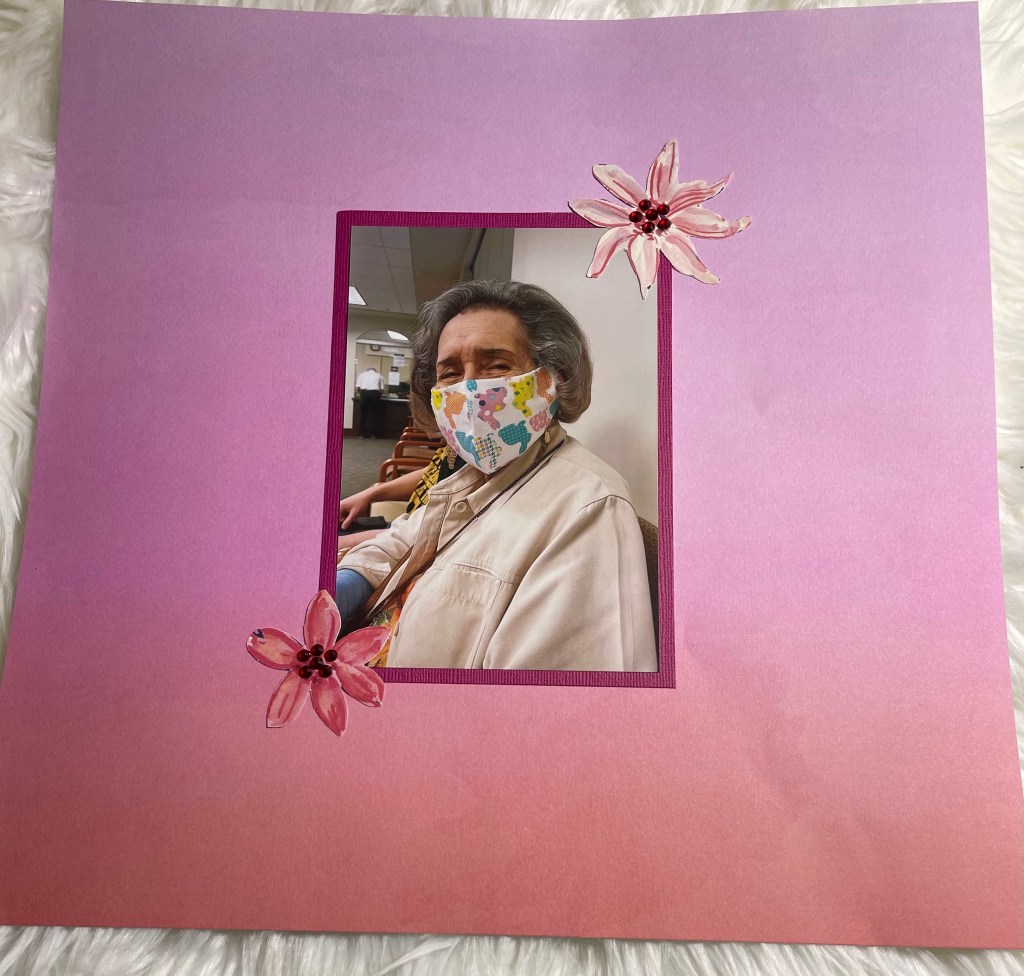
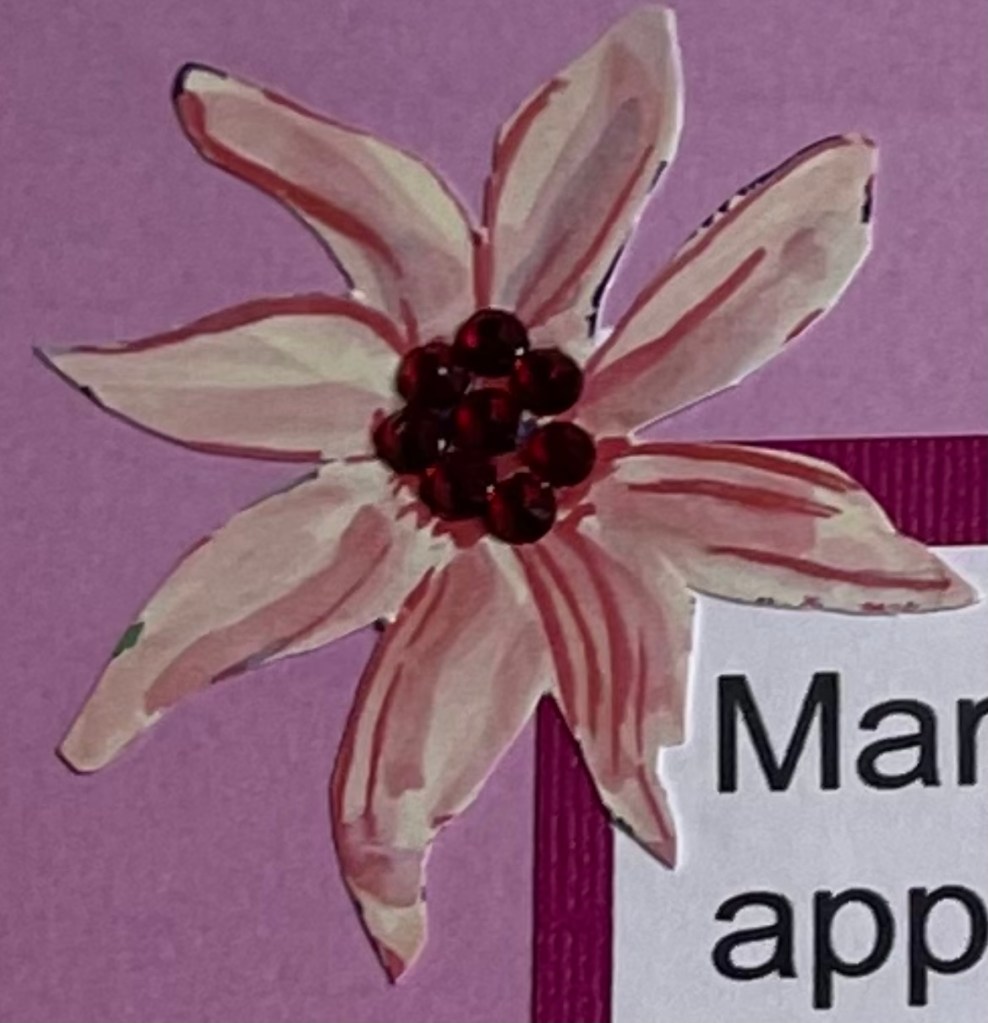
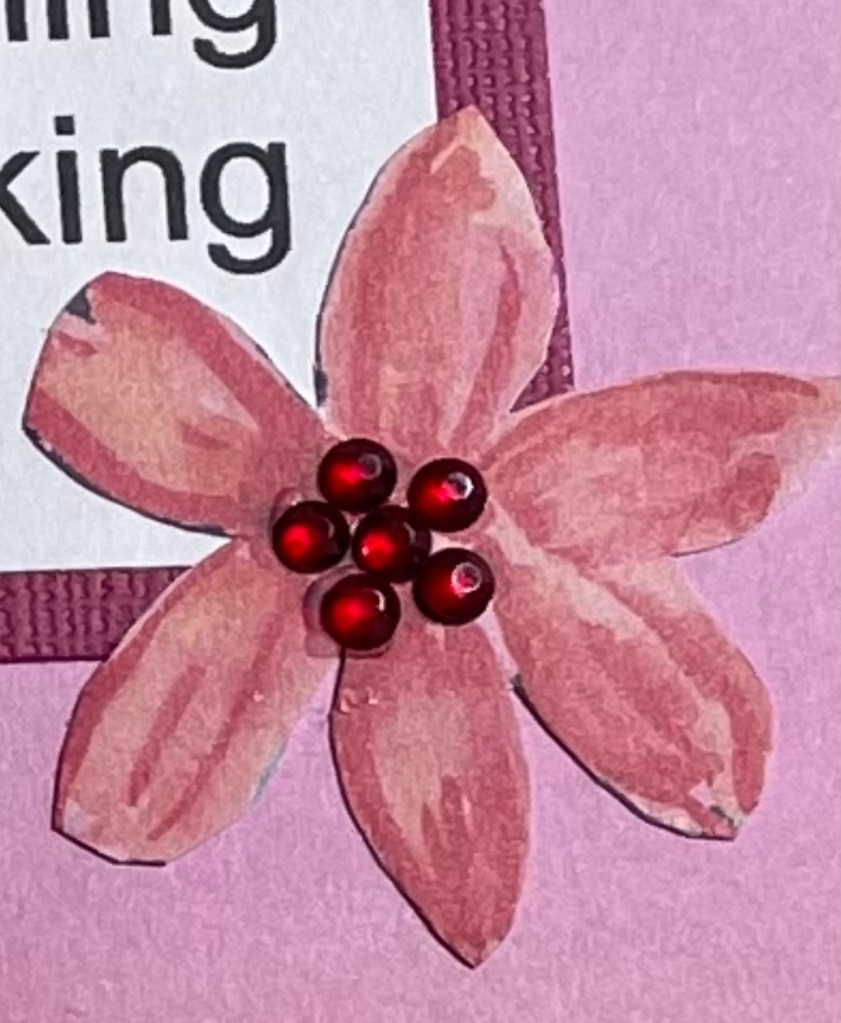
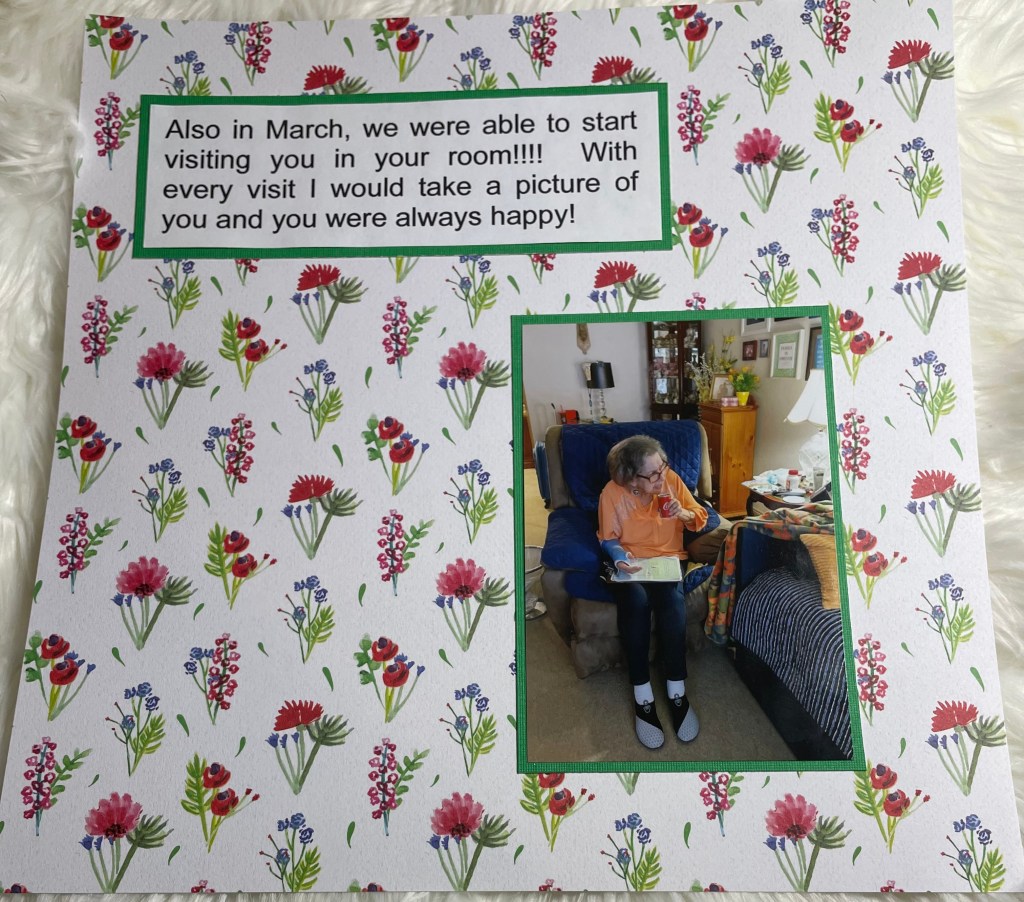
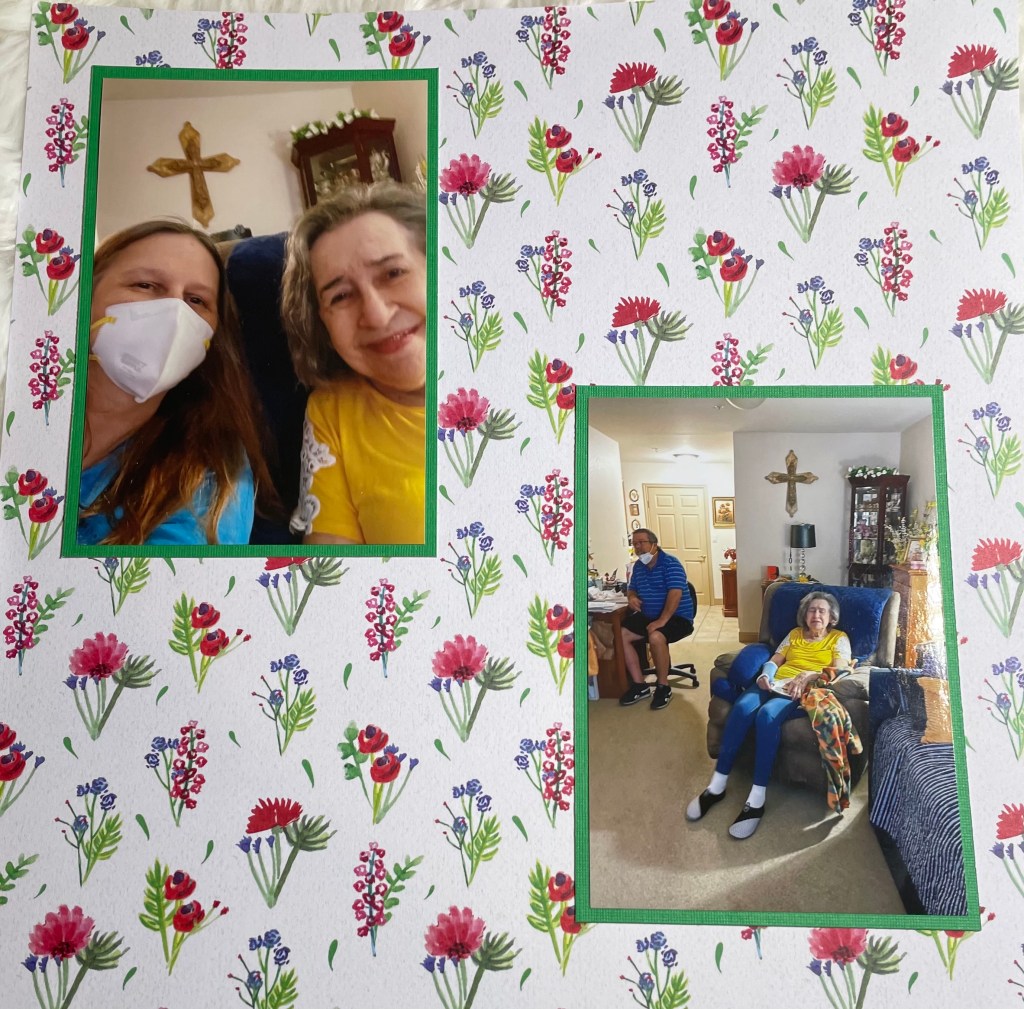
March. To decorate the first two pages, I cut out flowers from a page that is part of the paper pack I am using for this project. I then used red rhinestones I purchased from Amazon to accent the centers of the flowers.
I decided to not add any embellishments for this page as I feel like it works without anything. Plus I do not want to make the page look too busy.
The next installment will have pages for the remainder of March and April. I hope you will come back to see how they turn out. If you have any suggestions, please let me know.