I love planning cruises, planning trips to Cozumel, but mostly I love spending time with my family! And making scrapbook pages of everything! You can also find me on Instagram and Facebook
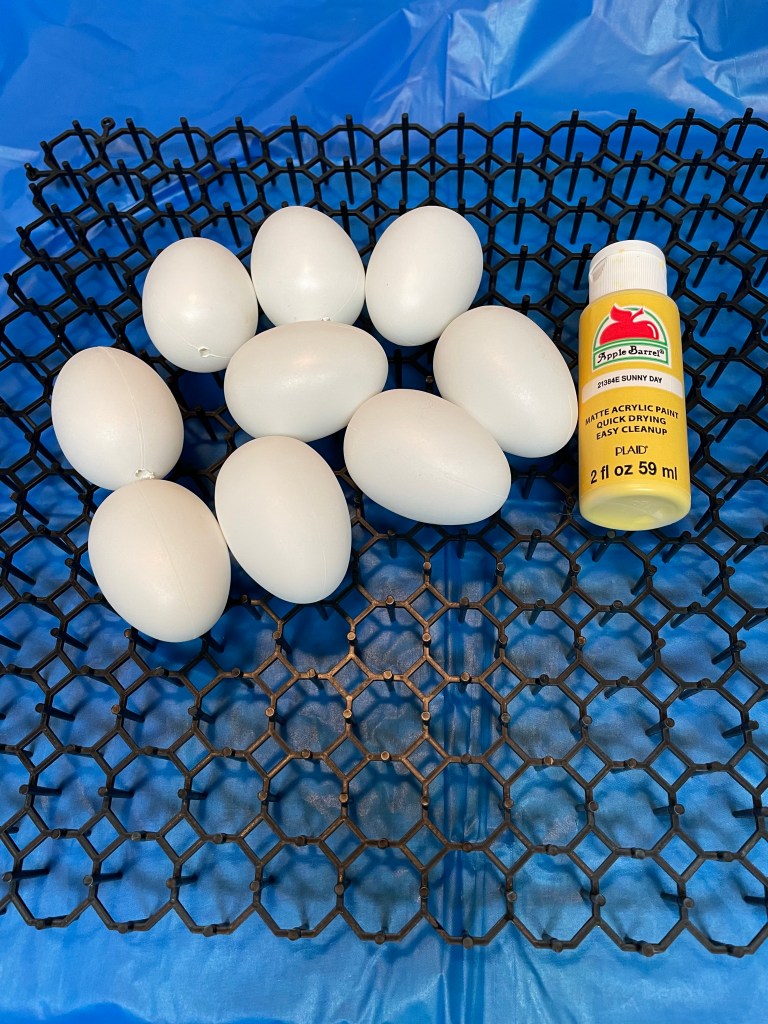
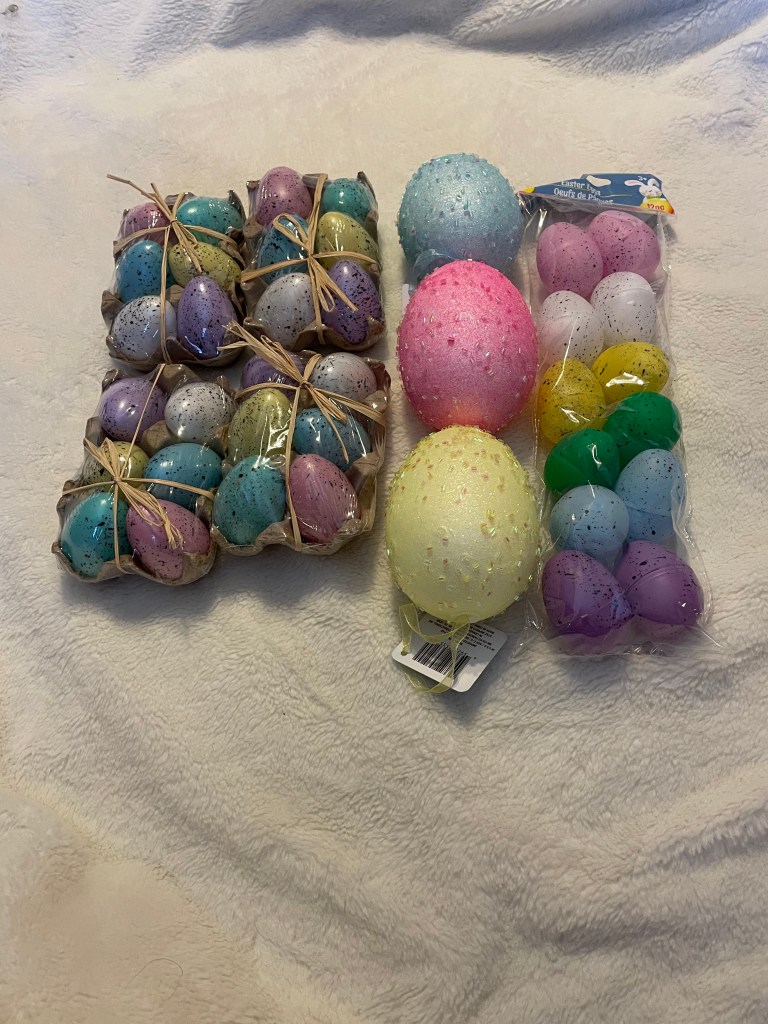
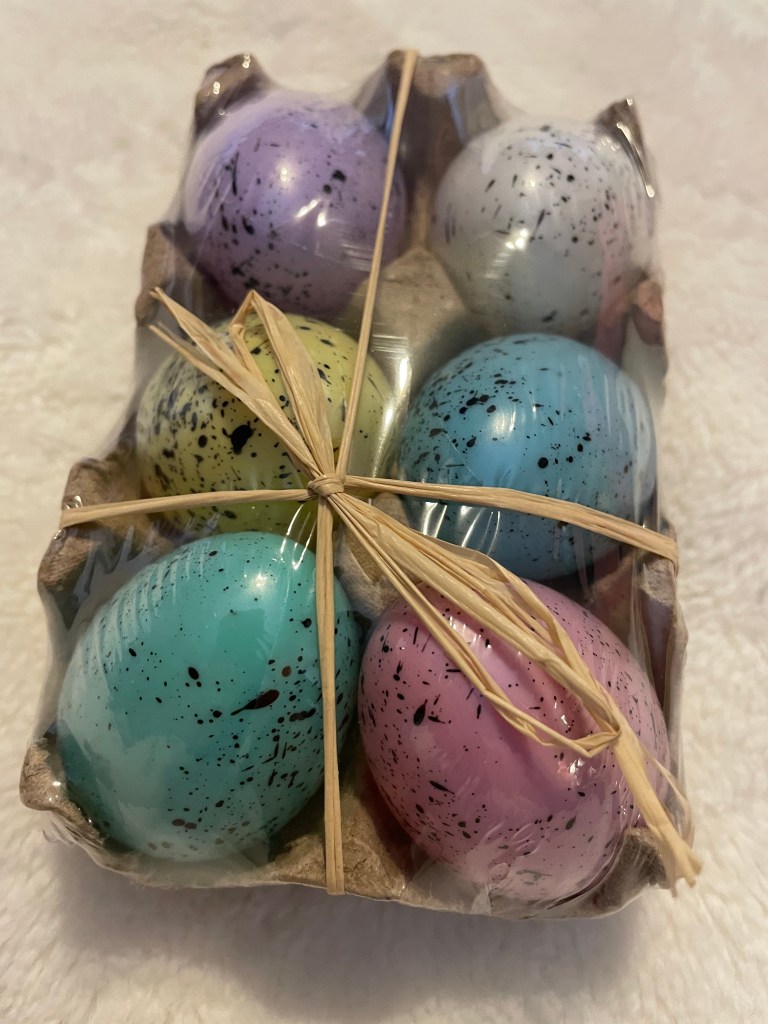
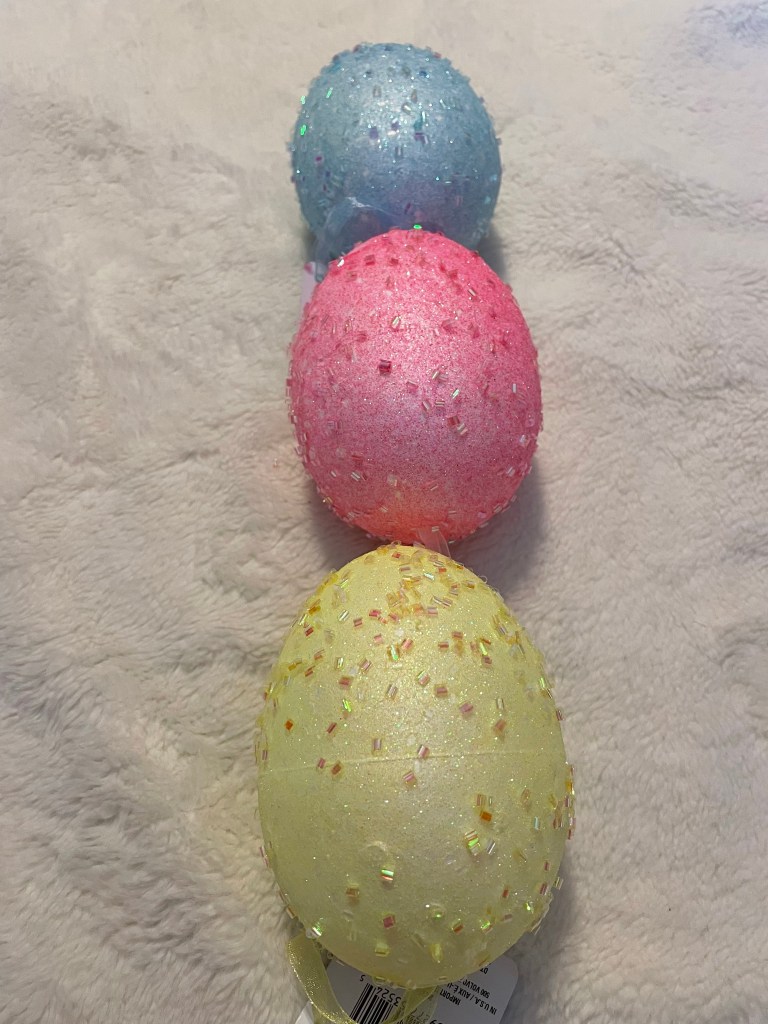
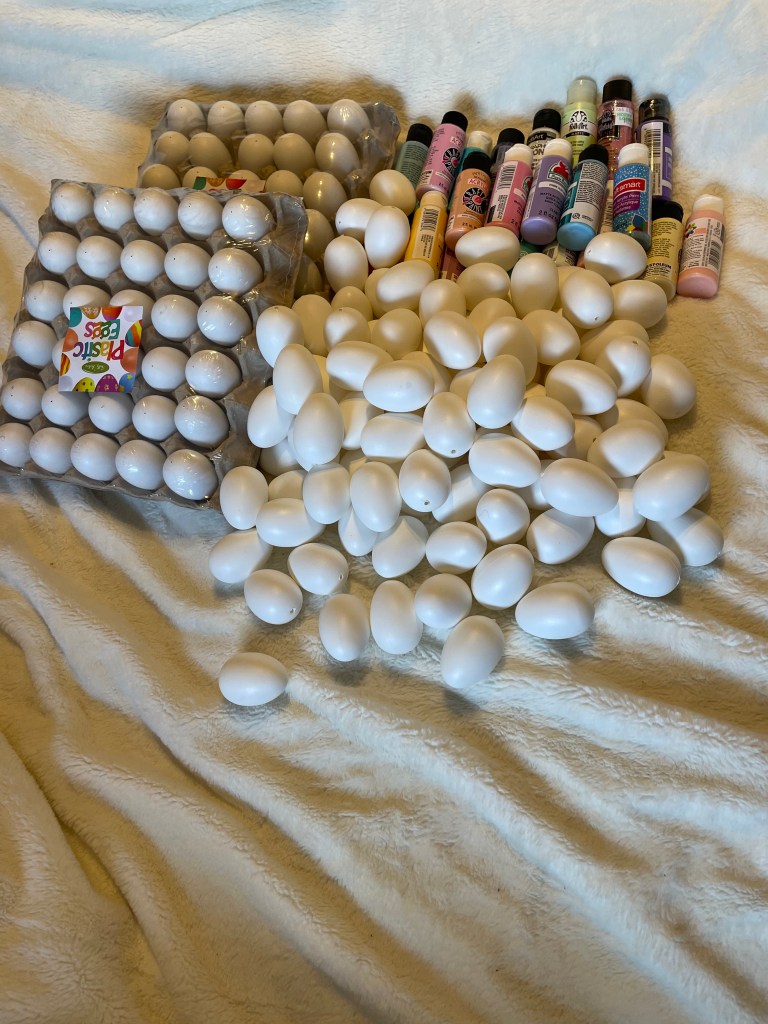
I will begin this installment by painting 3 dozen plastic eggs using 4 different colors of acrylic paint. There will be 9 of each color. Considering that I’m beginning with 156 eggs and the possibility of adding 60 more, I decided this would be a good starting point.
For the first group, I used Apple Barrell acrylic paint in the color Sunny Day.
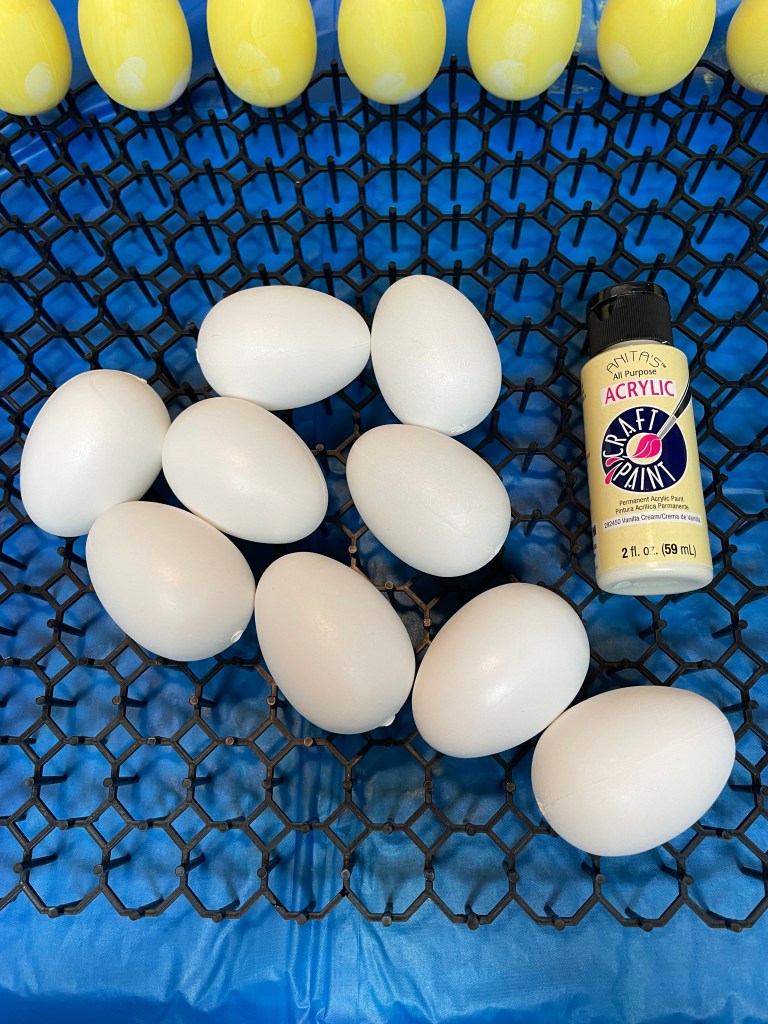
The next group was painted using Anita’s All Purpose acrylic paint in the color Vanilla Cream.
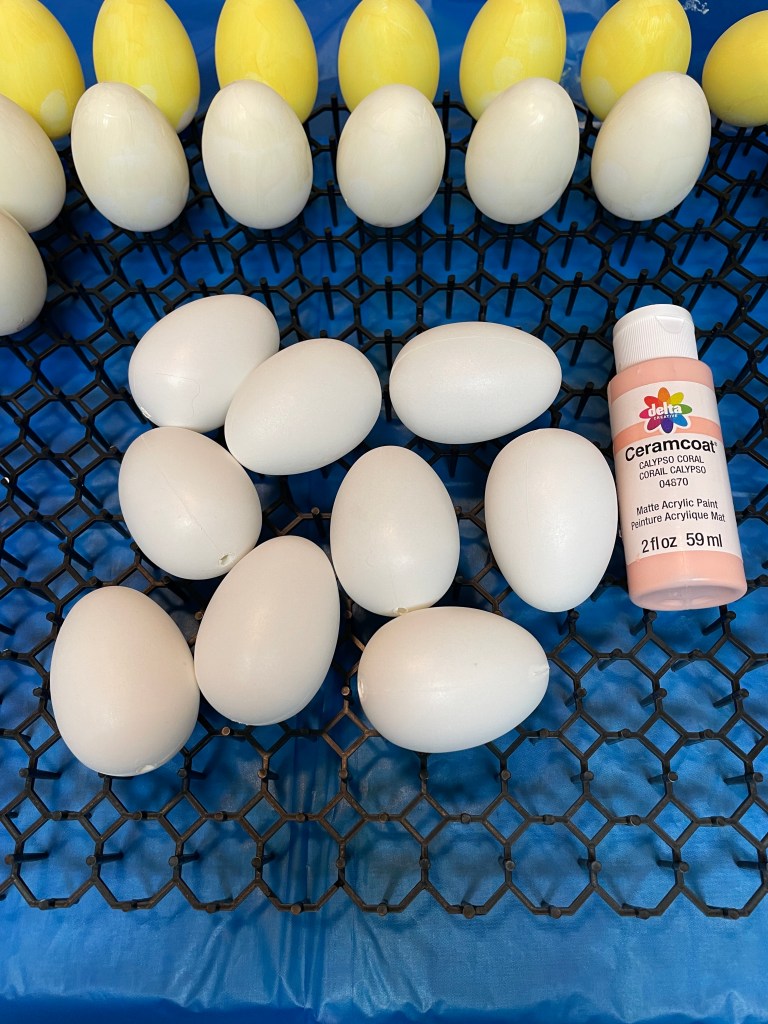
For the next group, I used Delta Creative Ceramcoat acrylic paint in the color Calypso Coral.
The last group was painted using Anita’s All Purpose acrylic paint in the color Light Coral.
I applied 2 coats of paint to each egg allowing several hours between coats. I am happy with the ways the colors have turned out!
I may or may not go back and put a coat of Mod Podge on the eggs but that it still in the thinking/planning stage. I still have 120 more eggs to paint.
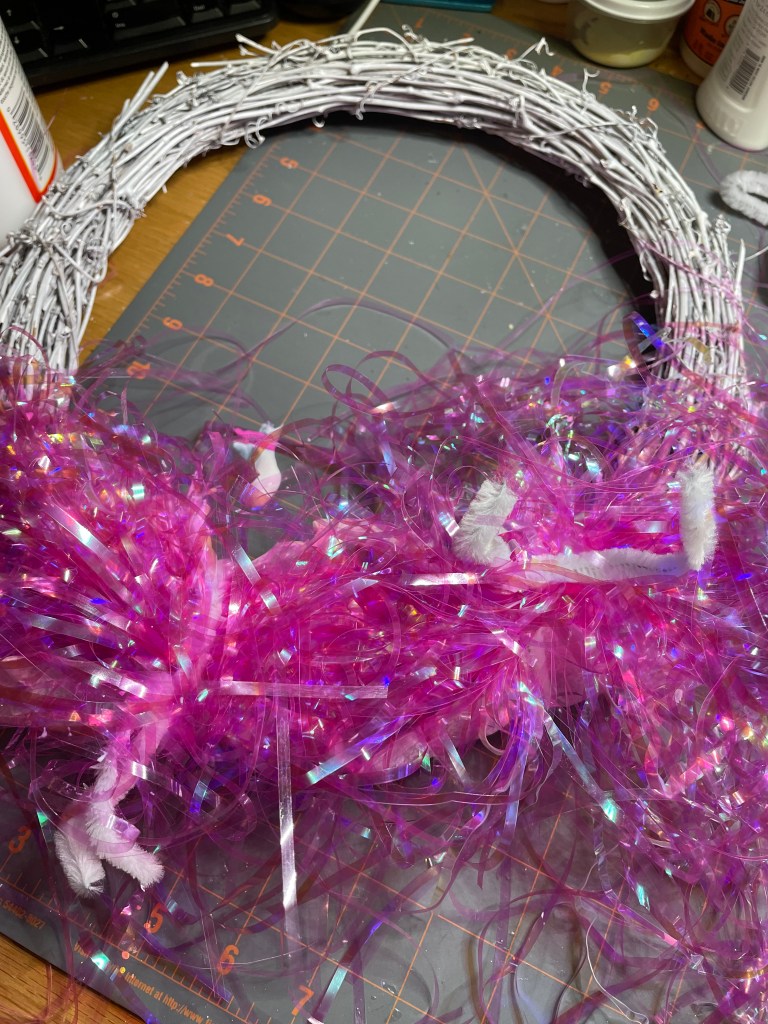
This definitely took longer than I thought it would. The most difficult part was getting the Easter grass glued or otherwise attached to the wreath. But once it was dry, I was able to continue working on this project.
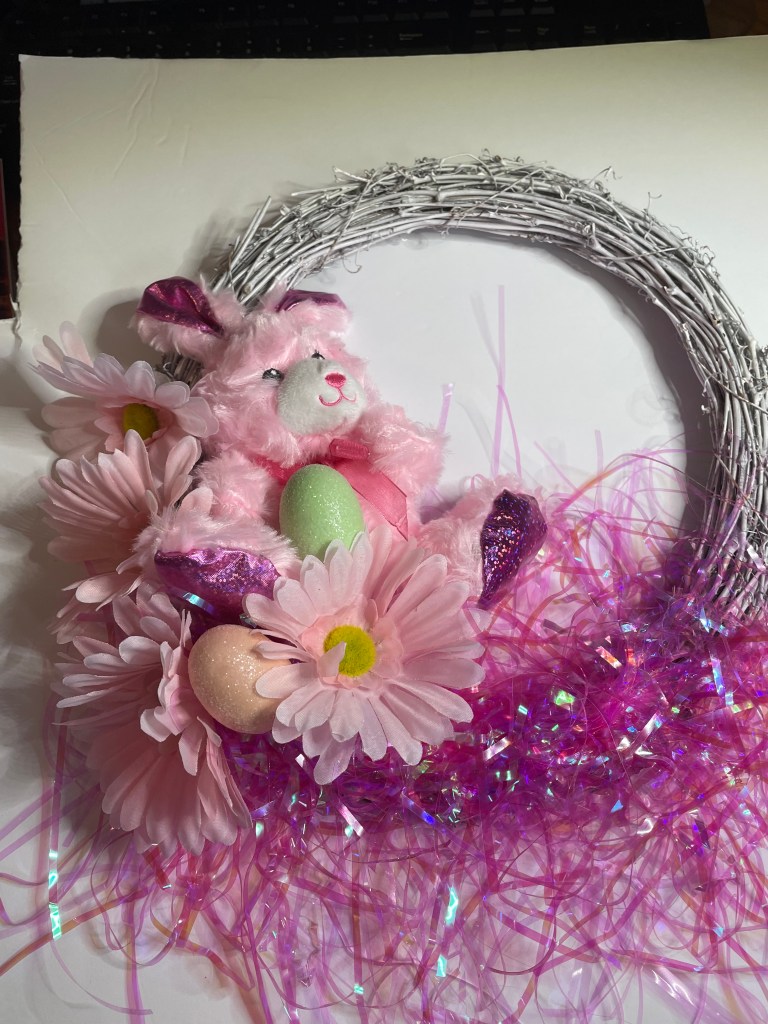
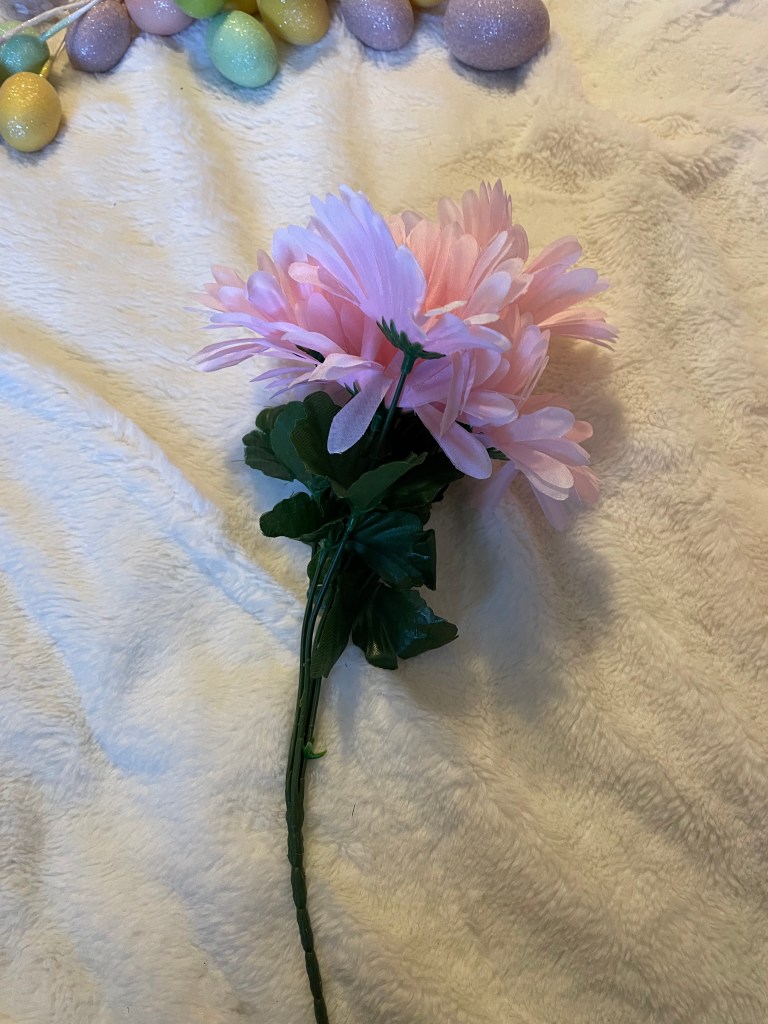
I started by adding some pink daisy’s to the wreath using E6000 to put them in place. Then I attached the small pink bunny to the wreath, also using E6000. And then I decided the bunny needed some eggs so I attached some to the wreath using E6000.
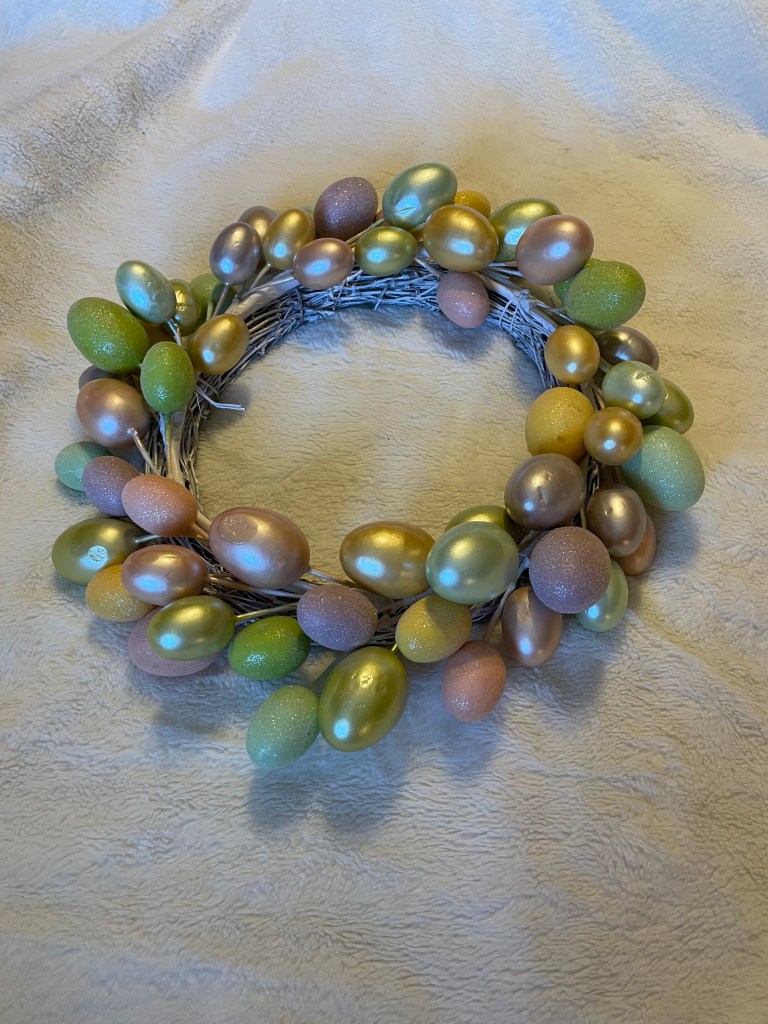
I continued adding eggs and daisy’s on the wreath until I decided that there was enough.
The last thing I did was to trim the Easter grass so it didn’t not look like it was falling apart. I am happy with the way the wreath turned out. Especially since it was my first time to actually make a wreath like this.
I really was not happy with the decorations we did last weekend. So, I made things better today.
I was lucky that Hobby Lobby had their artificial trees on sale this week for 50% off!!! So, I bought 2. Tuesday Morning has excellent prices on Talavera pottery so I was able to buy 3 planters. Each tree needed their own planter. Plus I purchased an artificial yellow rose bush on Amazon.
Also from Amazon, I purchased some more yellow rose garlands to spruce up what I have going around her door and some artificial ivy to put around the bottom of the trees and rose bush.
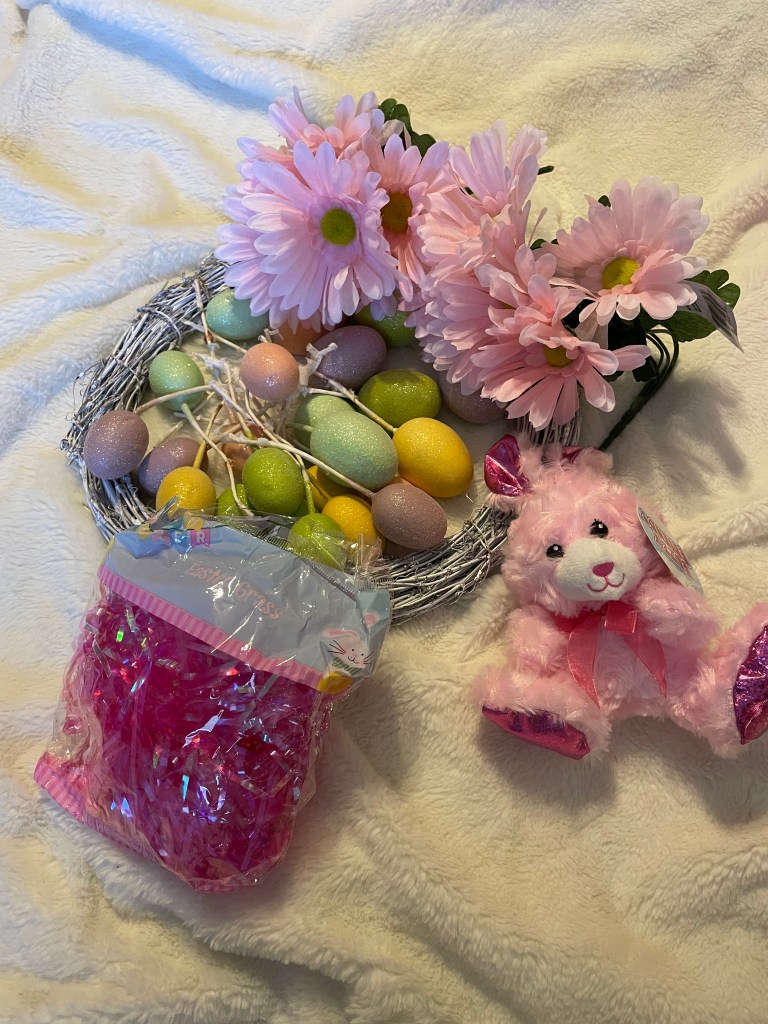
Another trip to Dollar Tree was in order since my original plans for the wreath would not work out. At Dollar Tree, I purchased some pink daisy’s, a small stuffed pink bunny, and some pink Easter grass. I hope it is not pink overload!
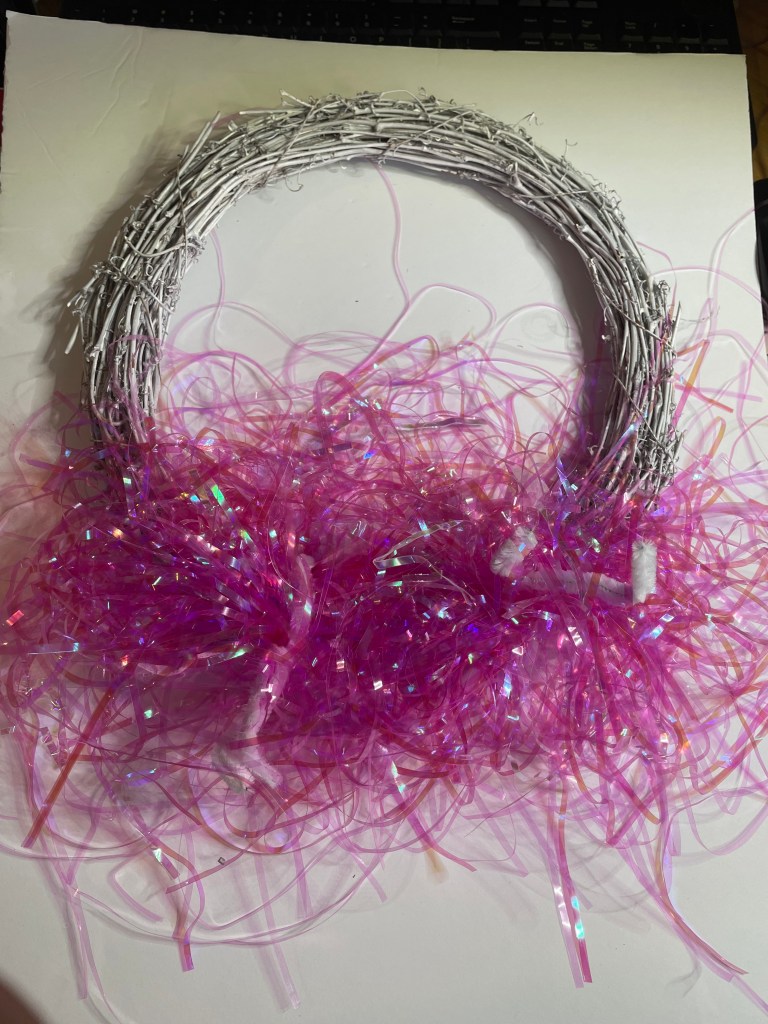
I decided that I would use the pink Easter grass on the bottom of the wreath, hoping that Mod Podge would hold it in place. So far, I have done this process two times with the possibility or more to come.
While I was letting the Mod Podge dry, I decided to use the time to trim down the daisy’s.
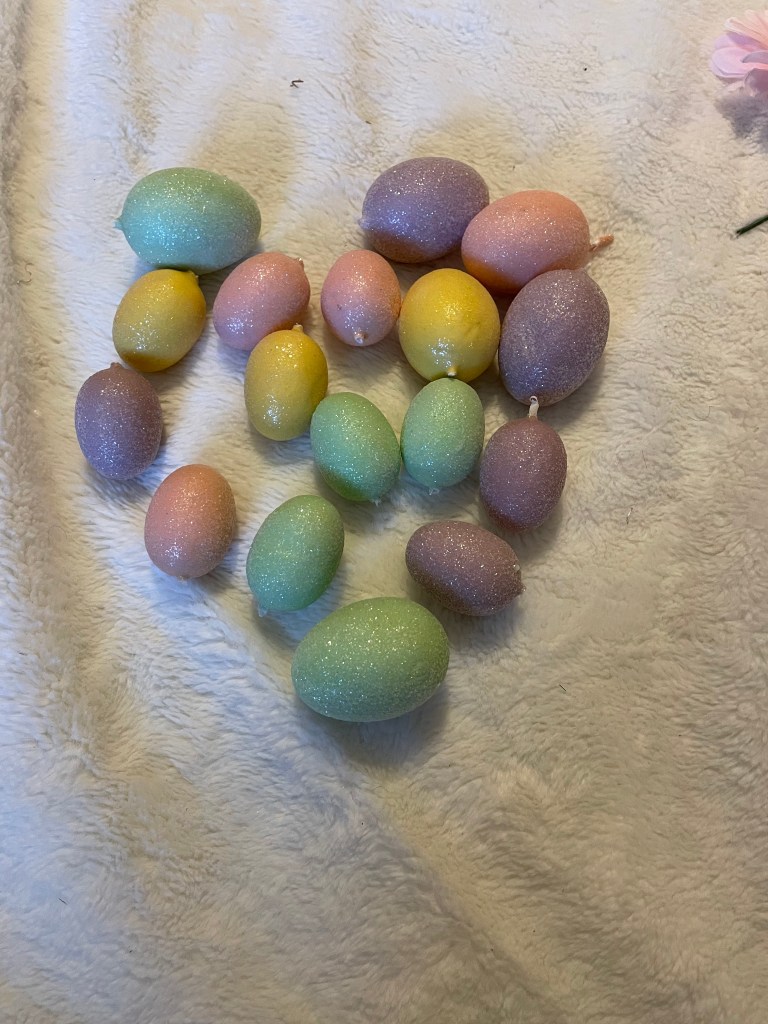
I then decided on the eggs I want to use on this wreath then removed the stems from the eggs.
Now I have to wait for the Mod Podge to dry and probably add another later of Mod Podge and Easter grass to the wreath. This means there will be a part three for this craft project.
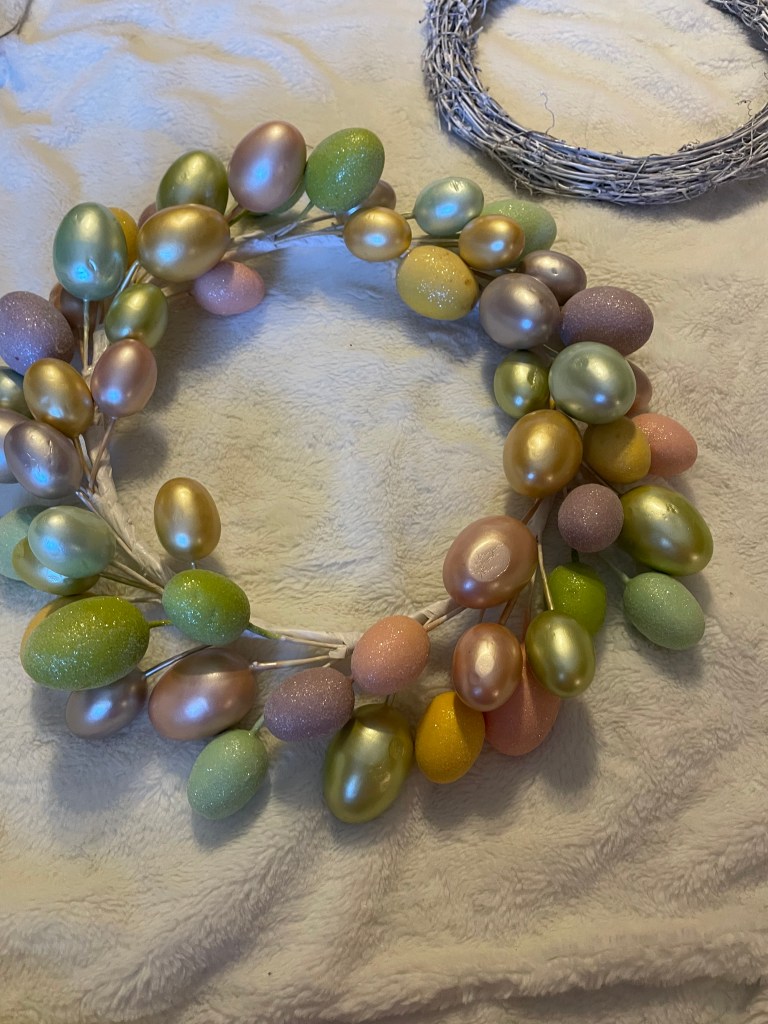
Sometimes things do not go as planned. I had originally thought I would be able to take this apart and everything would be somewhat ok with the exception of some eggs.
Honestly, I had high hopes that this would be an easy project that would require little to no thought. And everything went well as I started taking things apart. The base can definitely use a fresh coat of paint.
I started questioning my sanity when I started taking apart the eggs from the ring they were attached to. Actually this was rather east to do. After all the eggs were removed, I realized that my original plan was heading for the trash.
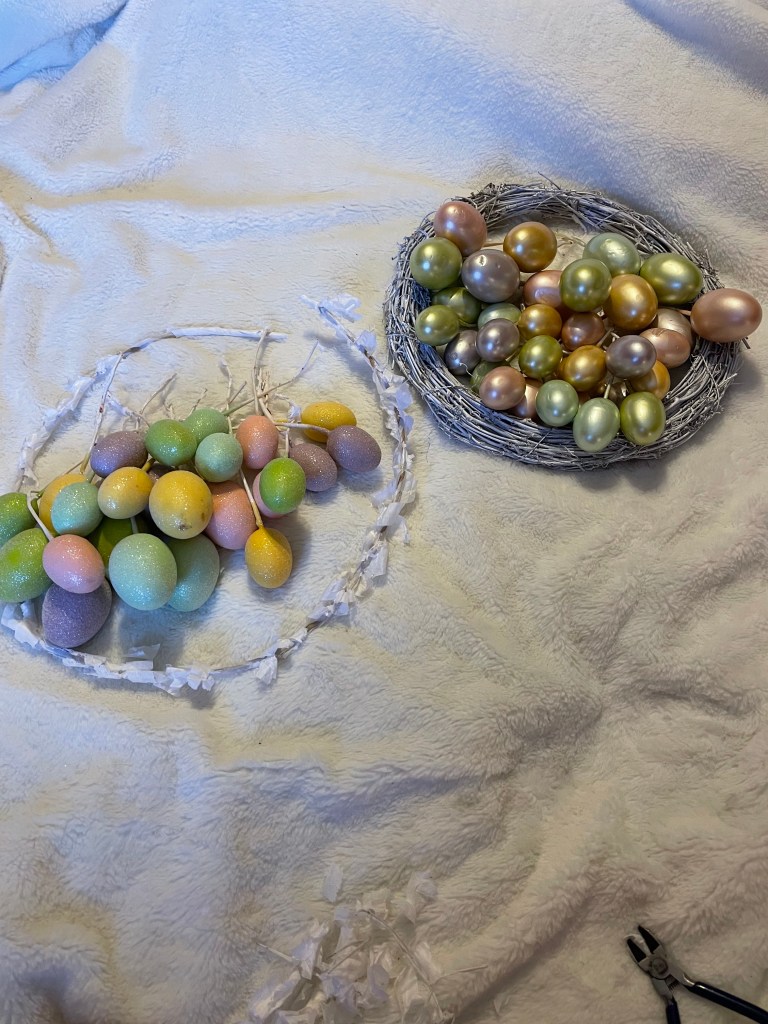
I separated the eggs that had no visible signs of damage from the ones that had obvious damage. And I was left with only the glitter eggs and a small hand full of the metallic looking eggs.
So now I have to come up with another plan of action. Please come back to see what I ended up doing.
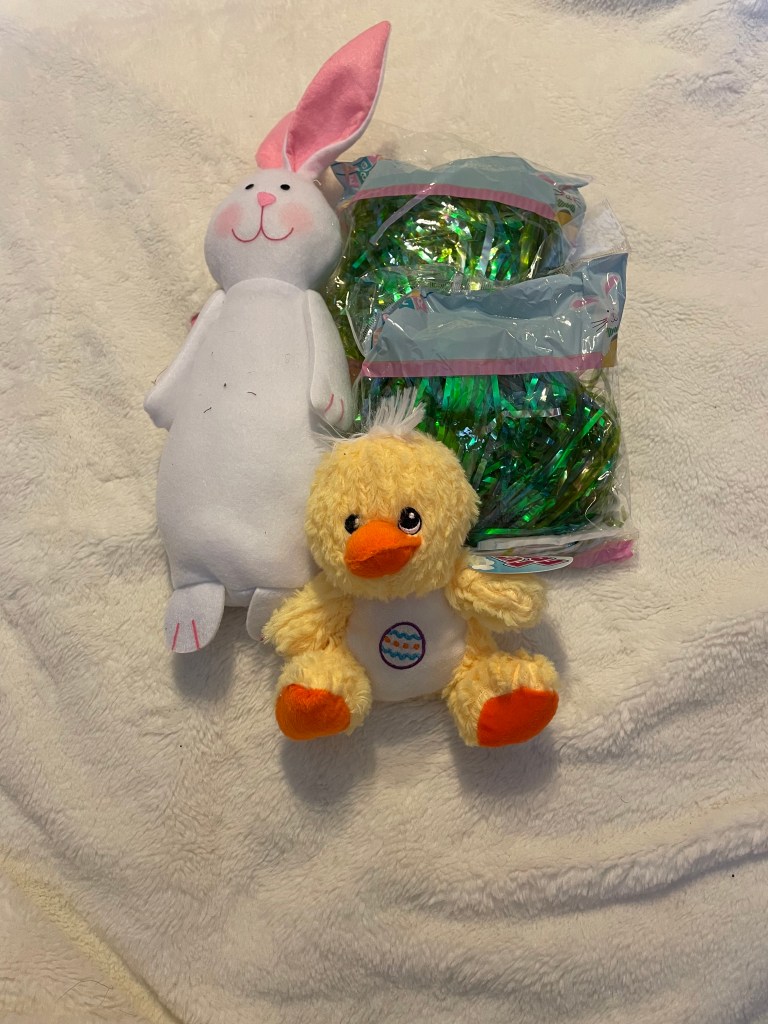
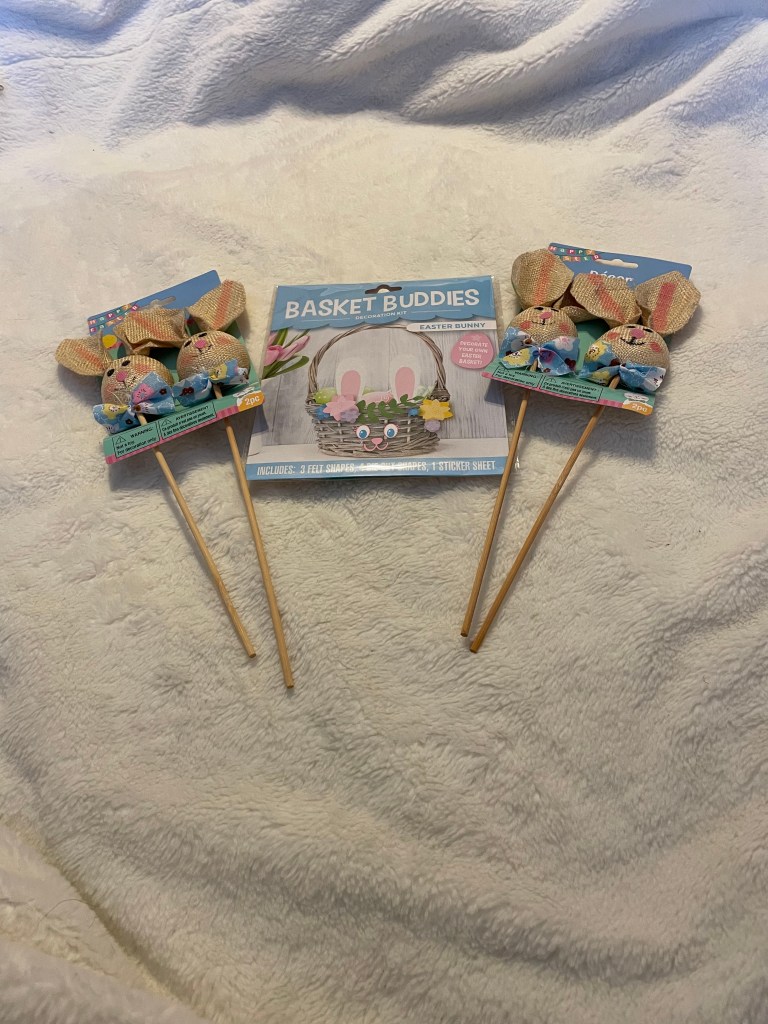
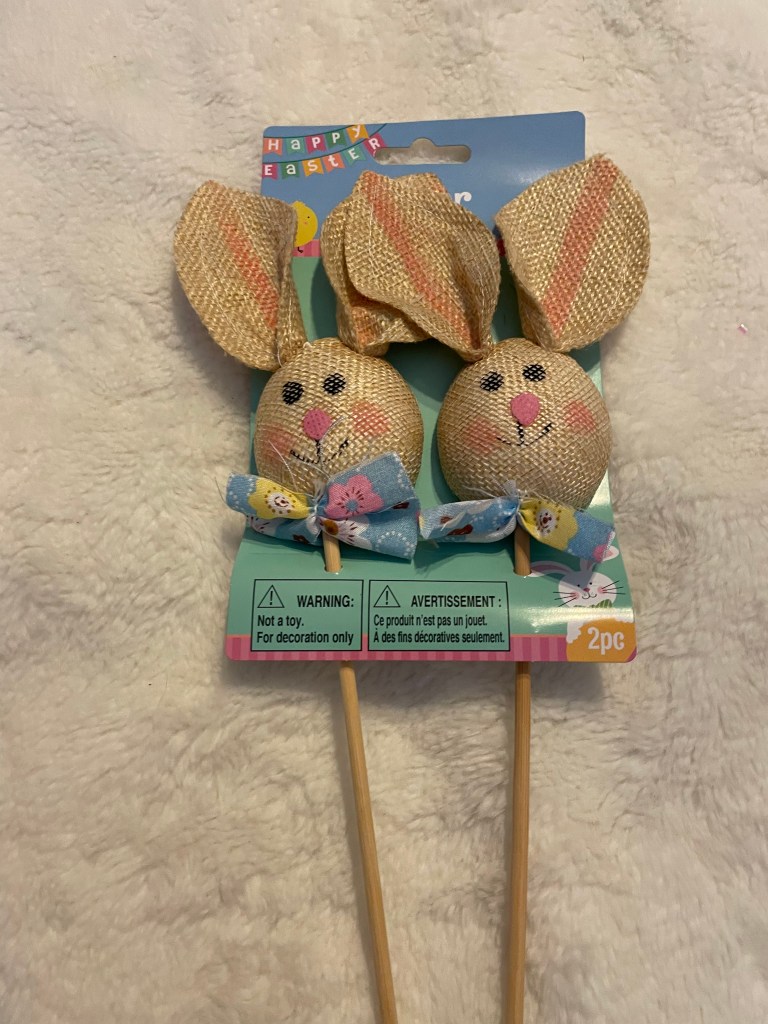
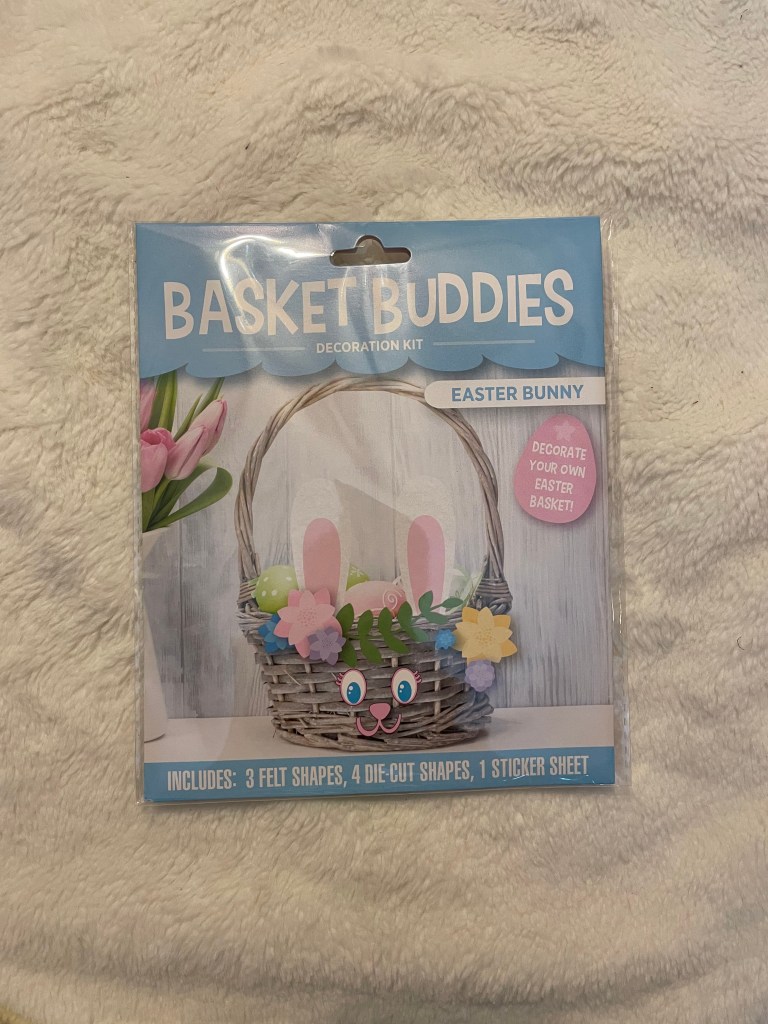
Dollar Tree is always my first stop when I buy decorations for my mom’s tiny apartment. Of course I bought some eggs just in case I do not get all of the eggs I bought painted and decorated. I also bought some stuffed animals, one of which seems heavy/weighted enough to stand up by itself!! I couldn’t forget the grass for any Easter baskets I may or may not make. There were a couple of other things that caught my eye. The bunny picks and basket decorations will make any decoration I decide to make real cute. What’s a door without a welcome sign. I had to get the gnome welcome sign that they had.
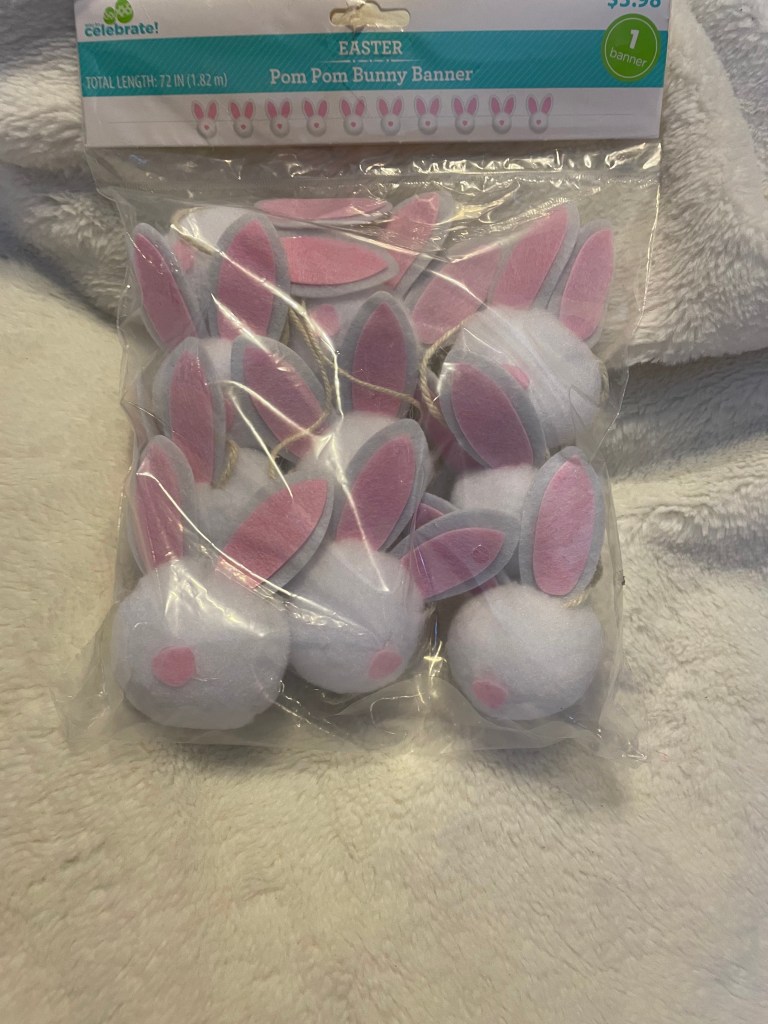
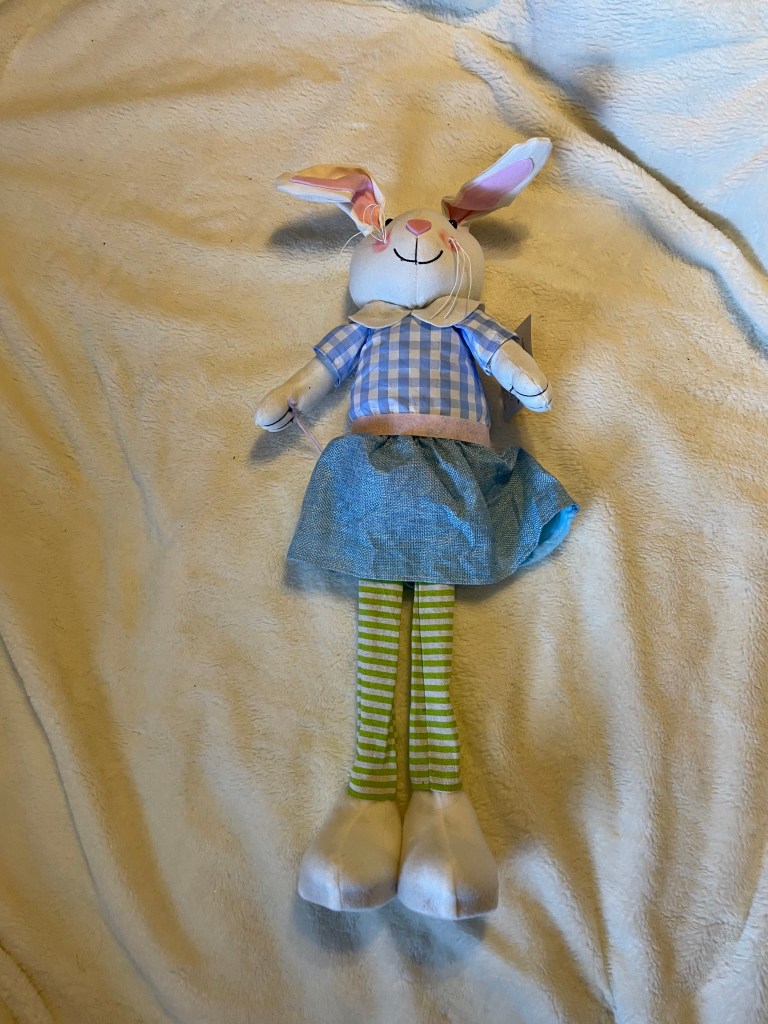
I also browsed the Dollar General section that Dollar Tree has. I decided on three things: a pom pom bunny banner, an Easter sign, and a bunny that stands up. I know exactly where all of these items will go!!!
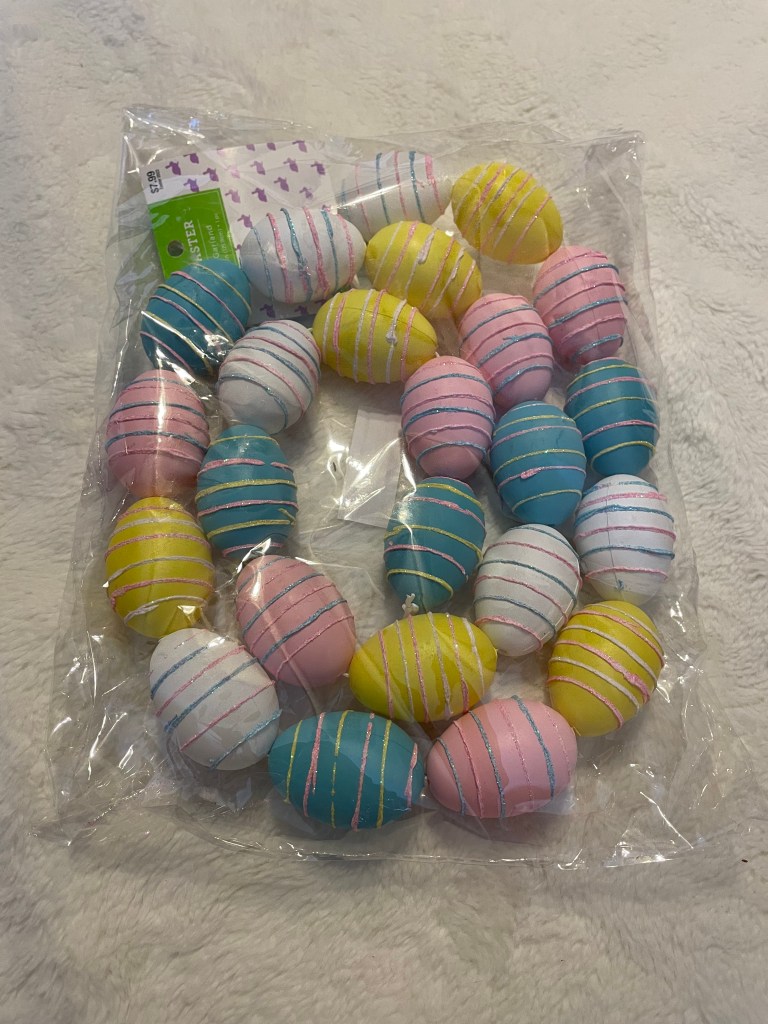
Hobby Lobby always has things I cannot seem to pass up. I purchased some Easter florals from the store while shopping for other things. They are so pretty. I also purchased an Easter egg garland that I plan to use on mom’s walker along with some other items.
I surprised myself by only buying one item from Amazon. That is very unusual for me! The garland I found is so cute and will be easy to add to the yellow rose garland currently around her door.
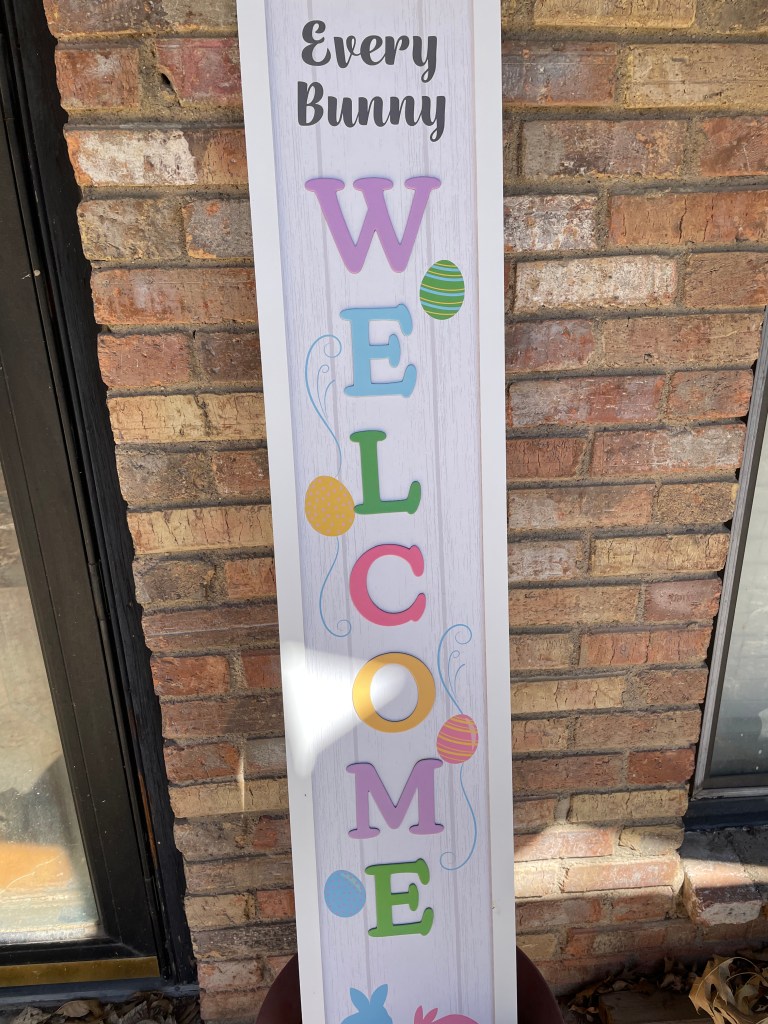
I just realized that I purchased two welcome signs. I think I will use the gnome in her door area now with the spring decorations I just put up and leave it up for spring. I know that I will definitely be using both signs!!!! Who knows, I might put the gnome sign in her window!!!
For now, it is time to start all the craft projects I need to do!!!!
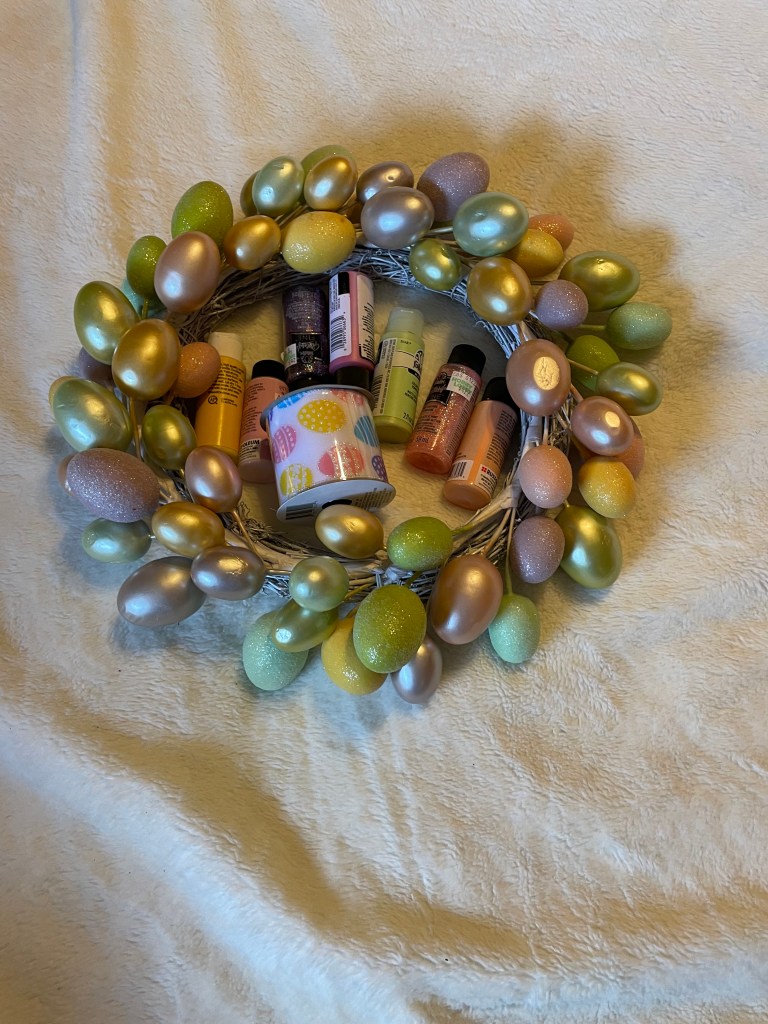
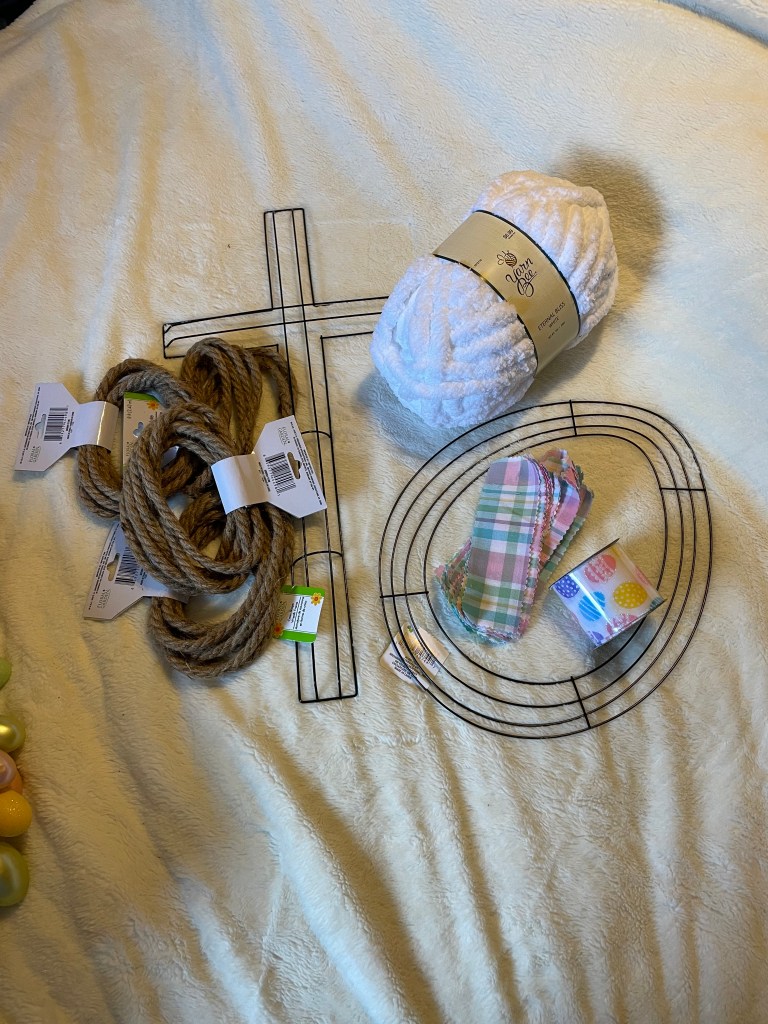
Let’s begin with the wreaths. I think the first project will be to spruce up an old wreath my mom had stashed in her closet. My plan is to try to repaint if not replace some of the eggs. Particularly the larger eggs that are rather disfigured. Then I will move on to a cross wreath. I saw a video on youtube that I hope I am able to recreate. And finally a have an idea for an egg shaped wire wreath form. I just hope I can make it happen. Only time will tell.
Of course, I have a lot of eggs I need to at least paint. There are 156 eggs to be exact. I plan to use a large portion of the eggs when I decorate my mom’s door, walker, and room for Easter.
I plan to decorate my mom’s area on April 10th. So, time’s a ticking. I need to get started!
Out with the St. Patrick’s Day decorations and on to something new!!!
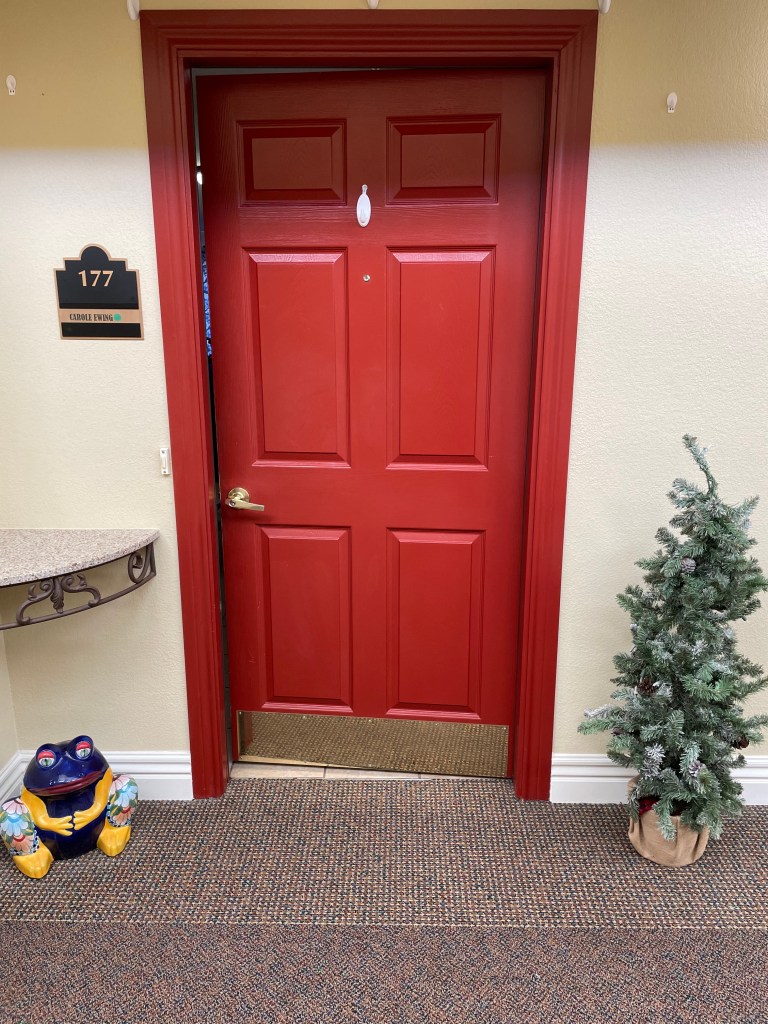
Starting with a clean slate!!!! Our journey begins with decorating my mom’s door area.
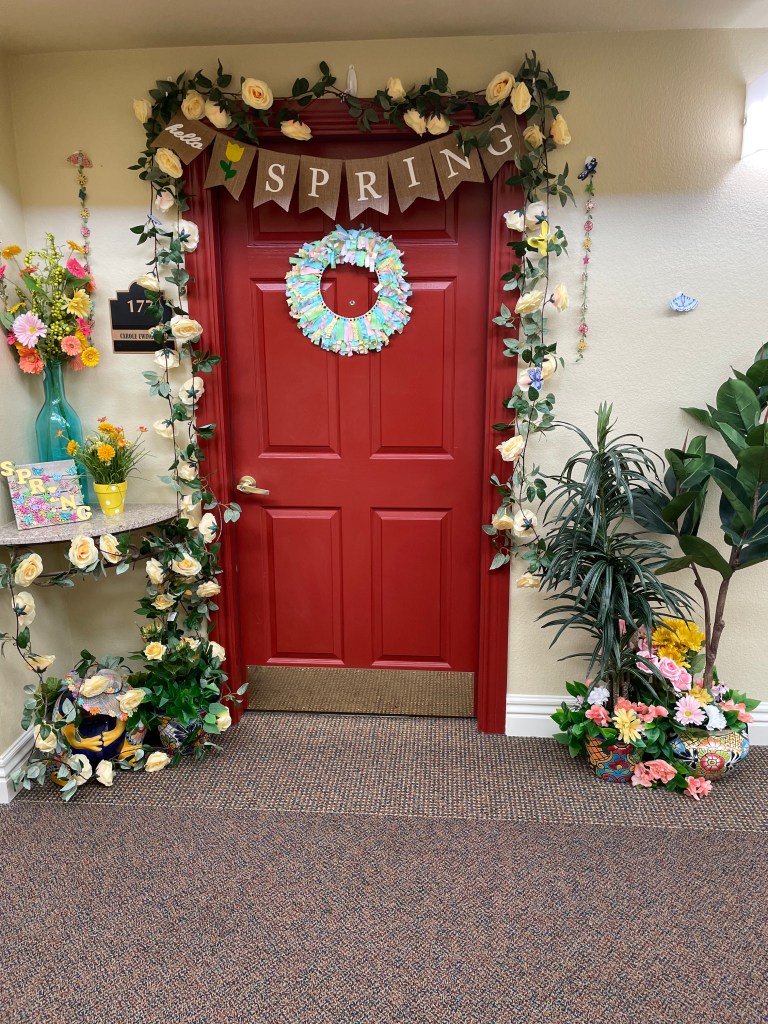
We started with the tree. The goal was to make it look fuller and happy! Much like a rose bush but with every kind of flower imaginable.
From there we moved to the table area and, of course, the frog.
As always, we place garland around the door. We are using a yellow rose garland around the door as well as a banner.
After all of the decorations were put into place, it was realized that the garland looks a little thin. I added some of the butterfly picks I made to the garland but it still needs more. A lot more. This means I need to purchase some more garland and maybe use some deco mesh to fill things out. But that is for another time.
Mom likes the new door decorations but she does agree that it needs more. So we will make sure that more is added.
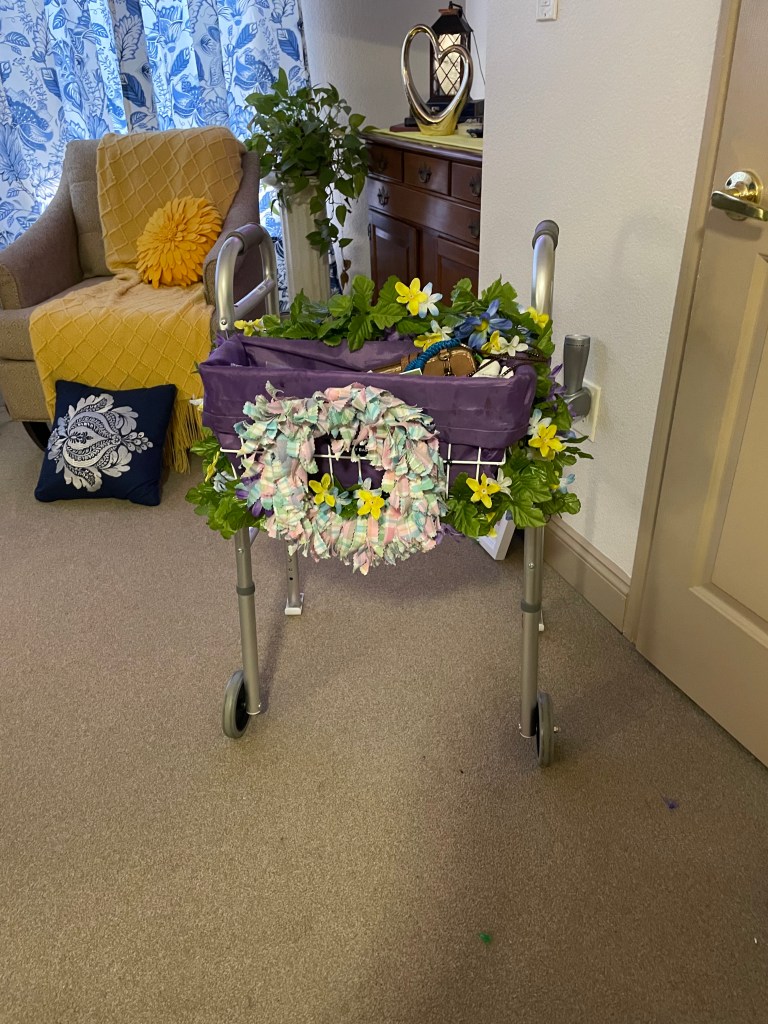
My granddaughter Victoria did the decorations for my mom’s walker. She was not very happy with taking off the old decorations and there may or may not have been some words spoken under her breath but she managed like a true champ! And she did a terrific job of decorating my moms walker for the spring!!!
While Victoria was working on the walker, I put some rose garlands on the top of mom’s curtain to bring a little spring into her room. I used four garlands for this and it looks great. Now I know how much I need to order to make the door garland fuller.
I also purchased some new vases to use for some spring time flowers I purchased at Hobby Lobby. The vases are from Marshalls.
Everything we have done so far to decorate for spring has made my mom very happy. As soon as I have more to add, I will be doing a part 2 of decorating for her. Who knows. There may even be a part 3!!!
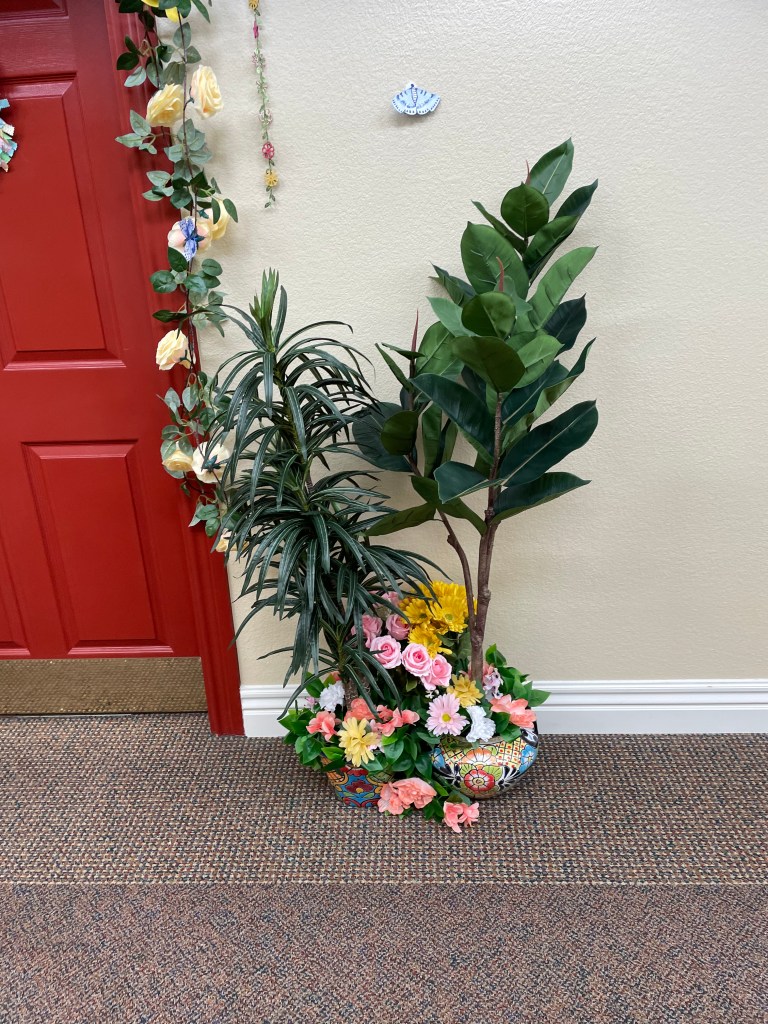
The tree by my mom’s door has definitely seen better days. I decided to make the little tree look a little be better, I could add some flowers to it.
I went to Dollar Tree and about several flower bushes in a few different colors. I knew I would not need a lot since the tree is small so this should be enough.
I will be putting individual flowers in the tree so I used my handy dandy wire cutters to cut off each limb making sure there was plenty of stem to be able to anchor the flower in the tree.
I feel certain this will be enough for the little tree.
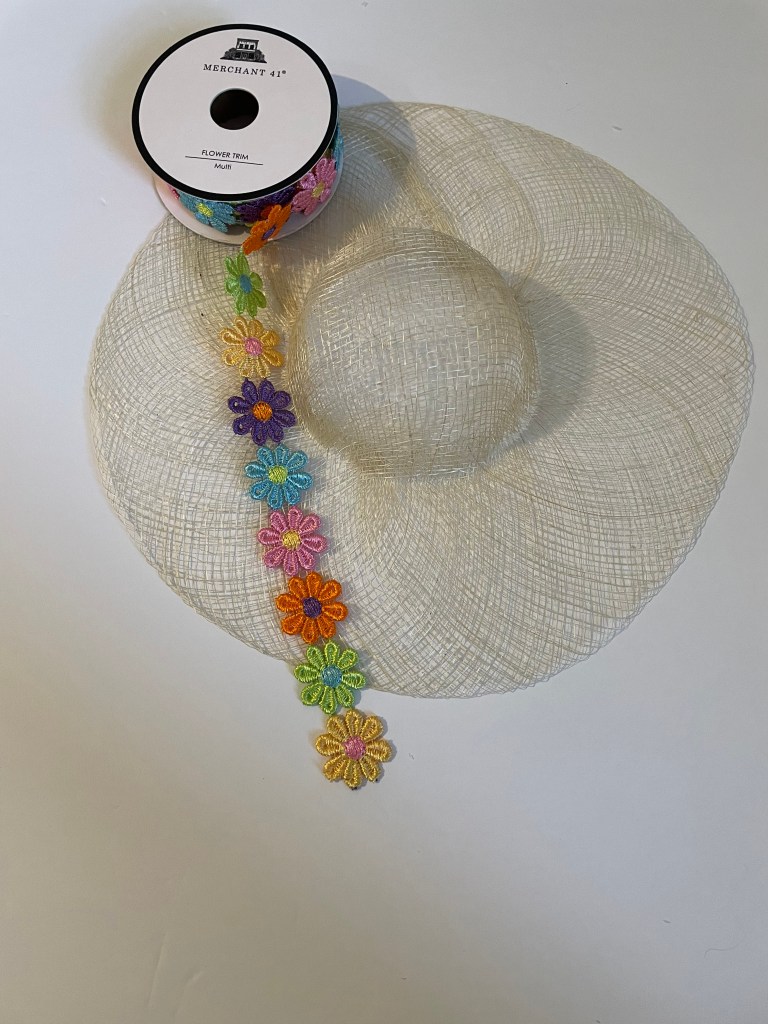
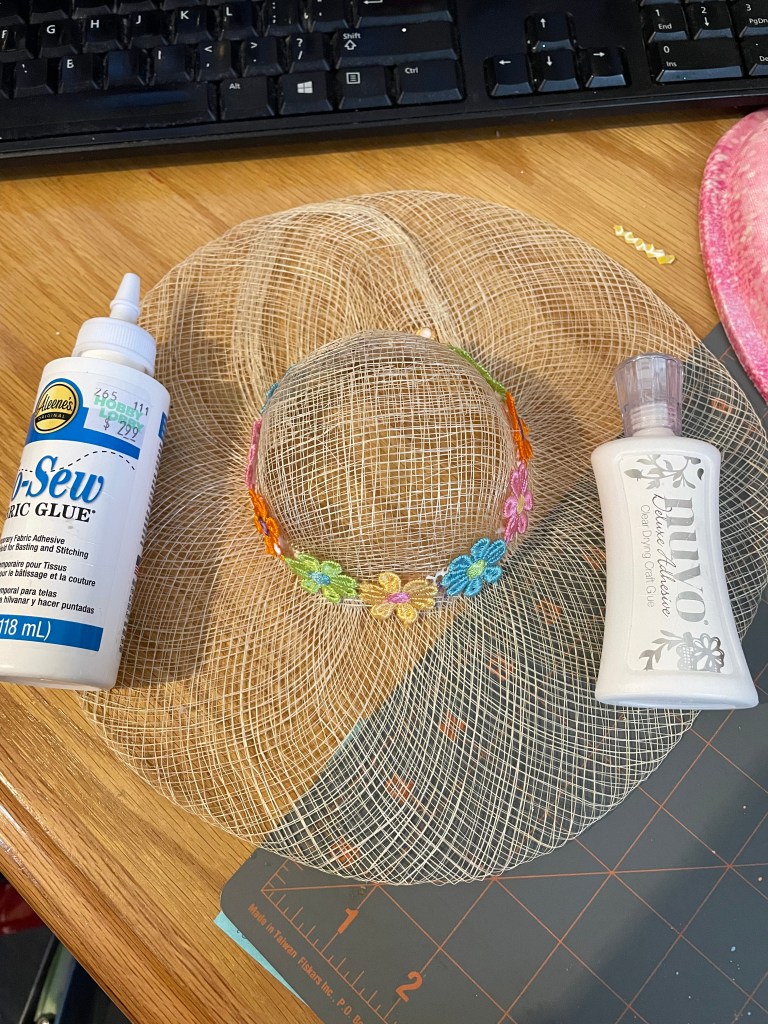
Then I remembered my mom likes for her frog to be festive as well. For St. Patrick’s day I found a green hat to put on the frog. But spring had me stumped until I saw a small hat that is actually for a doll at Hobby Lobby. I grabbed the hat and some flower ribbon and a plan in my brain was formed.
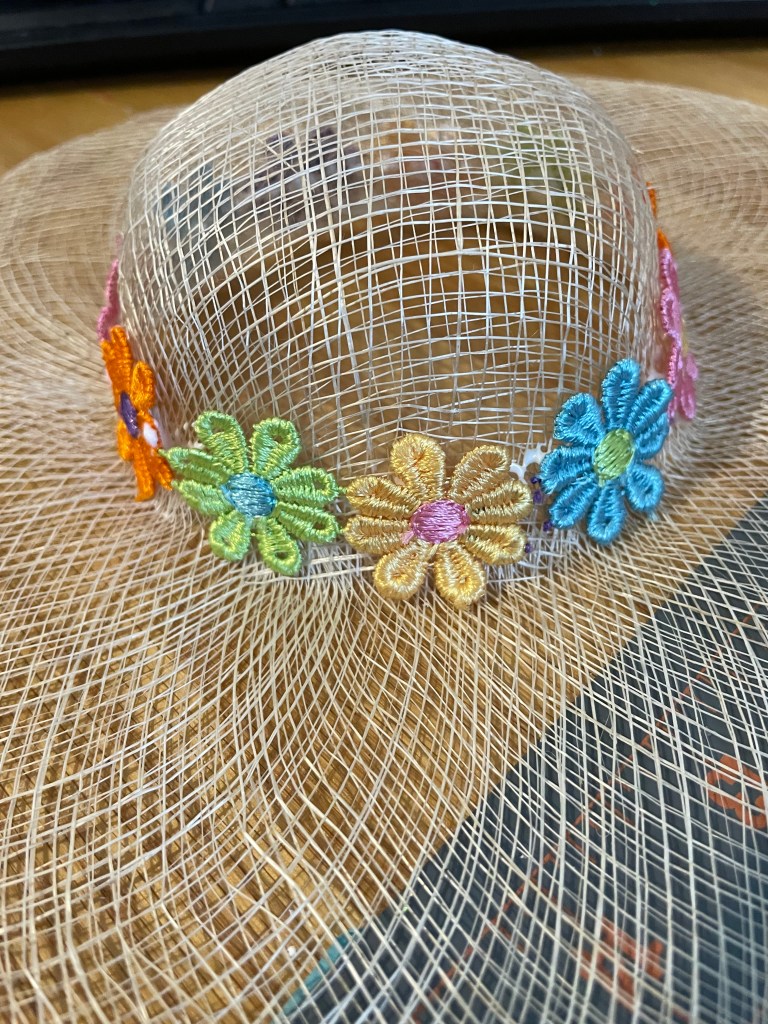
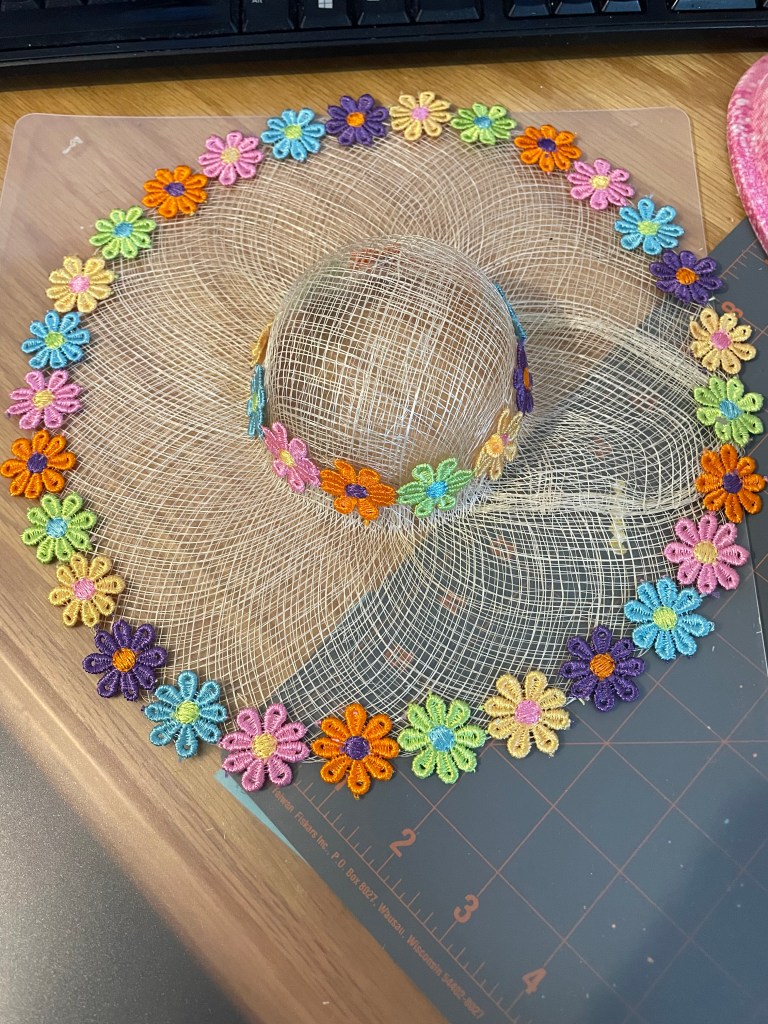
I decided I would attach the ribbon to the hat around the brim and also around the center of the hat. I was not sure which adhesive I would use, the No Sew fabric glue or the NUVO Deluxe Adhesive. The NUVO won out!!!
I put a generous amount of adhesive to the center of each flower and pressed it against the hat.
It did not take long before the hat was finished and ready to be put on the frogs head.
I think I have come to an end for this series of spring decorations. I’m concerned the decorations may look like it is missing something or needs to be fuller. But if that is the case, I can always add to it.
My mom’s little Christmas tree that sits outside her apartment door needs to be decorated for spring as well. I decided to make some picks to use as a tree topper.
While shopping for things at Dollar Tree, I picked up a pink baby headband that has a flower on it, some Main Street Wall creations Jumbo Stickers in pink flowers, and some floral wire. I will also be using 3 wood butterflies left over from other craft projects.
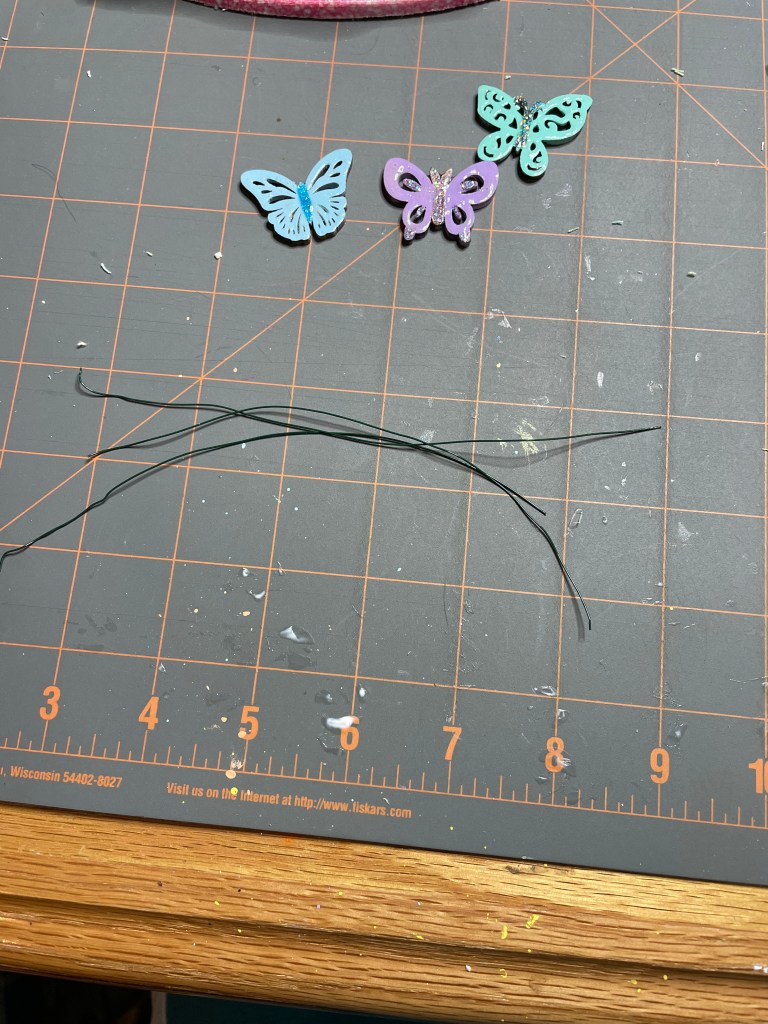
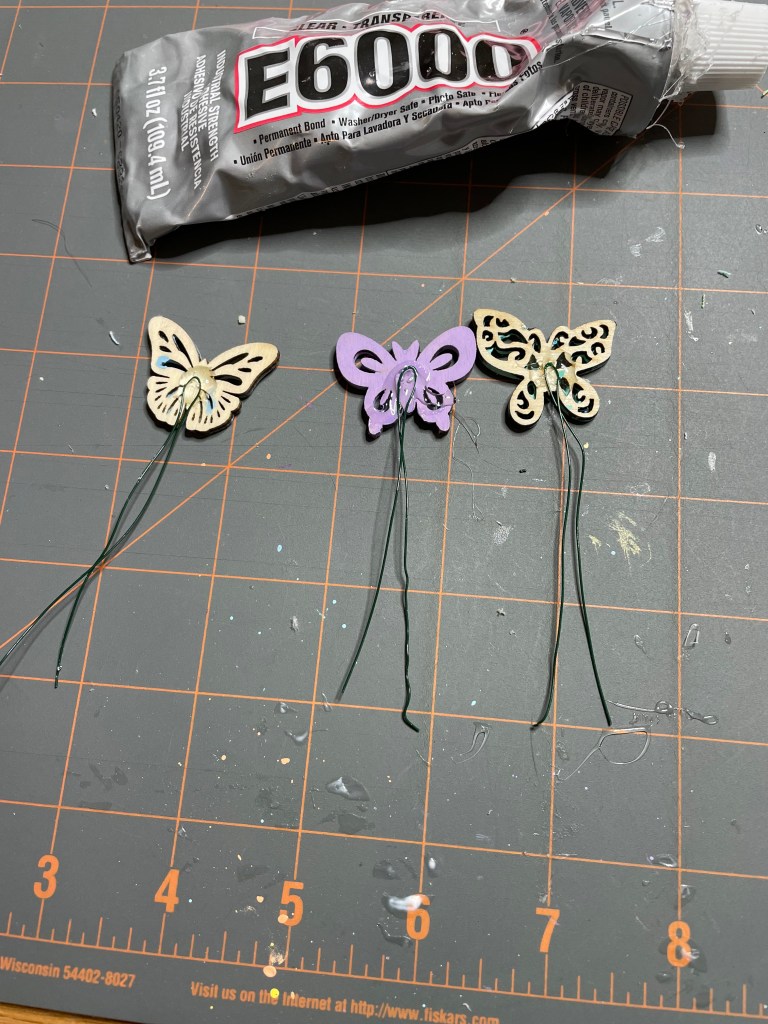
The first part of this project was to attach 3 wood butterflies to the pink baby headband. The supplies I used for this are E6000 adhesive, floral wire, 3 left over wood butterflies, and wire cutters.
The first step was to cut 6 inch pieces of the floral wire.
I then folded the floral wire in half and attach the wire to the back of the wood butterflies using E6000 adhesive. I then set them aside to dry.
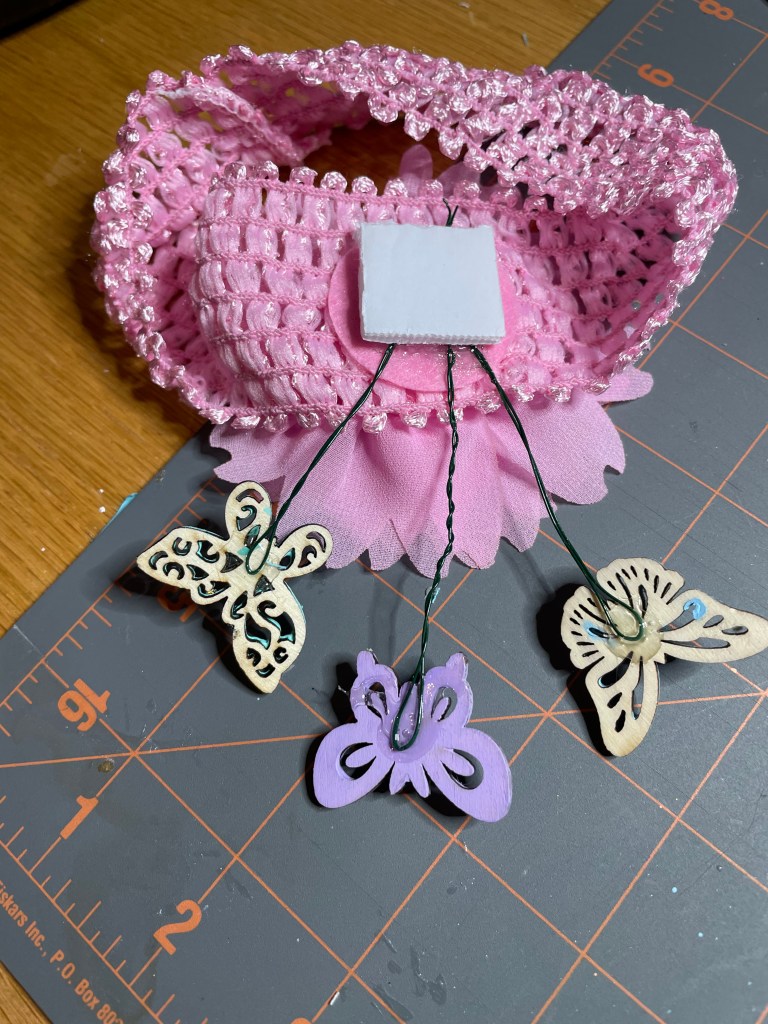
Once the adhesive was dry, I then attached the wood butterflies to the baby headband using E6000 adhesive. To make sure the butterflies did not slip, I used a small piece of foam board that I pressed down onto of the wires and excess adhesive.
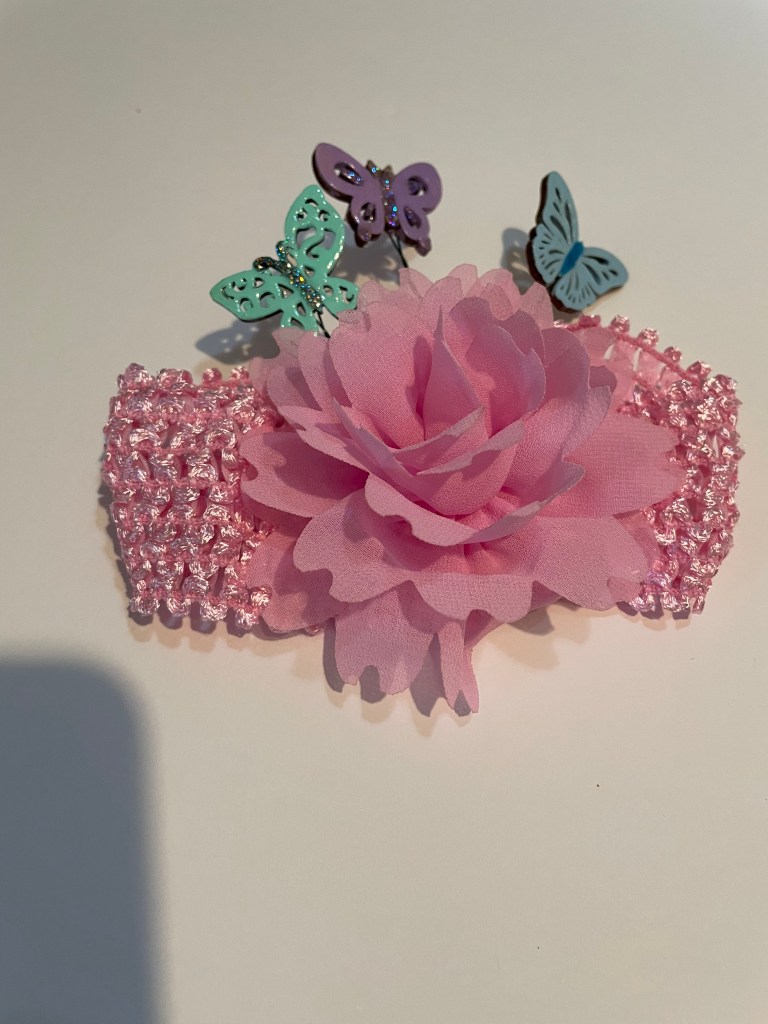
I have happy with the outcome. I plan to wrap the headband on the top stem of the tree but without something else around it, the tree would look like it has a pony tail. So, I will be using the pink flower jumbo stickers to make picks out of and place them around the top of the tree as well.
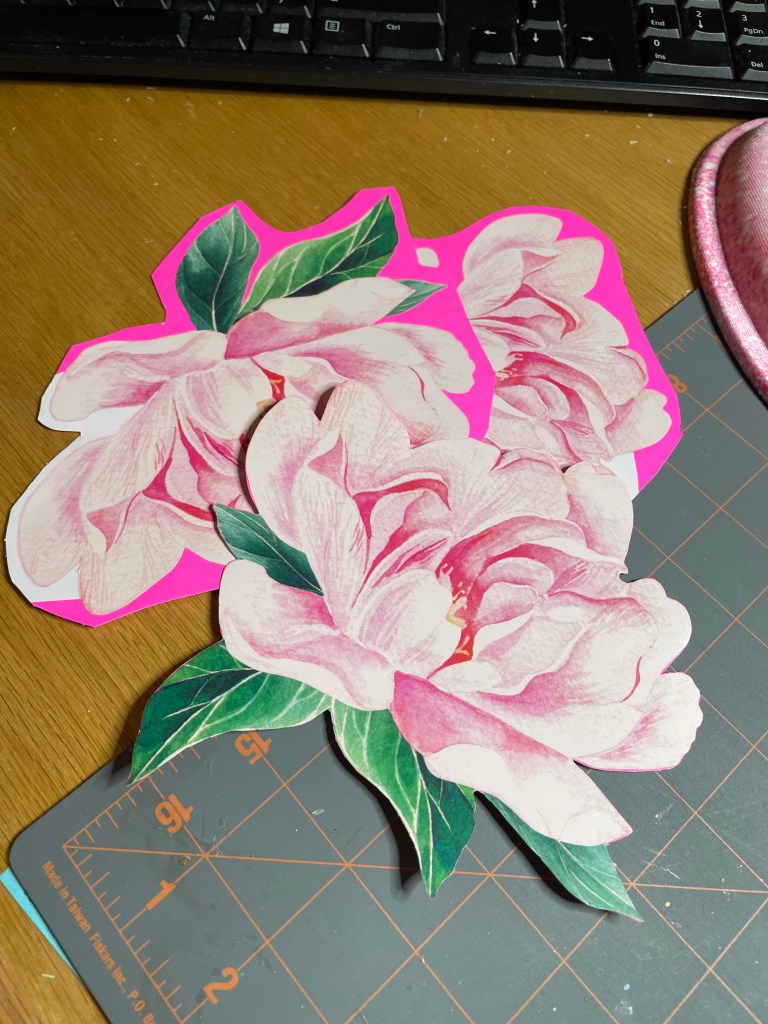
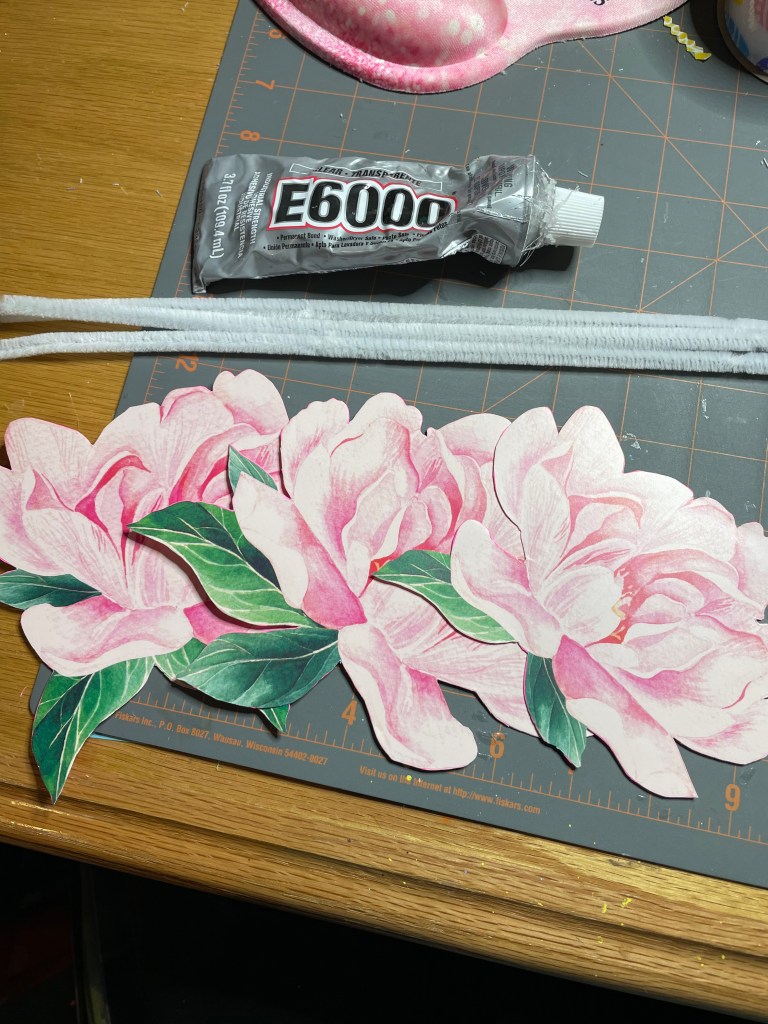
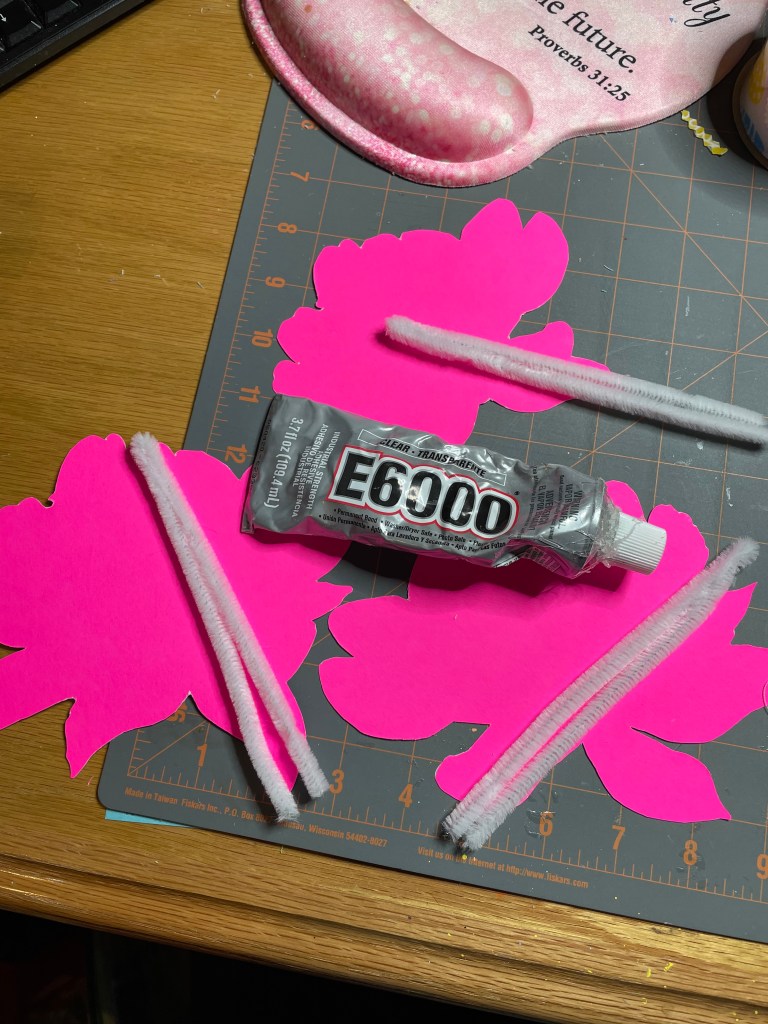
I used the same process for making the flower picks as I did for the butterfly picks. The first thing I did was to put the stickers onto pink poster board.
I then separated each flower but cutting them into single flowers. Then trimming off the excess poster board from each flower.
After that was done, it was time to add chenille stems/pipe cleaners to the back of the flowers. I used white chenille stems as that is what I had on hand.
I folded each stem in half and attached it to the back of the flowers using E6000 adhesive. I also place a small piece of foam board on top of the stem and excess adhesive. They were then set aside to dry overnight.
Now, I have 3 large flowers to place around the headband to make a unique tree topper. I cannot wait to see how it looks.
I wonder how many more spring craft projects I will make. I guess only time will tell!