Last minute decisions can be fun. That is how this wreath came about. After I finished making the sign, I decided that her door area would need more until we do the complete decorating. Luckily, I had all of the supplies on hand and plenty of spare fabric from the bid wreath for her door.
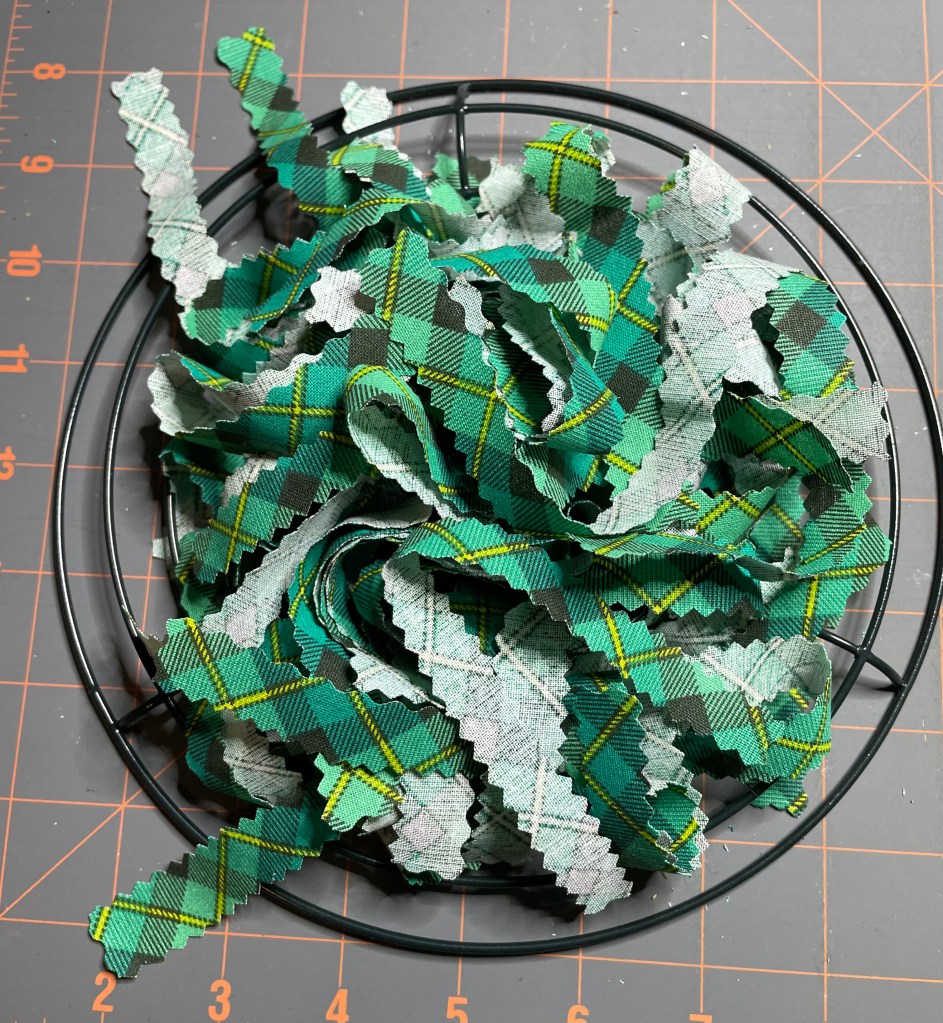
All I had to do was to cut some of the fabric in half. I already had the 8 inch round wire frame so I did not expect this project to take much time at all.
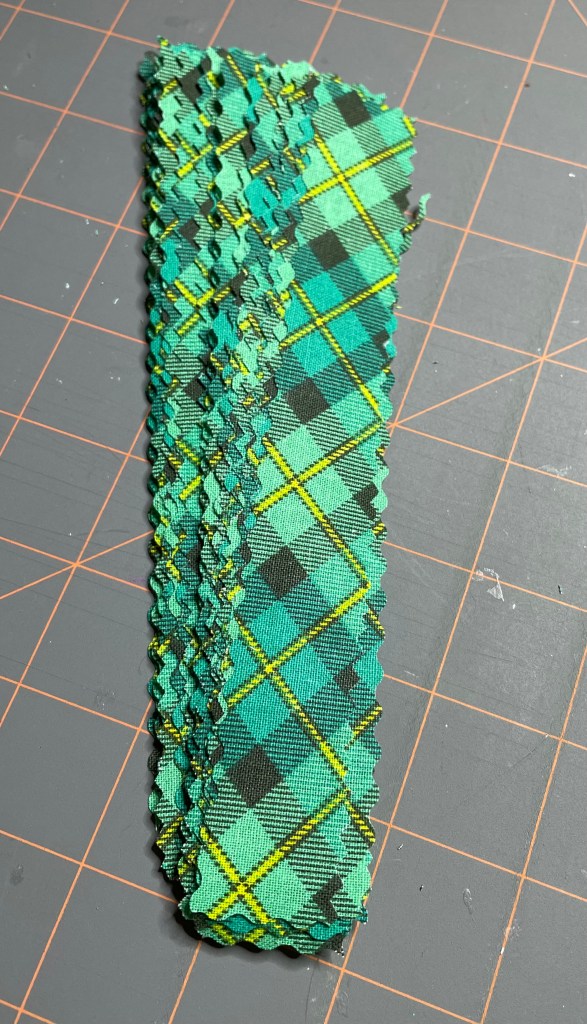
Once all the fabric was cut, it was time to start putting the fabric strips in place.

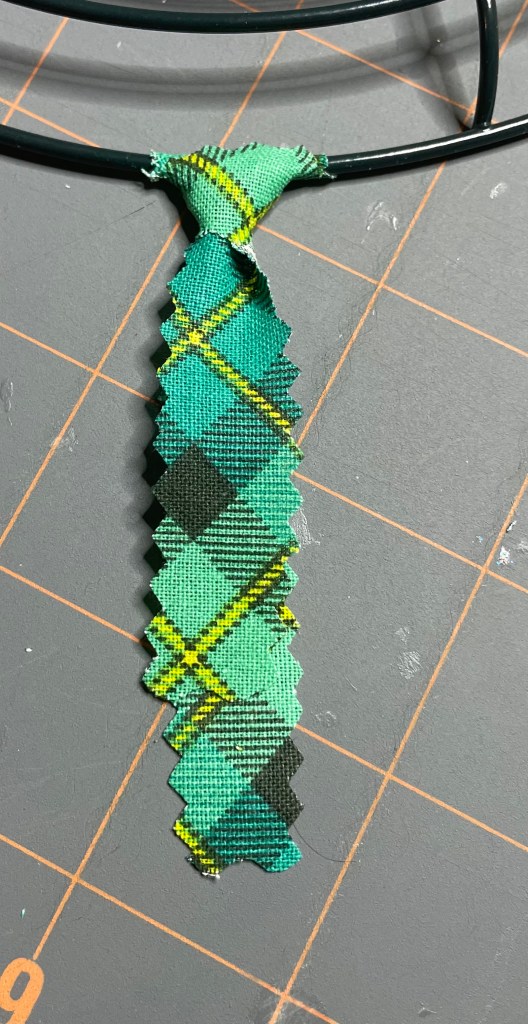
I use the Lark’s head knot method when I make a rag wreath. I am very new to this so it is been a trial and error experience for me. But there is one thing I have learned. I turn the fabric to the wrong side then place the ends together as shown in this picture.

I thing place the fabric under the outer wire…
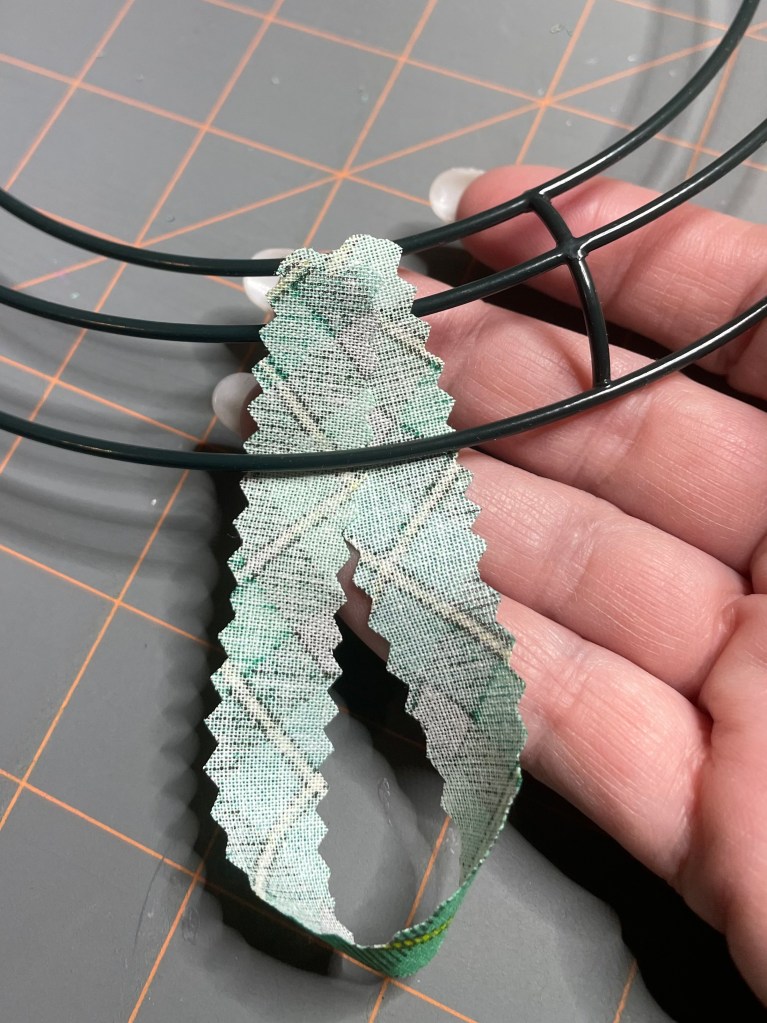
then I bring the two ends up and over the outer wire and through the loop…

pulling the ends tightly until it looks right to me.
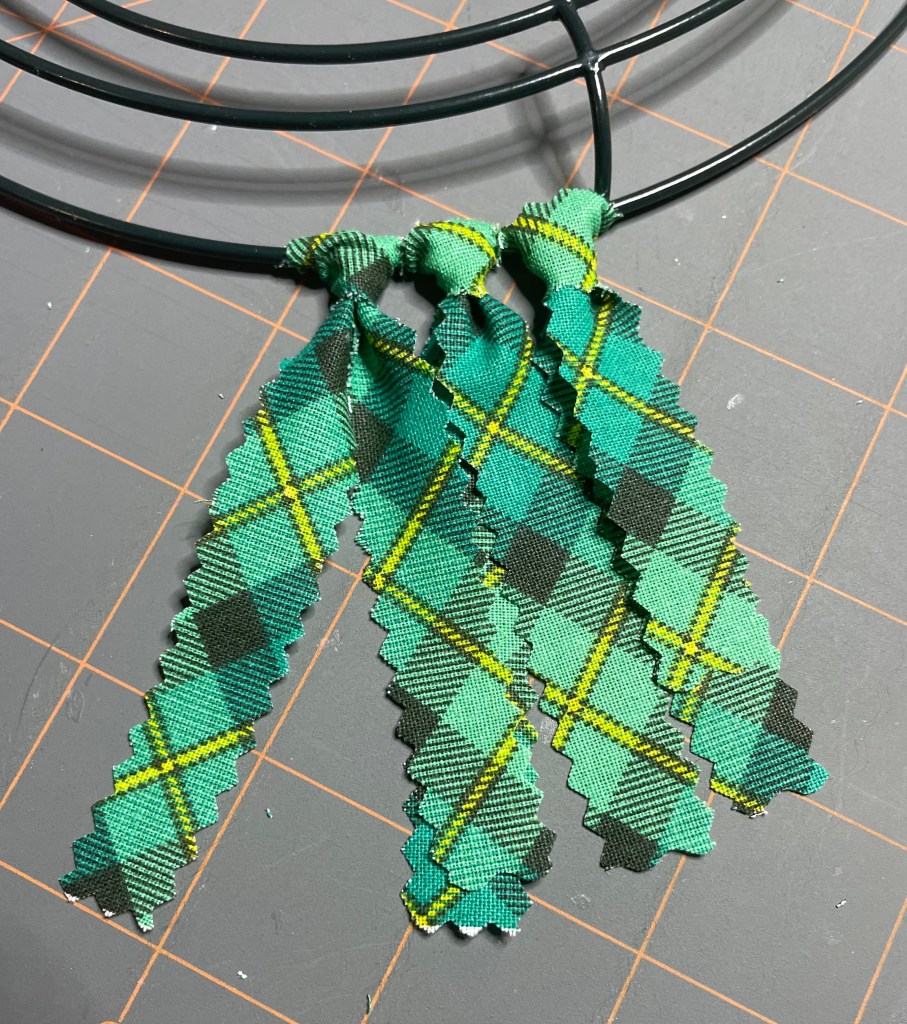
I continue doing this for each ring. I have found that I do not have any strips facing the wrong way. At least so far that has been my luck.
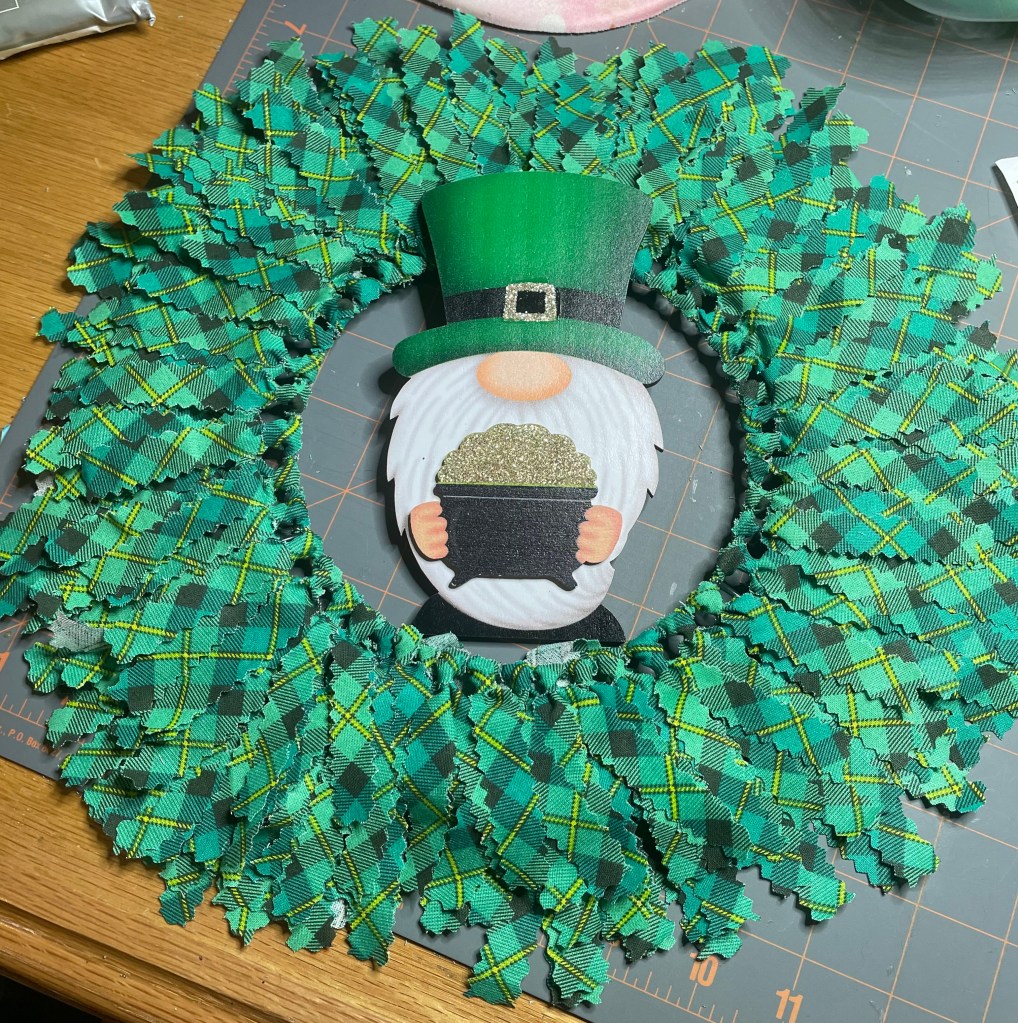
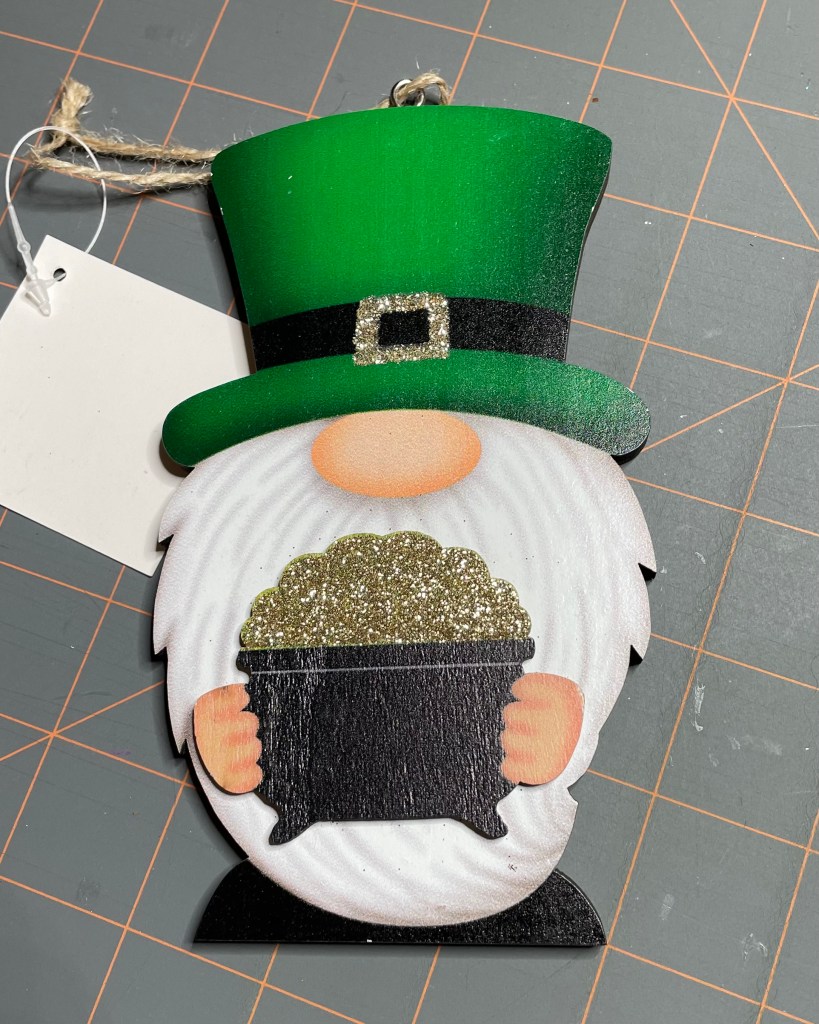
After I finished putting the fabric on the frame, it was time to get the wooden gnome ready to put on the wreath.
I used my trusty E6000 adhesive to attach chenille stem (it is still a pipe cleaner to me) to the back of the gnome.
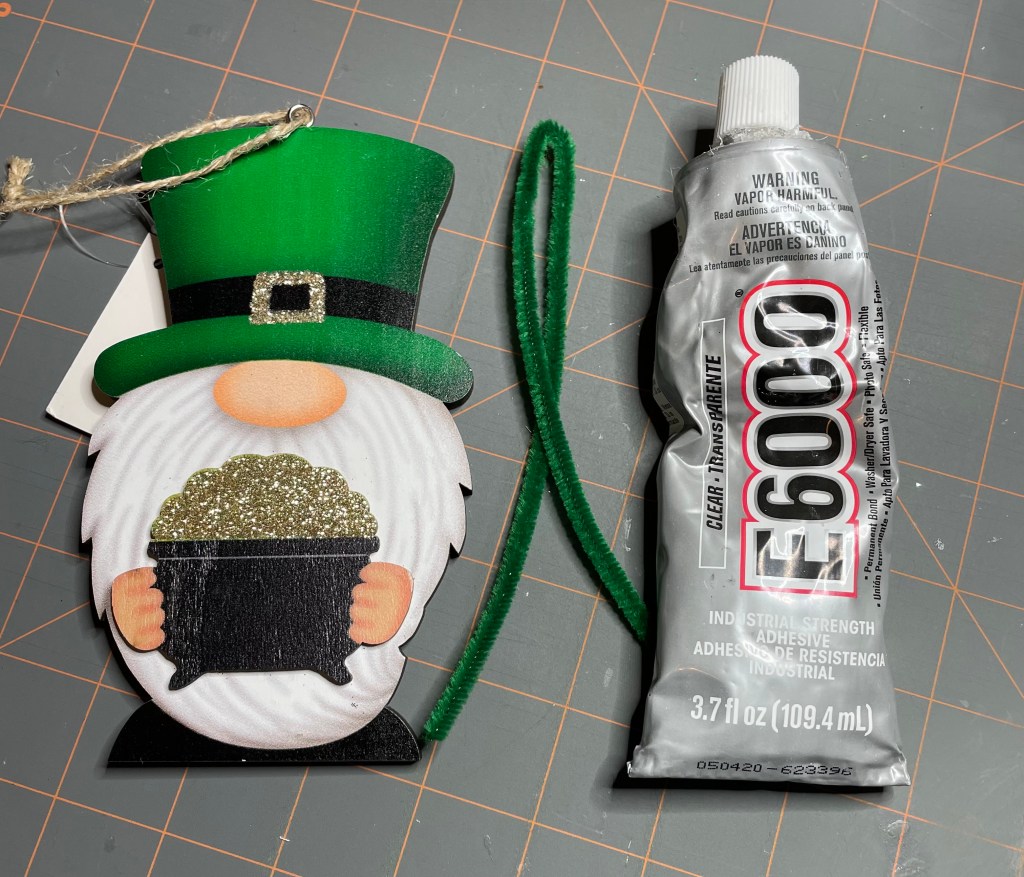
I allowed plenty of time for the E6000 to dry before I attached it to the wreath. I am happy with the way it turned out.

As for the supplies I used for this wreath, the fabric is from Joann’s, the gnome is from Hobby Lobby, and the round frame is from Dollar Tree.
Now it is time for the next craft project.
